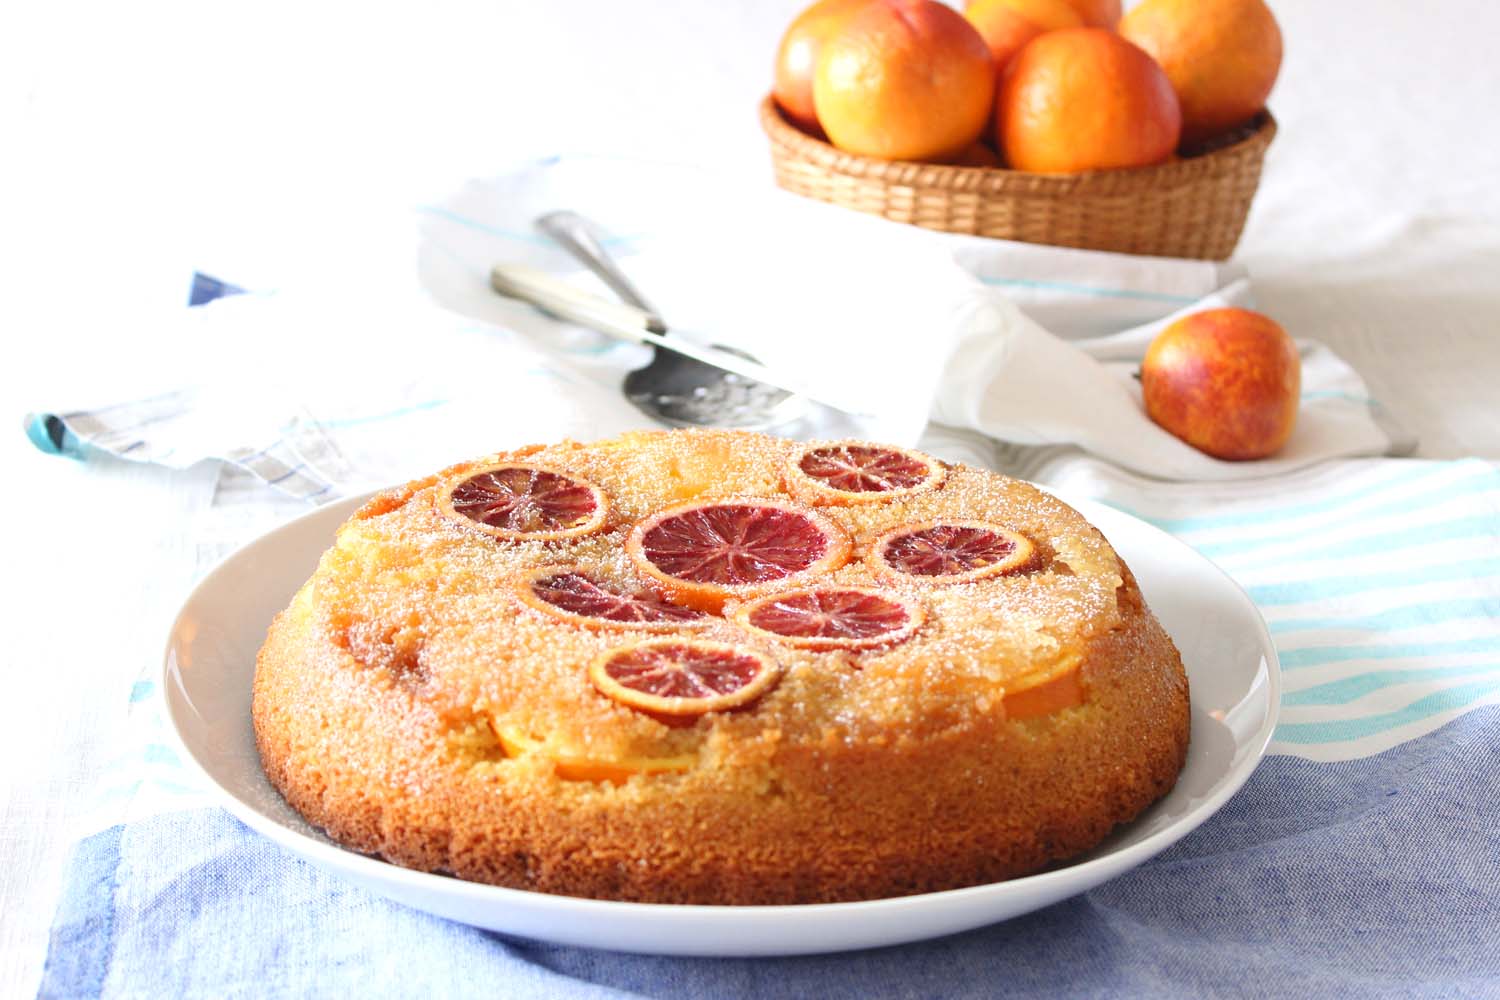
Blood Orange Polenta Cake

Blood Orange Polenta Cake | Image: Laura Messersmith
Are you a rule follower or a risk taker? In life I go by the book more than I should – I find myself teetering on the edge of a new adventure looking for reasons to step back; thinking of all the ways my plan could go awry when there’s no guarantee of success. A twist on the New Year’s Resolution I learned of recently is to choose a word – something like Family, Balance, or Health – and orienting your choices to support that goal. I’d like to dedicate this year to being Fearless.
I think that’s why I like cooking so much – even a misstep that ends in disaster is still a chance to learn. An under-baked loaf of bread, a pork tenderloin that is starting to burn but still hasn’t come up 140 internally, caramels that didn’t solidify and started to ooze on the plate. Frustrating? Sure. But, at worst they end up in the trash and I start again, at best they’re salvageable and end up as part of a funny story, which was the case the first time I made this cake.
No back up plan for our New Year’s Eve dessert just some homemade whipped cream to dress up a dry and relatively flavorless crumb despite plenty of butter and eggs. What happened?! I give our guests credit for pretending they liked it, but I could tell those were sympathy bites. Sorry, Joyce & Alex!
I loved the idea though and the cover photo on Citrus: Sweet and Savory Sun-Kissed Recipes by Valerie Aikman-Smith and Victoria Pearson was so beautiful, I had to go back to the drawing board. I went seeking guidance from no fewer than five other similar recipes the result: the cake I was actually dreaming of – rounds of glistening oranges, not too sweet, tender, and deeply citrusy. Totally worth the effort.
Blood Orange Polenta Cake | Image: Laura Messersmith
Blood Orange Polenta Cake (serves 6-8)
Ingredients:
1 1/2 cups sugar, divided
1/4 cup water
2 navel or Valencia oranges
2 blood oranges
1 1/2 cups flour
1/2 cup fine polenta
2 teaspoons baking powder
3/4 teaspoon kosher salt
1 cup (2 sticks) plus 2 tablespoons unsalted butter, room temperature
4 large eggs, room temperature
1 tablespoon orange zest
Instructions:
Pre-heat the oven to 350 degrees F.
Prepare a 9-inch solid cake pan or pie plate by brushing the bottom and sides generously with 2 tablespoons softened butter. Set aside.
In a medium sauce pan, combine 1/2 cup of the sugar and water and cook over medium high heat. Swirl the pan to help the sugar to dissolve without stirring. Boil for about 5 minutes until the syrup turns a light golden brown, 360 degrees on a candy thermometer. Remove from the heat and pour into the buttered pie plate to evenly cover the bottom.
Slice the oranges about 1/8 inch thick. Remove any seeds and arrange the slices in overlapping circles over the cooled syrup. Remember, the cake will be inverted later so the bottom layer of oranges will be the top of the cake. Set aside.
In a medium bowl, stir together the all purpose flour, polenta, and baking powder. In a separate large mixing bowl, beat together the remaining sticks of room temperature butter and 1 cup of sugar on medium speed for about 5 minutes or until light and creamy. Decrease the speed to low and add the eggs one at a time mixing well in between. Lastly, mix in the orange zest.
Add the polenta and flour mixture to the wet ingredients a little at a time mixing on low speed until almost combined. Scrape down the bowl in between additions, and finish mixing gently by hand with a rubber spatula to ensure the dry ingredients are completely integrated, but the cake isn’t over mixed.
Spread the batter over the orange slices and bake at 350 degrees F. for 45-50 minutes or until a toothpick comes out clean. Remove the cake from the oven and allow to cool for 15 minutes.
Run a knife around the edge of the cake to loosen before placing a large serving platter on top. Hold the two dishes together using oven mitts and invert the cake onto the platter. Dust with confectioner’s sugar and serve with whipped cream.
Re-written and adapted from Orange and Rosemary Polenta Cake (pg. 75) in Citrus: Sweet and Savory Sun-Kissed Recipes by Valerie Aikman-Smith and Victoria Pearson.
I received a promotional copy of this book via Blogging for Books, all opinions are my own.

Blood Orange Polenta Cake | Image: Laura Messersmith
Small Kitchen Friendly?
Yes! I used, small sauce pan, candy thermometer, 9 inch pie plate (or solid cake pan), medium cutting board, utility knife, two medium mixing bowls, a hand mixer, rubber spatula, microplane zester, measuring cups and spoons.
The Verdict:
If I were being entirely scientific the taste testers would have followed the metamorphosis of this cake through its various iterations culminating in the final gorgeous version. Instead, my parents were the beneficiaries when I baked the cake that finally delivered on it’s orangey, bright promise. I knew it was a hit when my mother passed up a bakery chocolate cake in favor of this one. I hope it has a similar effect when you make it too!

Blood Orange Polenta Cake | Image: Laura Messersmith


