Fleur de Sel Caramels


Fleur de Sel Caramel | Image: Laura Messersmith

Fleur de Sel Caramel | Image: Laura Messersmith

Each week I follow along with Ina Garten (aka the Barefoot Contessa) and attempt to recreate one of her dishes in my tiny New York City kitchen. The catch? This is my version of cooking school and I’m making these recipes for the first time. I’ll share both my successes and um, challenges, along the way and we’ll see if I can keep up with the Contessa!

Episode: “Perfect Dinner Party”

The Set-up: Ina is creating a special but low-stress dinner party menu.

The Menu: Bay Scallop Gratin, Fleur de Sel Caramels, White Chocolate Bark

0:22 – Ina’s philosophy on dinner parties is that the host and hostess actually have fun, preferably while maintaining a thin veneer of effortlessness. Entertaining Pro Tip #1: go with no-cook appetizers, a make ahead entrée, and grown-up candy for dessert.

1:17 – I’ve noticed a bit of a theme here: gratin + candy = simple party. Totally works for me!

2:29 – Ina’s starting with Fleur de Sel Caramels which involves melting sugar until it turns, you guessed it: caramel colored.

3:04 – She warned us that when the warm cream and butter were added to the hot sugar it would bubble up violently, but seriously. That’s pretty scary!

4:51 – Pro Tip: Don’t forget the vanilla extract! Also, use a candy thermometer and keep a sharp eye on the caramel while it cooks.

5:22 – Entertaining Pro Tip #2: keep the party moving (literally) by having the courses in different places, which keeps things casual. Her table as usual is beautifully set.

6:33 – The caramel has cooled in the pan, now it’s time to form the candies by rolling each half up and then cutting the log into pieces. I wonder if you could just use a narrower pan to get a thicker layer and skip the rolling?

9:28 – Onward to candy number two: White Chocolate Bark. Ina’s tirade against methods of tempering chocolate is pretty amazing. “Forget it, I hate them all!”

10:57 – “I don’t even have the patience to read the instructions let alone do it. Forget it.” Anyone else think “forget it” is Ina-speak for “f**k it”?

11:40 – It’s fascinating to see her cook essentially the same recipe three different times because instead of a double boiler like last week she’s using the microwave.

12:33 – With Ina’s dislike (hatred?) of tempering chocolate I wonder how she discovered this method?

13:28 – This version of chocolate bark calls for roasted walnuts, roughly chopped, apricots, and cranberries.

14:15 – It’s probably obvious, but good to note that the chocolate needs to be warm and soft in order for the fruit and nuts to adhere to the base.

15:51 – Ina’s really on a roll with flouting convention wondering aloud “who really cares about white wine with fish…? I drink whatever I like.” We agree for sure on white & rose in the summer, red in the winter. She’s obviously a genius.

16:09 – We’ve moved on to shopping for No-Cook Appetizers. App #1: shards of Parmigiano Reggiano, full stop. App #2: Fig halves wrapped in smoked prosciutto. App #3: Briny olives. Done and done.

19:34 – Moving on to the main course: Bay Scallop Gratin in individual gratin dishes.

20:46 – Ina shares some more words of wisdom on dinner parties – make just a few special things, no one has a better time just because you made ton of different dishes.

21:52 – This topping is a bit different from the creamier gratin we saw last week and it seems to be a little bit more Italian in flavor – garlic, prosciutto, Pernod.

22:33 – She still uses panko bread crumbs which I like the texture of; more little edges to brown and crisp.

26:20 – Party time has arrived and Ina has the drinks set up on the porch, and now it’s time to put the Fleur de Sel Caramels and White Chocolate Bark in silver serving bowls so they’re ready later.

27:11 – Out on the porch for the no-cook apps and glasses of white wine and Pellegrino, then the Bay Scallop Gratin goes in the oven.

28:45 – She really has this down to a science. While the gratins bake and the guests are occupied with drinks Ina is in the kitchen setting up the coffee maker, slicing bread for dinner, and mixing a quick vinaigrette to go with the green salad.

29:58 – She’s such a pro. Everything looks gorgeous and elegant and everyone is laughing and talking. Perfect Dinner Party indeed.

Final Thoughts:
I have such a strong seafood dish = Pernod association that it's hard to imagine just drinking some. I wonder what it’s like in a cocktail?

Ina’s philosophy of dinner in three acts is a solid one. It does stink to be stuck at the table for hours, so her idea to have multiple locations is brilliant.

Ina said something truly shocking: she’s not a chocolate lover!? How? Why?!@

Fleur de Sel Caramel | Image: Laura Messersmith

Fleur de Sel Caramel | Image: Laura Messersmith

Lessons Learned:
I’m still getting the hang of working with sugar and I wouldn’t say that it’s in my comfort zone yet, but it’s been fascinating to experiment. Here’s what I learned from making Fleur de Sel Caramels….

Cooking – Is really nothing to be trifled with, the temperature of molten sugar is very, very high so it’s important to be extremely careful when handling it and have your oven mitts at the ready. Start the sugar/water mixture in a big, deep pot (bigger than seems really necessary) and use a smaller vessel for the cream. When the sugar is ready and has turned a color somewhere between maple syrup and wildflower honey, beautifully golden it’s time to add the hot cream mixture.

Do so very slowly and stir gently to avoid splashes. The caramel will bubble up and more than double in volume, so you’ll need the extra room.

Candy Thermometer – This is an essential tool and will help cook the caramel to your desired firmness. Cooking to Ina’s recommended temperature (248 degrees F) will result in soft pliable caramels, melt in your mouth and stretchy. If you’re looking for something a little firmer, then try cooking just a degree higher to 249 degrees F.

Prep & Timing – As with marshmallows, this is a recipe that rewards advance preparation. Do have the cream mixture measured and in the pan before you start cooking the sugar syrup. Do prepare the pan in advance and a trivet for cooling.

Battling the Sticky – A generous coating of non-stick spray and parchment are 1,000% required or risk losing your mind trying to get the caramel out of the pan.

Cooling & Shaping – I didn’t understand the need to roll the caramels so I used a 8 x 4 inch pan to get a thicker layer, no rolling required. I was also concerned about difficulty cutting the pieces, so I cooled to room temperature not in the refrigerator. Possibly a tactical error since the caramels were very soft and almost melty? I would cool in the fridge before cutting next time to make them a little more firm.

Fleur de Sel Caramel | Image: Laura Messersmith

Fleur de Sel Caramel | Image: Laura Messersmith

Small Kitchen Friendly?
Yes, amazingly. I used a 4 quart sauce pan, a 1 quart sauce pan, a liquid measuring cup, measuring spoons, a wooden spoon, and a heat proof pan. You’ll definitely need a candy thermometer and parchment paper. Non-stick spray will be helpful too, even though the recipe doesn’t call for it.

The Verdict:
If I had known how relatively easy it is to make Fleur de Sel Caramels I might have done so sooner. But, on the other hand with great power comes great responsibility and I’m not entirely sure I can be trusted with something so addictively delicious just yet. Sweet, of course, but these caramels are also gloriously creamy and rich with that necessary salty topping making them just that much more difficult to resist. You should definitely make them for everyone you know and let people think you’re some kind of culinary genius.

Fleur de Sel Caramel | Image: Laura Messersmith

Fleur de Sel Caramel | Image: Laura Messersmith

Scouting: Urban Space Holiday Markets

Urban Space Holiday Market @ Columbus Circle | Image: Laura Messersmith
Urban Space Holiday Market @ Columbus Circle | Image: Laura Messersmith
Christmas is almost here, Hanukkah is in full swing, and there are a whole host of gift-giving occasions to plan for in the New Year. One thing New York does so well at this time of year is put on the holiday glitz including the markets Urban Space organizes in several parks across the city. I love wandering through them with a cup of hot cider in hand and looking for new treasures.

They’re open until December 24th, so I took a walk down to 59th Street to scout the Columbus Circle location and help narrow the gifting options for your favorite foodie, home cook, or gourmand. So if you’re a little stumped and looking for inspiration here’s your guide to the vendors that caught my eye.

Holiday Market 4 smaller.jpg

Kitchen Equipment:
Brooklyn Slate Co. – What better way to showcase and serve cheese than a slate board? Slate serving boards perfectly balance the tactile rustic texture of stone with sleek clean lines. I’d looove a large one in classic black and I’m honestly wondering how many people I could reasonably buy one for without it being weird.

Tree to Art - I’m a sucker for a good wooden cutting board or serving platter and these pieces are gorgeous! I particularly like the cutting boards that retain their natural shape, bark and all.

Holiday Market 3 smaller.jpg

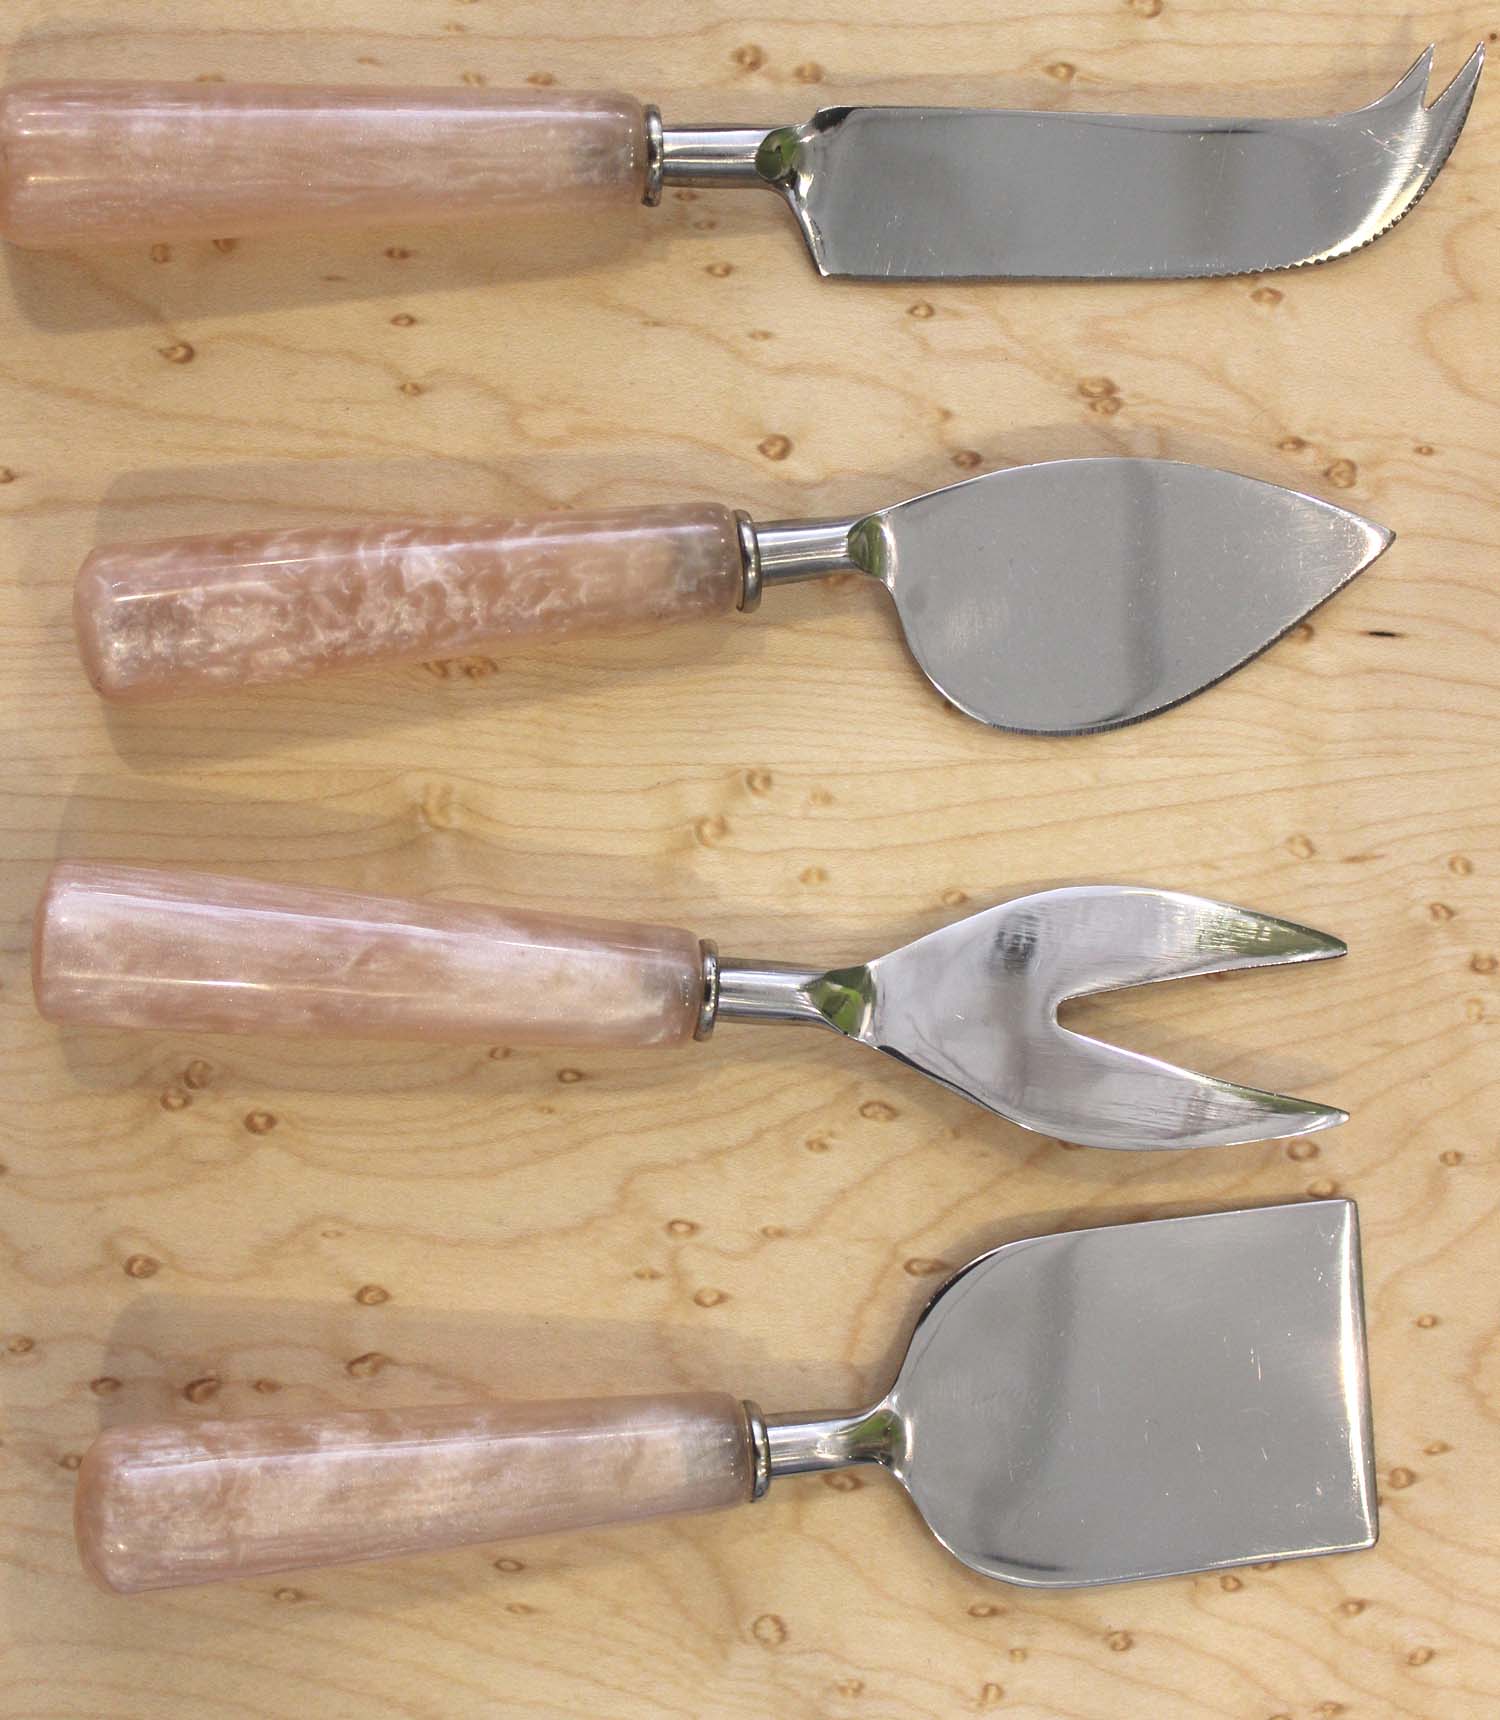
NY Cruet – I don’t normally go in for specialty serve ware pieces, but these cruets for oil and vinegar look so cool. Still, simplicity is the name of the game in my house – so the elegant curves of the La Mancha design top my list.

Natural Olivewood – More wood beautifully polished into bowls and utensils. Personally I use wooden spoons and spatulas all the time to protect my pots and pans from scratches and these are pretty enough to migrate from the stovetop to the tabletop.

Holiday Market 6.1 smaller.jpg

Specialty Food:
The Truffelist – Full Disclosure: I can’t stand truffles, too over-powering for this palate, but that doesn’t mean these products don’t make great gifts for the truffle lover in your life. Even knowing my preference, I was still tempted by the truffle honey – if anything could convert me to the funk, it’s sweets.

Raaka Chocolate – You know my love of chocolate, so I was excited to discover another local producer during my visit to the market. Raaka has a different take than the Mast Bros. but same attention to detail and design. They even have a factory tour too, so guess who's going to have to visit soon…

Holiday Market 5 smaller.jpg

Spices and Tease – If you have a tea drinker in your life, or someone who likes to spice things up this is the booth to pick up a house blend of loose leaf tea - apricot peach hibiscus sounds awesome - or a jar of specialty seasonings. If this is the mobile version of this New York shop I can’t wait to see the full array.

No Chewing Allowed – Fun fact: chocolate truffles intentionally echo the appearance of the fungi(?) and with these confections the name says it all, you’re going to want to savor as long as possible. A package of these French truffles would be a great gift for any sweet tooth who loves retro-cool style.

Holiday Market 2 smaller.jpg

Miscellaneous:
Pop Chart Lab – Maybe your foodie is less hands on, or s/he has a particular love of deep-tracks knowledge. This is the place to find a cool new piece of décor or some housewares that chart the intricacies of whiskey, coffee, beer, or kitchen knives. Teaching through design!

Scouting: Global Table

Global Table UWS | Image: Laura Messersmith

Global Table UWS | Image: Laura Messersmith
It only took a few weeks of living on the Upper West Side before I came across the Amsterdam Avenue location of Global Table and it quickly became one of my window-shopping destinations. After passing countless times – always glancing in to see what new temptation would be displayed – I finally had a moment cross the threshold.

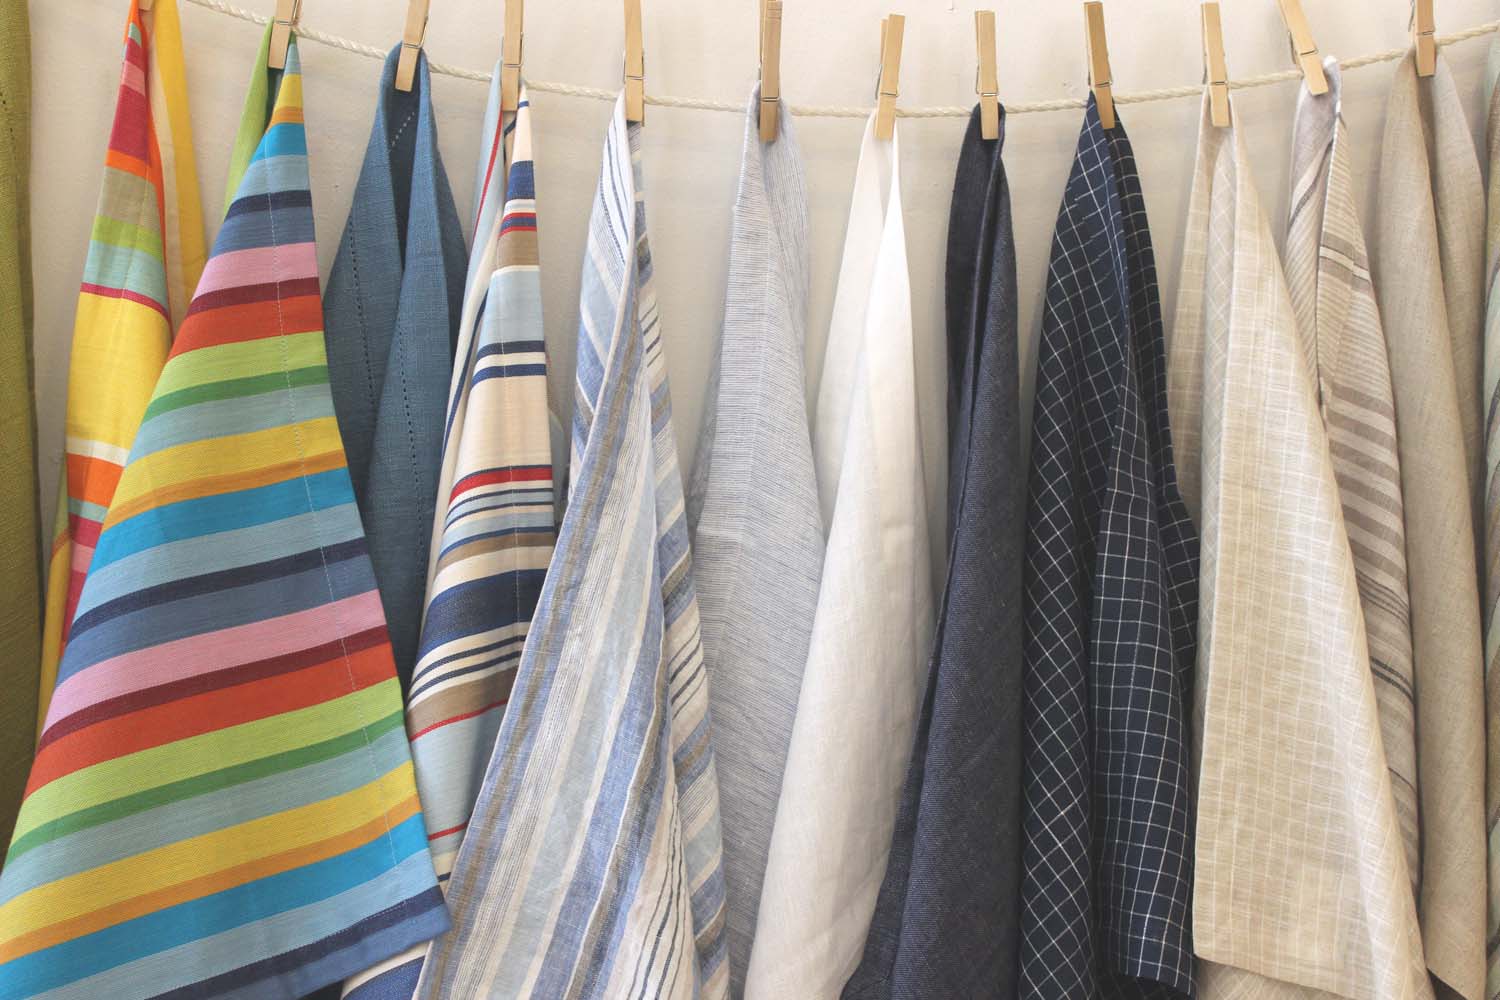
The shop is deceptive - practically everything is visible from the door, yet there are still surprises and discoveries to be made. Light and airy it’s surprising how many treasures are arranged on the long, low tables and tall shelves. Good thing my afternoon was wide open because I spent more than an hour exploring the beautiful linens, brightly colored porcelain vases, and imaginative tableware.

Nathalie Smith established the first location of Global Table in Soho in 1996, the UWS location followed in 2011. When I talked with her described it as the place where her “love of food and fashion converged.” She grew up in New York and credits her French mother’s great taste, “she always set a beautiful table,” and wonderful cooking with her enthusiasm for entertaining.

Global Table UWS | Image: Laura Messersmith

Global Table UWS | Image: Laura Messersmith

She further developed her eye by working as a fashion editor and stylist for magazines like Glamour and Elle. While traveling the world for photo shoots she noticed that her fellow editors would often stash great tableware finds in their suitcases and bring them back as souvenirs. When she was ready to leave the world of fashion the inspiration for her next venture was inspired by the experience.

Nathalie says she looks for clean lines, natural textures, and simple shapes eschewing anything too “design-y.” She tends to shy away from most patterns, although she says she’s becoming more open minded, and wants the pieces she offers to be both functional and beautiful calling herself “a very practical person.”

Global Table UWS | Image: Laura Messersmith

Global Table UWS | Image: Laura Messersmith

Whether apartment space is constrained or not that’s an M.O. I can get behind 100%. Any of the items in Global Table would look beautiful displayed as décor, but can also be pulled down off the shelf and pressed into service. No lilies of the field here!

I had a hard time walking out empty-handed and brought home a beautiful charcoal colored bowl with a periwinkle blue interior from the store’s Middle Kingdom line. I’m already plotting my next acquisitions and future wedding, house-warming, and birthday presents. After all, I’m just taking Nathalie’s lead by “buying what I would like in my home.”

Global Table | Soho: 107 Sullivan Street, NYC | UWS: 471 Amsterdam Avenue, NYC Hours: Mon-Sat 12-7 pm, Sun 12-6 pm

Global Table UWS | Image: Laura Messersmith

Global Table UWS | Image: Laura Messersmith

Global Table UWS | Image: Laura Messersmith

Global Table UWS | Image: Laura Messersmith

Global Table UWS | Image: Laura Messersmith

Global Table UWS | Image: Laura Messersmith

Cranberry Orange Scones

Ina Garten, aka The Barefoot Contessa, and her cookbooks are already a source of guidance for basic recipes but her show serves as my inspiration for more adventurous culinary efforts.  I’ll follow along with an episode of the Barefoot Contessa, then choose a recipe to try in my tiny New York kitchen. We’ll see if I can keep up with the Contessa!

Cranberry Orange Scones | Image: Laura Messersmith

Cranberry Orange Scones | Image: Laura Messersmith

Episode: “Jeffrey Home Alone”

The Set-up: I think the Episode title says it all….

The Menu: Parker’s Beef Stew, Espresso Ice Cream,  Cranberry Orange Scones

0:19 – Ina starts us off by making calling in to question Jeffrey’s ability to assemble a non-cookie based meal when she’s away from home. Zing!

1:07 – Despite her jokes about Jeffrey eating nothing but dessert, she is making him Espresso Ice Cream. First step: scald the milk. Pro Tip #1: Ina describes this process as heating the milk until the edges begin to bubble and steam rises, but doesn’t come to a boil. This seems like a really subtle difference, I’d have to watch it really carefully.

1:34 – Ina has the egg yolks and sugar beating in her Kitchen Aid Stand Mixer and adds the scalded milk to the mixture. I’m glad to see that even Ina Garten has trouble pouring into the bowl of a mixer – a thoughtful friend would get her the pouring shield attachment as a gift…

3:39 – The ice cream custard has been heated and thickened – now it’s flavoring time! Quite a bit of ground espresso, a little Kahlua, and some vanilla so that Jeffrey will be buzzed either way.

4:44 – Next we’re out in the garden to gather rosemary and bay leaves (naturally both are readily available) for Parker’s Beef Stew – named for former Barefoot Contessa chef, Parker Hodges.

5:10 – Step one of Parker’s Beef Stew is to marinate the beef in cabernet sauvignon with smashed garlic and a bay leaf for a few hours.

9:01 – The beef pieces are done marinating and it’s time to start cooking. Ina drains the beef, but retains the marinade for cooking later. I always thought that was a no-no, but I doubt she’s trying to off Jeffrey with beef stew. Not terribly subtle.

10:13 – While Ina sautés the beef (tossed in flour) and chops up onions, carrots, potatoes and mushrooms she offers us Entertaining Tip #1: People often expect an elegant dish, but something causal like beef stew for a dinner party can be a welcome surprise. And, it has the added benefit of being a dish that improves with time.

11:24 – I think Ina’s having one of those days in the kitchen – she burnt her finger when heating the ice cream mixture earlier and now she just flinched away from the hot stew pan. Ina, I feel your pain, sometimes it all just seems to go sideways!

12:36 – She didn’t really explain why, but the stew making process involves two large pots – one to sauté everything in, which she deglazes with the marinade, and one to roast in the oven. I’m trying not to be jealous of her pots. (That’s not a double entendre.)

14:16 – The stew goes into the oven and the Espresso Ice Cream mixture goes into the ice cream maker for phase 2 of the freezing process. I don’t own an ice cream maker and I can’t honestly see myself using one – Häagen-Dazs is way easier.

19:08 – Ina is chopping chocolate covered espresso beans to mix into the Espresso Ice Cream – I love a little texture in my ice cream, so I am 100% on board with this addition.

20:22 – We cut to Jeffrey driving home. He remarks that Ina usually leaves him a ton of food when she has to be away and that it’s “really tough being Mr. Garten.” Yes, that espresso ice cream looks like torture.

21:17 – Back at the Garten homestead Ina’s making one last thing: Cranberry Orange Scones. She says Jeffrey will be “really spoiled” so they’re on the same page when it comes to the care and (literal) feeding of her husband. I can’t get too snarky because I actually think it’s really sweet.

22:35 – Scone time and Pro Tip #2: Keep the butter very cold and dice it into small cubes – this keeps the small pieces of butter together and when the heat of the oven hits them they release steam which makes for a light scone. This is so key for all pastries and biscuits.

22:48 – Pro Tip#3: Keep all the other ingredients cold (eggs, milk) to help the butter stay cold.

23:03 – Ina recommends dried cranberries for this recipe since they’re a little sweeter. I’m also guessing that they’re 100% easier to find in the grocery store in months other than November.

24:05 – Ina rolls out the Cranberry Orange Scones dough and says that she’ll bake a few now and freeze the rest to bake later. Having fresh scones just waiting to be baked is a level of domestic mastery I aspire to…

27:23 – The scones are out of the oven and Ina’s making a quick glaze out of orange and confectioner’s sugar. They look amazing.

29:08 – Ina packs her overnight bag and is out the door with a parting zinger about Jeffrey starting with the ice cream and a flip of her perfectly periwinkle pashmina.

29:39 – Fast forward to Jeffrey digging in to the Espresso Ice Cream. The phone rings and it’s Ina inquiring about the chicken stew. Jeffrey plays right into her hands, complimenting its deliciousness. BUSTED! But all is forgiven as long as he saves a little for her. The End!

Final Thoughts:

All the recipes Ina made took a few steps, but also seem forgiving on the serving timing – trying to serve everything at the exact moment it’s ready is stressful!

Some good tips re: the temperature of the ingredients – such an important element in baking – write Pro Tip #2 down or commit it to memory!

The Gartens make me laugh – they obviously know each other’s quirks and yet the teasing gentle even after 35+ years of marriage.

Cranberry Orange Scones | Image: Laura Messersmith

Cranberry Orange Scones | Image: Laura Messersmith

Lessons Learned:
The combination of cranberry and orange is a favorite flavor combination for Mike’s grandmother, and since we were driving out to celebrate her 93rd birthday last weekend I decided to make Cranberry Orange Scones. I’ve never made a scone before, but these are fairly straightforward and they came out beautifully.

I do have a tendency to roll out dough too thinly, so my Cranberry Orange Scones were a little flatter than Ina’s, but the texture was light and the orange flavor really came through. Ina often talks about garnishing with an ingredient, so I took a page from her playbook and I did make one very small change by putting a little of the orange zest I had left into the glaze. The glaze really does add a little extra punch of orange flavor, so don’t skip this step.

This recipe is fairly small kitchen friendly. I used one large mixing bowl, two sheet pans and basic kitchen tools, like measuring cups, spoons and a spatula for the dough, and then another small bowl and a teaspoon for the glaze.

The recipe does require enough counter space for rolling out the dough, and assumes that you have a rolling pin as well as a biscuit cutter. I bought a set of four from the housewares section of Zabars for about $10, but if you don’t feel like springing for them the rim of a pint glass is about the right size and in a pinch could also function as a rolling pin.

Lastly, don’t hate me, but I actually do have a Kitchen Aid Stand Mixer, compliments of our wedding shower, and while it's too big to have designated counter space, it did come in handy here. The Cranberry Orange Scones dough is quite thick with all those cups of flour, so if you’re stirring by hand prepare for a work out. 

The Verdict: I had quite a few taste-testers since the house was full of family and the Cranberry Orange Scones definitely went fast as people came back for seconds, so prepare to make extras if you have a large group. These really were easy and given the reaction of the crowd I think they’d be well received if I made them again. Give these a shot for your next brunch or hostess gift.