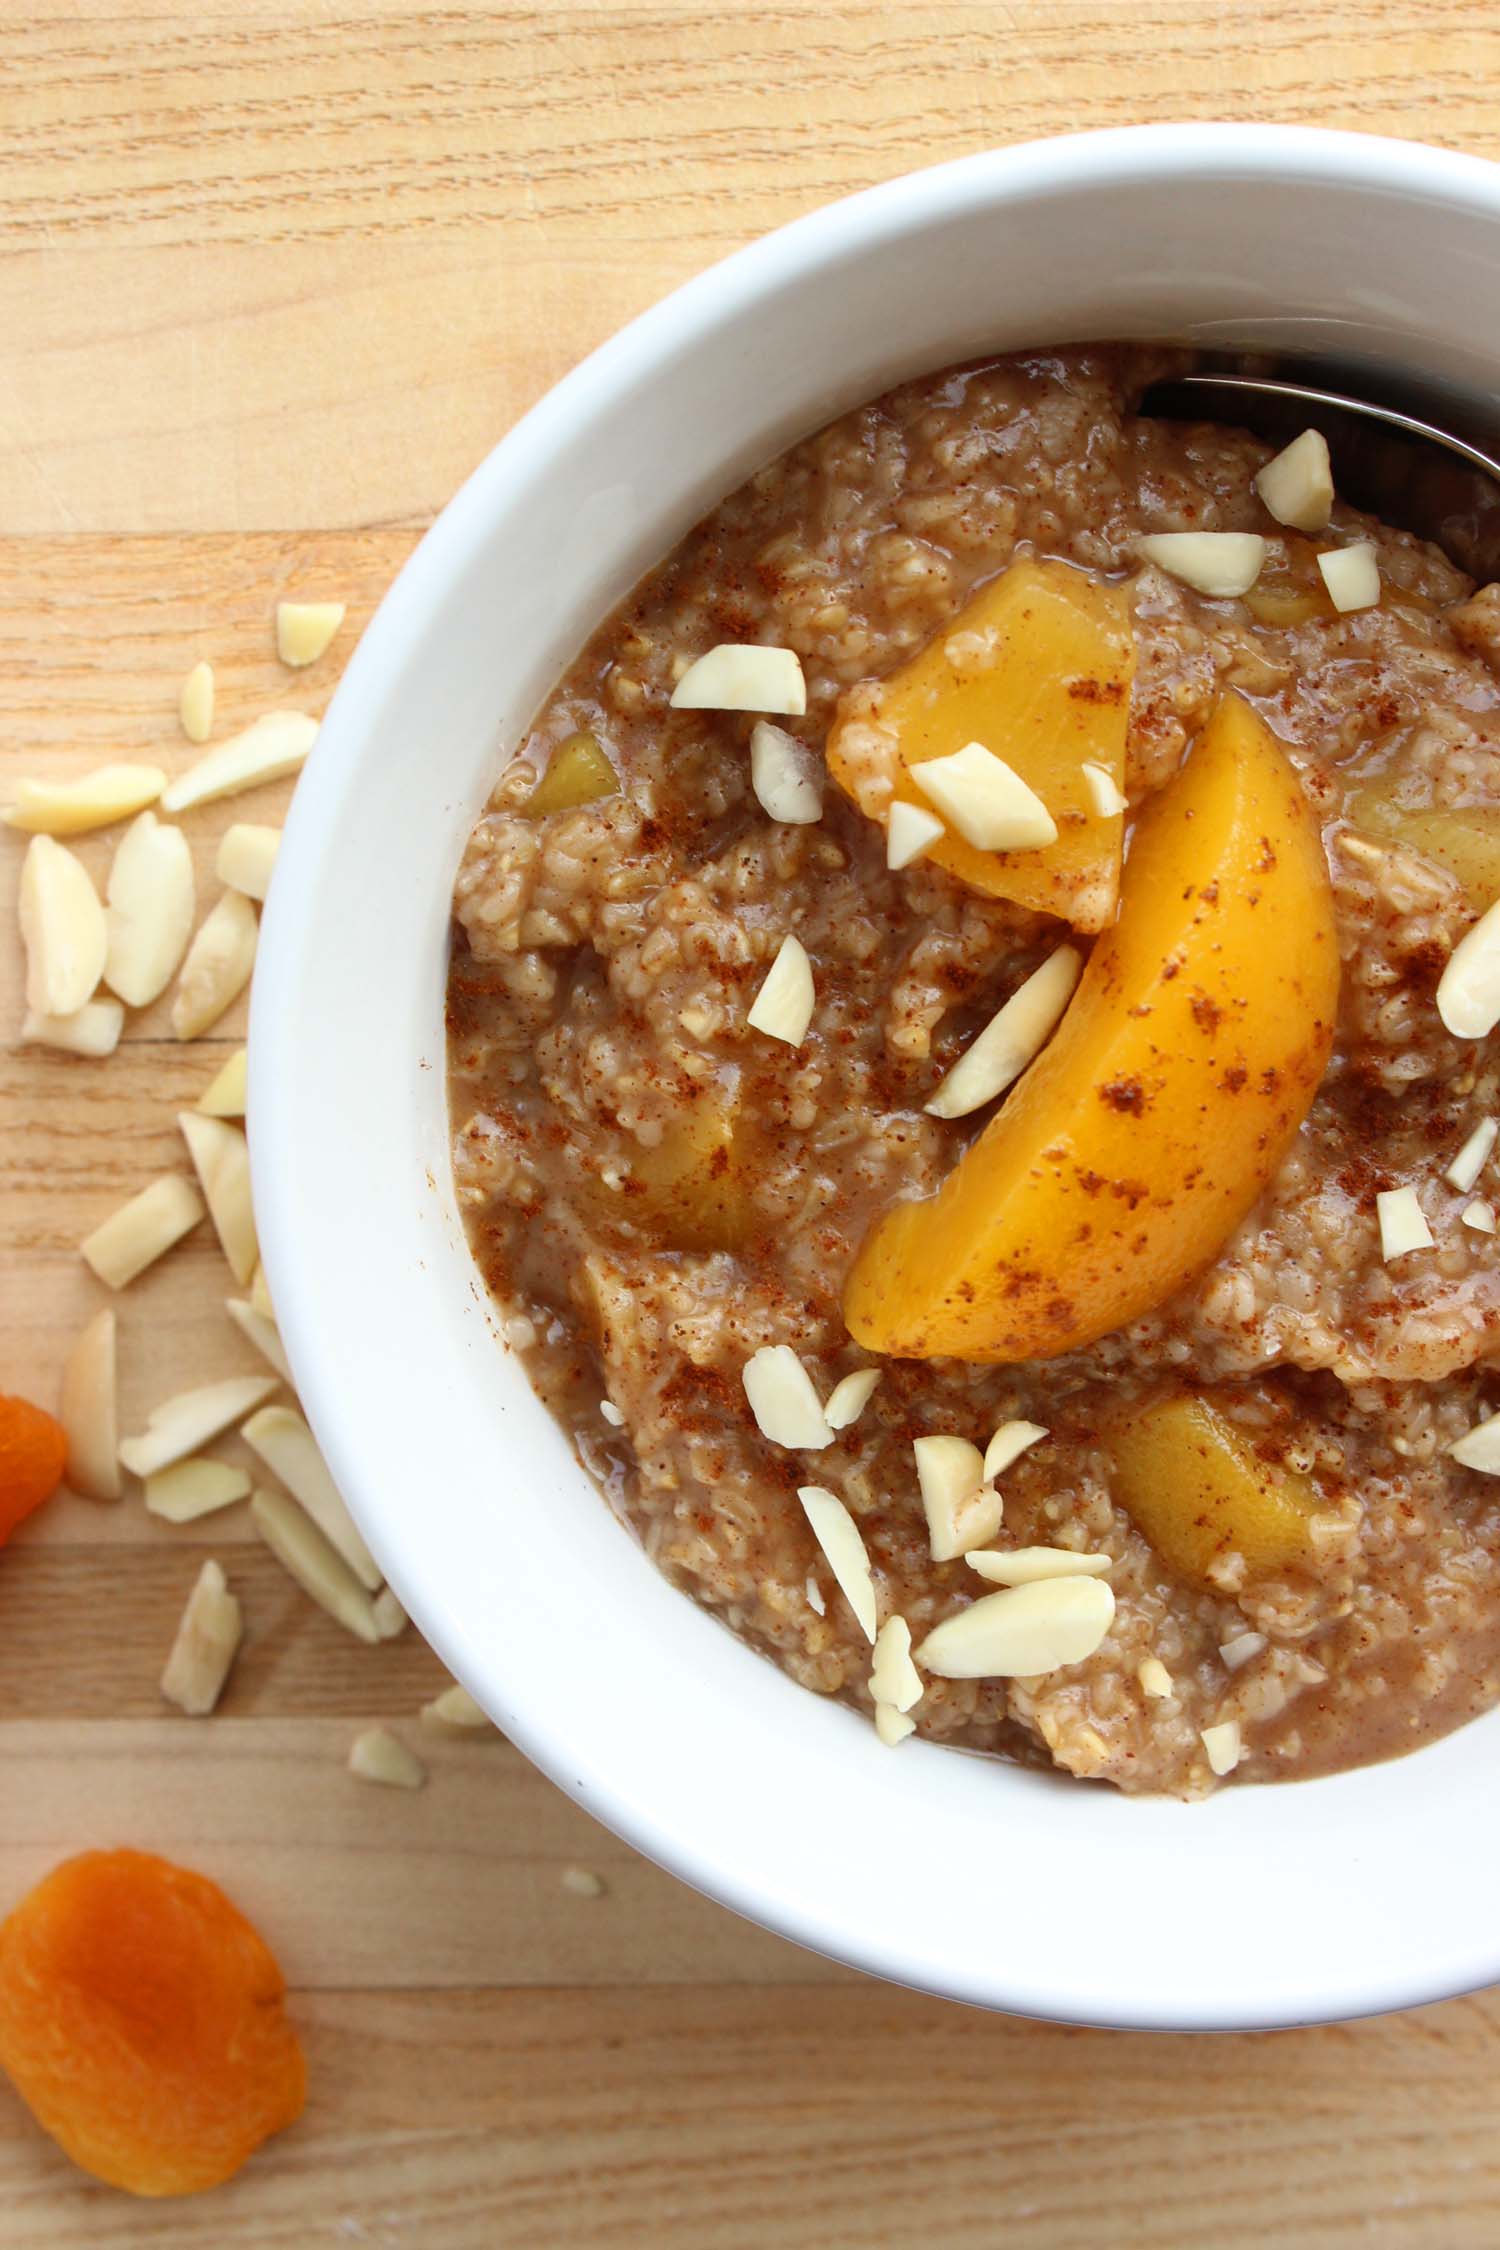
Apricot Peach Oatmeal

Apricot Peach Oatmeal

It’s practically May and while the afternoons have been beautifully warm and sunny perfect for people watching in the park it’s still pretty chilly on my morning walks with Maddie-pup. Not that I really need an excuse to continue my morning oatmeal ritual well into spring, especially now that I’ve begun to mix it up with some alternate summery fruits.

It’s still early for any stone fruits to be in season, but I’ve found that jarred peaches in 100% fruit juice work well in a pinch and let me pretend that it’s July without any of that pesky peeling to do.

Side Note: elementary-aged me thought that since raisins = dried grapes and prunes = dried plums, that logically apricots must be dried peaches. It took me years to discover that they were a related, but totally different fruit. I can’t be the only one, right? More info on stone fruit here compliments of Food52.

In any case, I like the contrast in textures of the dried apricots and crunchy almonds against the warm oatmeal and sweet peaches. I’ll be back to apples and cranberries in the fall, but for now this bowl of golden colors is my go-to breakfast and it could be yours too!

Apricot Peach Oatmeal

Apricot Peach Steel-cut Oatmeal (yield: 4 servings)

Ingredients:
2 cups 100% apple juice
1 cup water
1 cup McCann's Quick & Easy Steel Cut Irish oats
1 teaspoon ground cinnamon
1/2 teaspoon ground all spice
1/4 teaspoon ground cloves
1/4 teaspoon kosher salt
1/4 cup slivered almonds
1/3 cup diced dried apricots
1 cup (1 medium) diced fresh or jarred peaches

Instructions:
Heat the apple juice and water in a medium sauce pan over high heat and bring to a simmer. Add the ground cinnamon, allspice, cloves, and kosher salt to the hot apple juice mixture.

Next, sprinkle the Irish steel cut oats into the spiced apple juice and swirl the pan to gently stir. Reduce the heat to low.

Meanwhile, drain the extra juice from the peach slices and dice into 1/4 inch pieces. Chop the dried apricots and after the oats have cooked for 1 minute, add them to the pan.

Simmer the oats and apricots for another 3-4 minutes until the oats are al dente, stirring occasionally with a rubber spatula to prevent the oatmeal from sticking to the bottom of the pan. In the last minute of cooking add the diced peaches and stir into the cooked oats.

Serve immediately and top with the slivered almonds and an additional sprinkle of cloves.

Apricot Peach Oatmeal 1 smaller.jpg

Small Kitchen Friendly?
This is super simple and definitely small kitchen friendly. I used a small sauce pan, a small cutting board, chef’s knife, dry and liquid measuring cups and measuring spoons. A rubber spatula will also be your best friend when it’s time to stir and serve!

The Verdict:
Mike isn’t fond of oatmeal, so this is something I cook purely for myself and to my own taste every morning. I personally like the depth of spice that comes from layering cinnamon, allspice and cloves - and what’s a little spice without the accompanying sweet (but not too sweet) fruit and apple juice? Thanks to my own handiwork over the stove I’m now one of those people who looks forward to eating my oatmeal. You’ve been warned: there’s rarely a day when I’m not wishing for “seconds.”

Apricot Peach Oatmeal

Lemon Risotto Carbonara with Green Peas

Lemon Risotto Carbonara with Green Peas | Image: Laura Messersmith

Lemon Risotto Carbonara with Green Peas | Image: Laura Messersmith

I absolutely loooove risotto and pasta carbonara is one of my all-time favorite things to order when I’m in Italian restaurants. When you think about it there are some parallels – a silky, rich sauce; deceptively simple preparations; classic Italian fare.

I’m not sure exactly when I started thinking about combining the two dishes, but I know that the source of the lemon was a glorious lunch at Isabella’s a few months ago. Lemon gnocchi prepared carbonara style with a crispy poached egg and thickly cut pieces of bacon - heaven! A plan was hatched and I started practicing my risotto and carbonara skills with this dish in mind. Side note: I’m also dying to know how they made that egg so crispy but still soft in the middle….

Purists will surely shake their heads over the addition of lemon and peas to something called carbonara, but I’m banking on the risotto - which has many, many variations - as my cover for taking liberties. This recipe is easily a meal in itself perfect with a little salad and a glass of white wine.

Lemon Risotto Carbonara with Green Peas | Image: Laura Messersmith

Lemon Risotto Carbonara with Green Peas | Image: Laura Messersmith

Lemon Risotto Carbonara with Green Peas (serves: 4 entrée portions)

Ingredients:
2 cups Arborio rice
7-8 cups chicken stock
1/4 cup white wine
1/4 cup lemon juice
2 teaspoons lemon zest
1/3 pound slab bacon
2 tablespoons unsalted butter
2 teaspoons olive oil
3 eggs, beaten
1 cup parmesan cheese, grated
10 ounce package frozen green peas
1/2 teaspoon freshly ground black pepper

Instructions:
Heat the chicken stock in a medium sauce pan until just below a simmer, reduce heat to keep the stock warm, but not boiling.

Meanwhile, dice the slab bacon into 1/4 inch strips and sauté in a large dutch oven over medium-low heat until crispy and browned, 7-10 minutes. Remove the bacon to a paper towel lined plate to drain.

Reduce the heat to low and melt the olive oil and unsalted butter into the remaining bacon fat. Sprinkle the Arborio rice into the dutch oven and stir to coat in the melted butter and olive oil. Cook the rice for 2-3 minutes, stirring occassionally before adding the white wine and lemon juice (zest the lemon before juicing!).

Once the white wine and lemon juice have been absorbed and the pot has been deglazed, add 1 ladle of the hot chicken stock to the rice. Stir until the stock is almost completely absorbed before adding another ladleful. While the rice is cooking, beat the eggs in a small bowl and grate the parmesan cheese.

Continue the process of adding the stock and stirring. The risotto is done when the rice is al dente, about 20-25 minutes, and creamy sauce has formed. The consistency should be thick, but not stiff, almost pourable, but not runny. It’s a fine line!

When the last ladle of chicken stock has been absorbed turn off the heat and stir in the beaten eggs and grated parmesan cheese until well combined. The sauce will thicken slightly and turn a pale yellow.

Finally, while the risotto is still quite warm stir in the frozen peas (no need to defrost) and give it a final seasoning of the lemon zest and black pepper. Serve immediately with a sprinkle of the crispy slab bacon pieces. Enjoy!

Inspired by Isabella’s and written with reference to Risotto Carbonara by Kitchen Sink Diaries and Spaghetti Alla Carbonara by Tyler Florence.

Lemon Risotto Carbonara with Green Peas | Image: Laura Messersmith

Lemon Risotto Carbonara with Green Peas | Image: Laura Messersmith

Small Kitchen Friendly?
Yes, even though you will need two pots. I used a 2 quart sauce pan and surprise surprise, my trusty blue 5.5qt Le Creuset French oven. I also needed a small cutting board, chef’s knife, measuring cups, wooden spatula, and microplane grater (excellent for both the cheese and the lemon zest.)

The Verdict:
Carbonara can sometimes be a little much - egg, AND parmesan, AND bacon - so for me the lemon and green peas help balance the richness and reduce my guilt over devouring a healthy portion. The other part I like about cooking this recipe is that while Lemon Risotto Carbonara is fairly easy, there’s just enough fussing (not too much, after all this is practically a one-pot meal) to inspire my inner chef. Cooking risotto takes some practice and if you need additional advice on how to master the technique I’d recommend this great guide on The Kitchn.

Lemon Risotto Carbonara with Green Peas | Image: Laura Messersmith

Lemon Risotto Carbonara with Green Peas | Image: Laura Messersmith

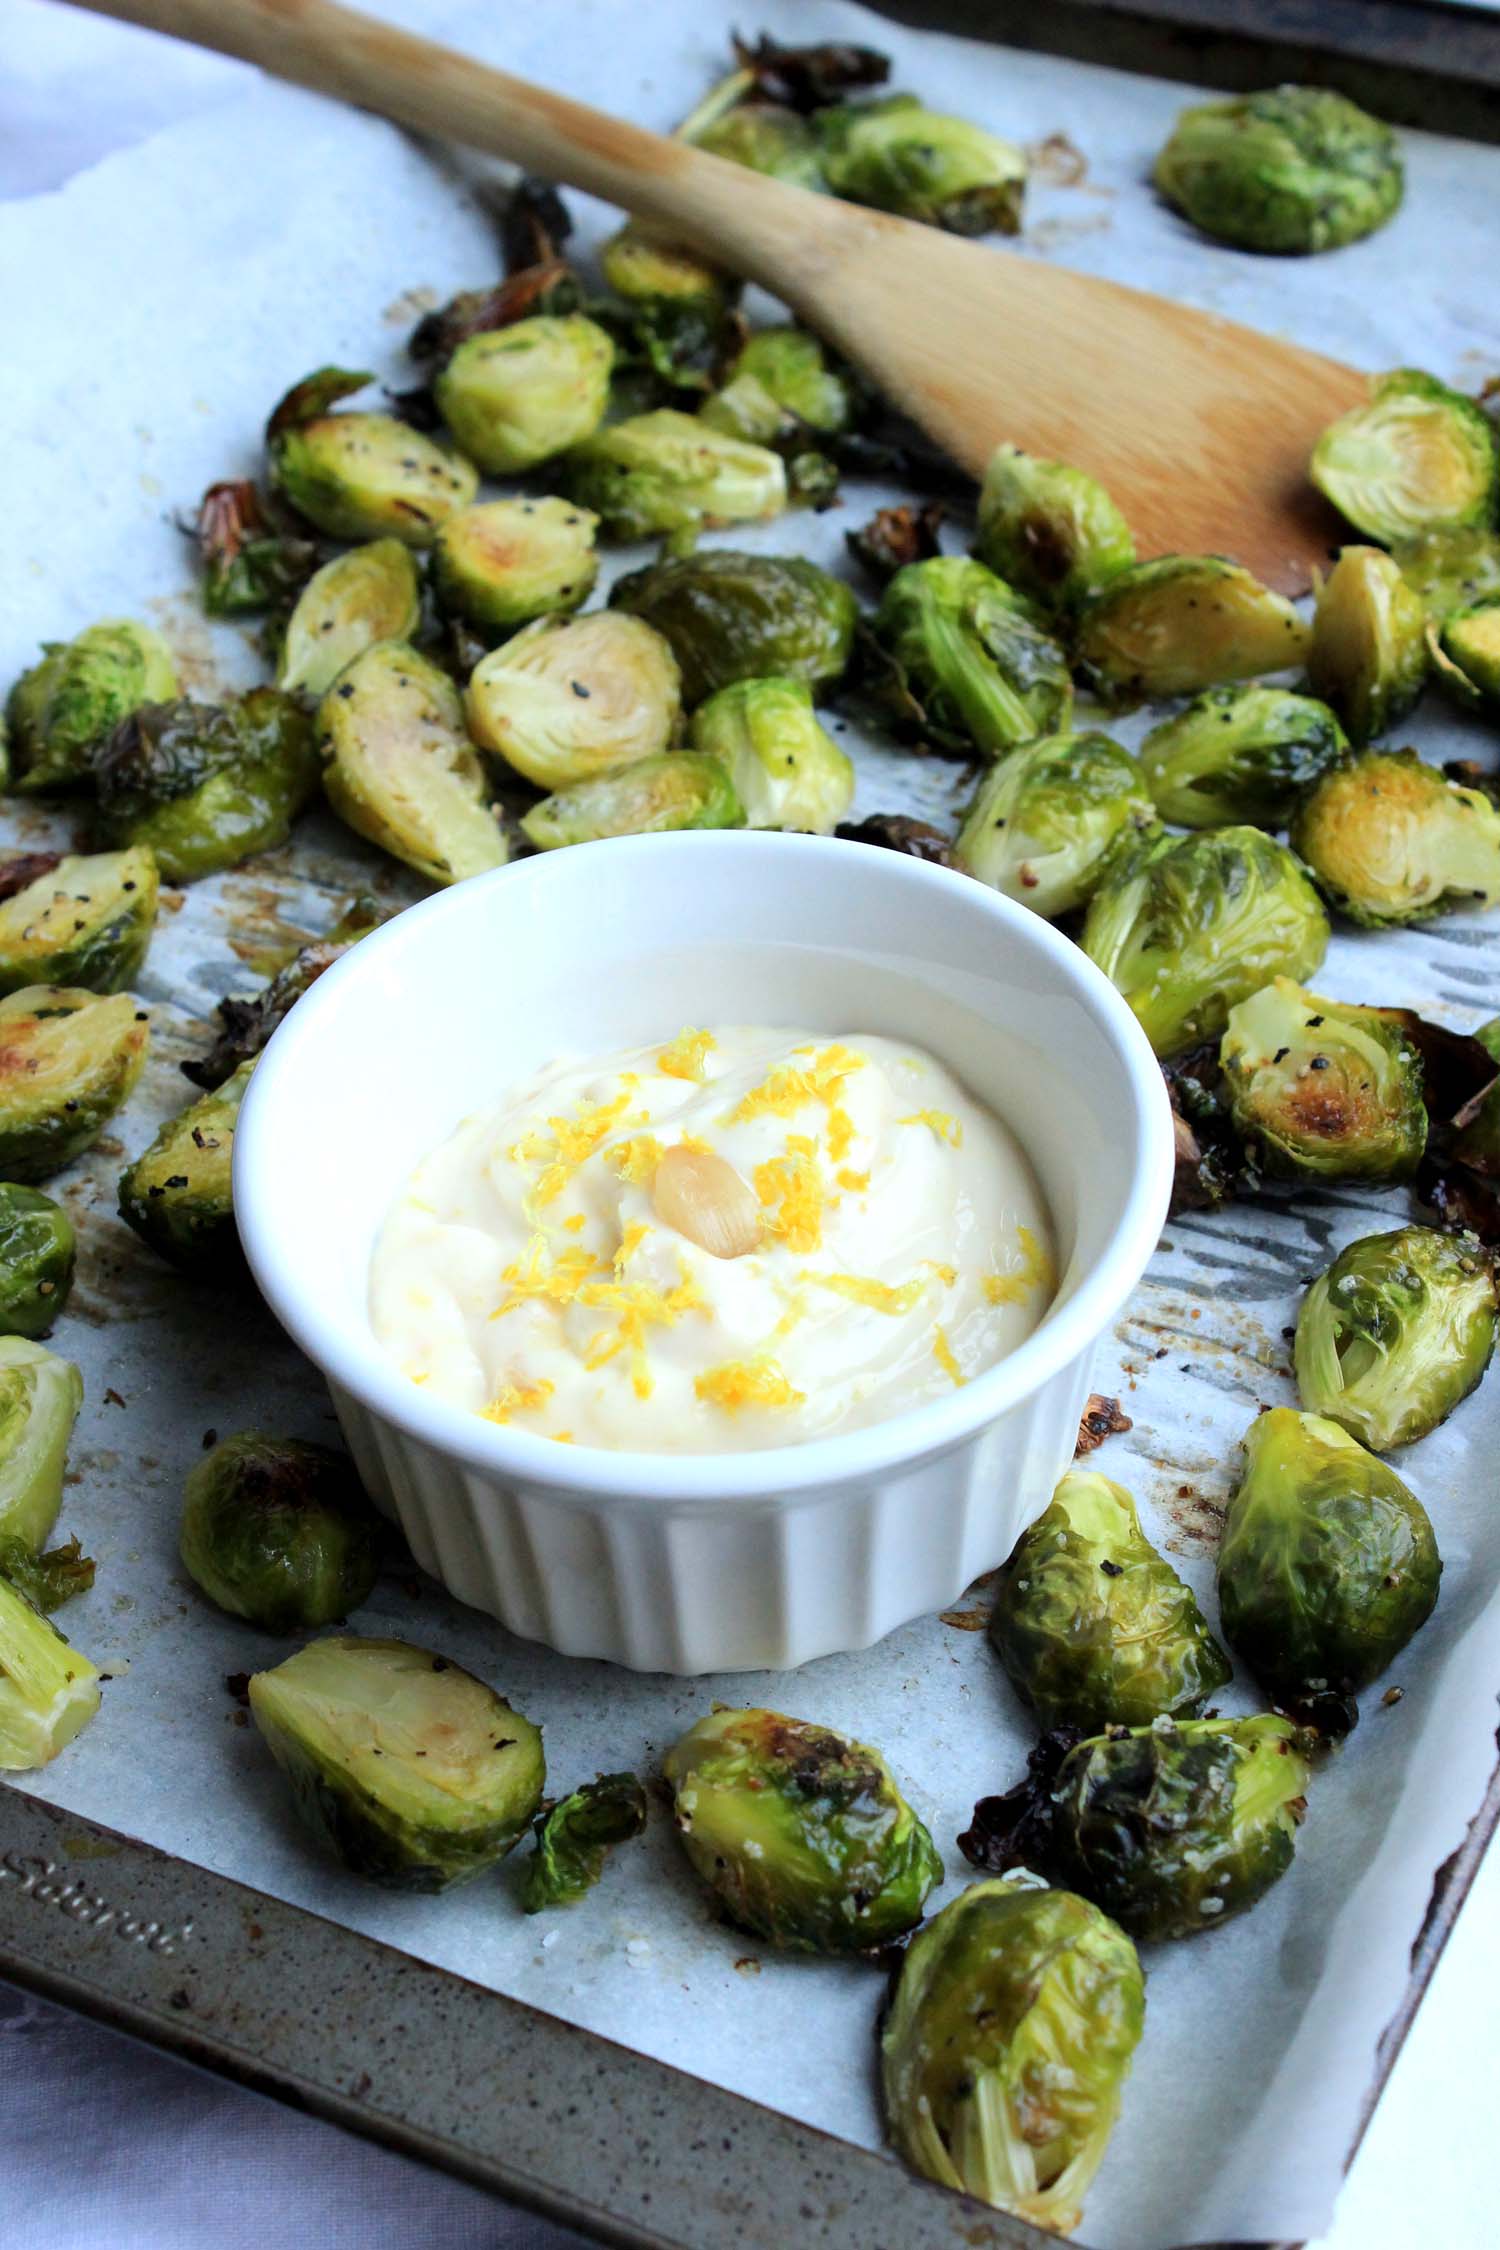
Crispy Brussels Sprouts with Roasted Garlic & Lemon Aioli

Crispy Brussels Sprouts with Roasted Garlic & Lemon Aioli | Image: Laura Messersmith

Crispy Brussels Sprouts with Roasted Garlic & Lemon Aioli | Image: Laura Messersmith

Roasted Brussels sprouts are our all-time favorite way to eat them and given the number of times they make an appearance on this blog as a side-dish that’s probably not a surprise. This recipe transforms them from a supporting player into a unique appetizer with the addition a lemon and garlic aioli.

Raw garlic is harsh and acidic, not something I’m that excited about eating, but roasting it in the oven transforms it into something mellow and rich. Great just spread on toasted bread, but even better when combined with lemon zest in this aioli and used as a special dip for the roasted Brussels sprouts.

As you trim and halve the sprouts make sure to gather any loose leaves that come away and include them on the baking sheet. They get super crispy and delicious – Mike looooves them and I bet you will too.

Crispy Brussels Sprouts with Roasted Garlic & Lemon Aioli | Image: Laura Messersmith

Crispy Brussels Sprouts with Roasted Garlic & Lemon Aioli | Image: Laura Messersmith

Crispy Brussels Sprouts with Roasted Garlic and Lemon Aioli (yield: 4 servings)

Ingredients:
1 1/2 pounds fresh Brussels sprouts
1 whole head garlic
2 tablespoons olive oil
2 teaspoons lemon zest
3 teaspoons lemon juice
1/3 cup light mayonnaise
kosher salt
freshly ground black pepper

Instructions:
Pre-heat the oven to 400 degrees F.

Trim the top off the whole head of garlic, about 1/4 inch, to expose the cloves. Drizzle 1 teaspoon olive oil over the tops of the exposed garlic cloves and loosely wrap the head of garlic in aluminum foil. Place the foil packet in the oven and roast at 400 degrees F. for 40-60 minutes until the garlic cloves are soft and deeply golden.

Meanwhile, trim the ends from the Brussels sprouts and cut in half lengthwise. Spread the Brussels sprout halves and any stray leaves on a parchment paper lined baking sheet and drizzle with the remaining olive oil. Sprinkle generously with kosher salt and pepper. Reduce the oven temperature to 350 degrees F. and roast the Brussels sprouts for 30 minutes, turning halfway through the cooking time. The sprouts will be slightly crispy and browned on the exterior leaves and al dente in the center.

Allow the garlic cool until easily handled before using a butter knife to remove 5-6 medium-sized cloves of roasted garlic from the paper. Place the garlic in the bowl of a small food processor with the lemon zest, lemon juice, mayonnaise, 1/4 teaspoon kosher salt, and 1/8 teaspoon black pepper.

Mix on low speed until the garlic is smooth and the ingredients are well combined. Serve chilled or at room temperature with roasted Brussels sprouts.

Partially adapted from Roasted Garlic recipe by The Kitchn.

Crispy Brussels Sprouts with Roasted Garlic & Lemon Aioli | Image: Laura Messersmith

Crispy Brussels Sprouts with Roasted Garlic & Lemon Aioli | Image: Laura Messersmith

Small Kitchen Friendly?
Yes, indeed. I used a chef’s knife, medium cutting board, one baking sheet, and a small food processor. I also used a microplane grater, measuring cups and spoons, parchment paper and aluminum foil.

The Verdict:
I first made this combination for a party this winter and I was shocked how fast it went. Three batches of sprouts later the small amount of remaining aioli was finding its way onto stray pieces of baguette as a spread. There were other cheesy, meaty options on the table too, so if that isn’t a strong endorsement I don’t know what is. It’s really simple to make and I like being able to offer a healthier option that still tastes amazing. 

Crispy Brussels Sprouts with Roasted Garlic & Lemon Aioli | Image: Laura Messersmith

Crispy Brussels Sprouts with Roasted Garlic & Lemon Aioli | Image: Laura Messersmith

Black Forest Crumble Bars

Black Forest Crumble Bars | Image: Laura Messersmith

Black Forest Crumble Bars | Image: Laura Messersmith

A pure chocolate dessert is my first love, followed shortly after by treats involving chocolate and pretty much any other ingredient. Pairing semi-sweet or dark with an acidic fruit like orange, raspberry, or cranberry is one of my favorite combinations and for this bar I was inspired by classic Black Forest cake (or Schwartzwald Kirch Kuchen if you prefer the German.) This bar is essentially a sweet shortbread base layered with deep, dark cherry jam and semi-sweet chocolate – so simple to make but with impressive results.

I prefer jam or preserves - it’s easier to spread and has a little more texture than jelly – and both Polaner and Bonne Maman make wonderful versions with black cherries. I like to mix in a little fresh lemon juice to amp up the tang of the fruit and draw a sharper contrast with the sweet shortbread base. One of the best parts of this recipe is that it comes together so quickly with amazing results and 99% of the ingredients are probably already in your pantry or fridge right now.

Black Forest Crumble Bars | Image: Laura Messersmith

Black Forest Crumble Bars | Image: Laura Messersmith

Black Forest Crumble Bars (yield: 24 squares)

Ingredients:
2 1/2 cups all purpose flour
1 cup granulated sugar
3/4 cup slivered almonds (optional)
1/2 teaspoon kosher salt
2 sticks unsalted butter, room temperature
1 egg, beaten at room temperature
12 ounces (1 package) semi-sweet chocolate chips
12 ounces cherry jam, room temperature
1 teaspoon fresh lemon juice (optional)
Non-stick spray

Instructions:
Preheat the oven to 350 degrees F.

In a large mixing bowl, stir together the room temperature butter and sugar before adding the egg. Mix in the flour, slivered almonds (if using), and kosher salt until the mixture forms large crumbles.

Reserve 1 cup of the crumbles and evenly press the remaining mixture into the bottom of a greased 9x13 inch pan with a rubber spatula or damp fingers.

If the cherry jam is too sweet (your call!), mix with 1 teaspoon freshly lemon juice before spreading over the bottom crust. Sprinkle the semi-sweet chocolate chips over the cherry jam and then top with the reserved shortbread crumbles.

Bake at 350 degrees F for 40-45 minutes until the jam and chocolate are bubbling and the crumbles are golden brown.

Cool completely in the pan before slicing into bars and serving.

Inspired by and adapted from Hershey’s Holiday Red Raspberry Chocolate Bars.

Black Forest Crumble Bars | Image: Laura Messersmith

Black Forest Crumble Bars | Image: Laura Messersmith

Small Kitchen Friendly?
Yes, 100%! You’ll need one large mixing bowl, measuring cups and spoons, a rubber spatula, a large spoon, and a 9x13 inch glass baking pan. I cut the recipe in half and used an 8x8 inch glass pan instead, but everything else is the same.

The Verdict:
Cherry, chocolate, and almond are a match made in heaven. I love the combination of the tart fruit flavor with the richness of the buttery crumble and sweet, but not too sweet chocolate. Besides being ridiculously good they also come together quickly with very little fuss and minimal ingredients – good news when you want a dessert sure to please, but don’t have a lot of time. Please make these, you won’t be sorry!

Black Forest Crumble Bars | Image: Laura Messersmith

Black Forest Crumble Bars | Image: Laura Messersmith