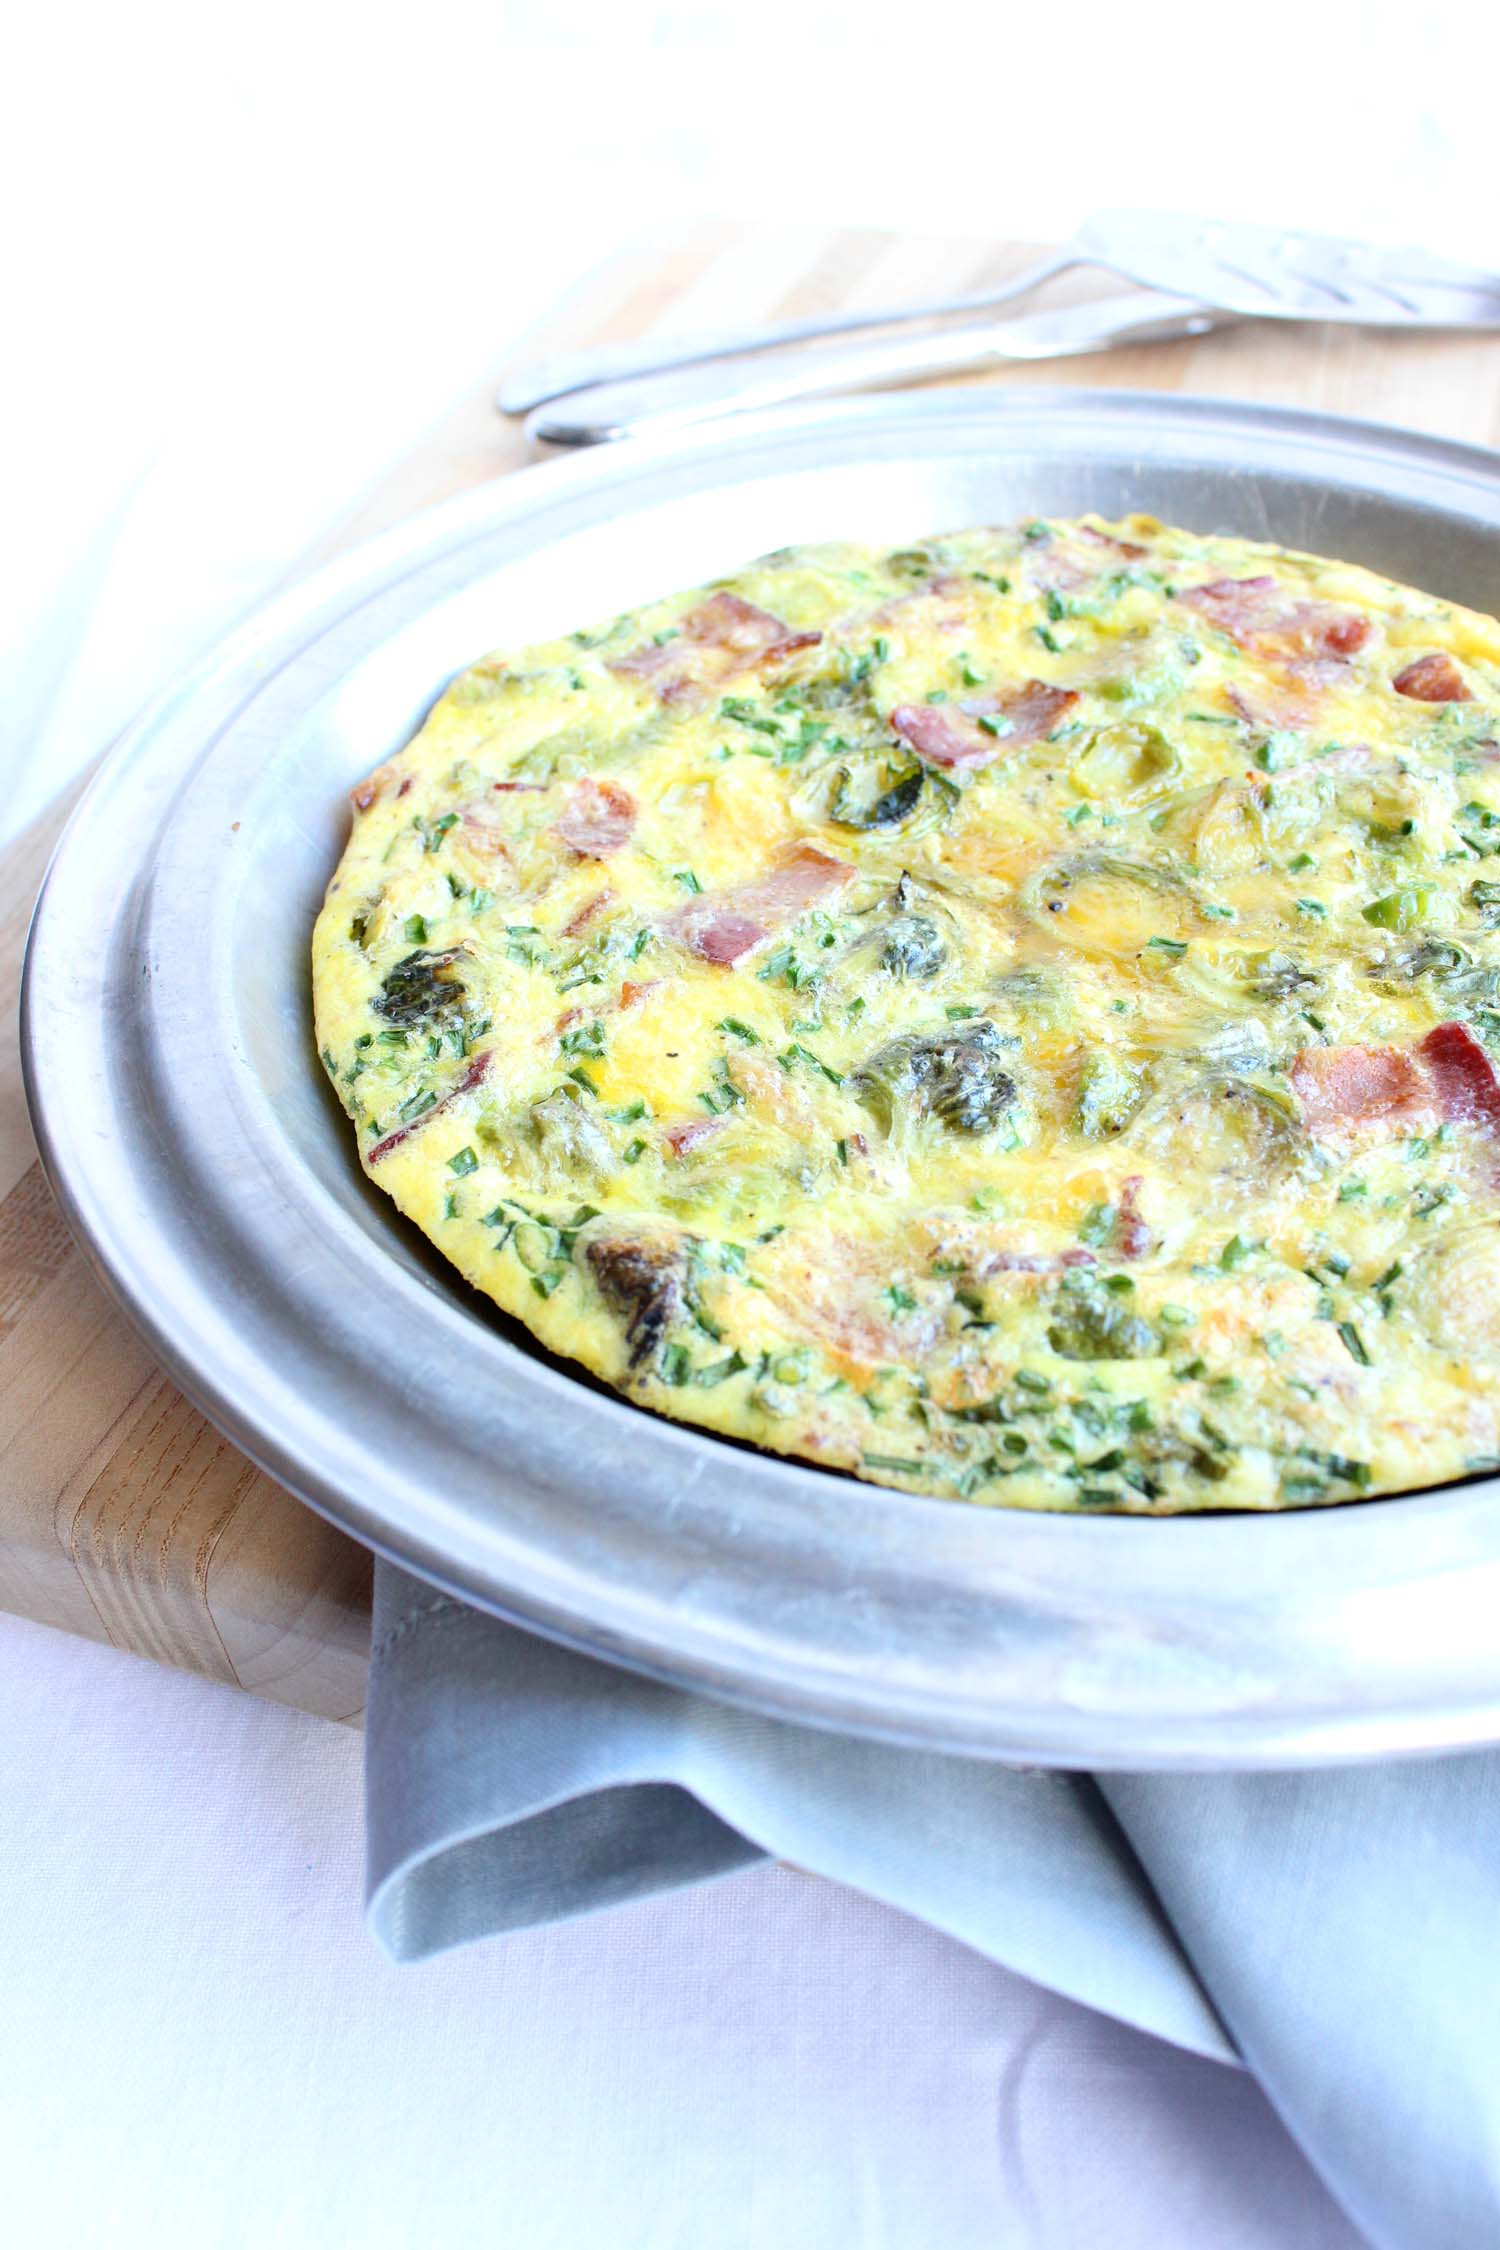
Brussels Sprout, Bacon & Gruyère Frittata

Brussels Sprout, Bacon & Gruyère Frittata | Image: Laura Messersmith

Brussels Sprout, Bacon & Gruyère Frittata | Image: Laura Messersmith

When I first spotted this frittata from Food + Wine magazine on Pinterest I knew immediately that I had to make it for Mike. Its combination of Brussels sprouts, bacon, and Gruyère cheese is nearly all of his favorite foods in one convenient (and easy!) recipe.

If you’re like me and never seem to have an oven-safe skillet quiiite large enough to hold the veggies and the eggs, then my adaptation which requires no skillet at all will hopefully be a Godsend. The outcome is the same and possibly even better due to the magic of the roasted sprouts and the lack of spattering stovetop bacon grease, always a win in my book.

This recipe is just begging to be made some hairy weeknight when dinner requires a dish both comforting and sustaining. Or, for Sunday brunch when something slightly more elegant than classic scrambled is called for, and you’re looking to incorporate some leafy greens under a welcoming blanket of egg and cheese.

Brussels Sprout, Bacon & Gruyère Frittata | Image: Laura Messersmith

Brussels Sprout, Bacon & Gruyère Frittata | Image: Laura Messersmith

Brussels Sprout, Bacon & Gruyère Frittata (serves 4-6) 

Ingredients:
1/2 pound (5 strips) thick-cut bacon
3/4 pound brussels sprouts, halved and sliced 1/4 inch thick
2 shallots, halved and thinly sliced
1 cup (1/4 pound) shredded Gruyère cheese
8 large eggs
2 tablespoons whole milk
1/4 cup snipped chives
Kosher salt
Freshly ground pepper
Extra virgin olive oil

Instructions:
re-heat the oven to 350 degrees F.

Prep the Brussels sprouts by trimming the ends and slicing them vertically in 1/4 pieces. Line a rimmed baking sheet with parchment paper and spread the Brussels sprouts in a single layer. Drizzle with 2 teaspoons extra virgin olive oil and sprinkle with 1/2 teaspoon kosher salt and 1/4 teaspoon black pepper. Roast in a 350 degree oven for 10 minutes, then turn with a spatula and add in the thinly sliced shallots. Continue to roast for another 7-10 minutes until the sprouts are crisp-tender and just beginning to brown and the shallots are softened.

Meanwhile, line a second rimmed baking sheet with foil and lay the strips of bacon in a single layer. Bake in a 350 degree oven for 20-25 minutes turning halfway through until the bacon is crisp. Drain and cool on a paper towel-lined plate, then roughly chop into 1/4 inch strips.

In a large bowl, beat the eggs with the milk, 1 teaspoon of salt and 1/4 teaspoon of pepper. Stir in the shredded gruyere and snipped chives.

Lightly coat an 8” pie plate with non stick spray. Layer the Brussels sprouts and bacon, then pour the egg mixture over the top. Bake the frittata for 25-30 minutes, until the center is just set. Run a rubber spatula around the edge of the frittata and slide it onto a serving plate, then cut it into 6 pieces and serve.

Re-written and adapted from Food + Wine’s Brussels Sprout, Bacon and Gruyère Frittata by Justin Chapple.

Brussels Sprout, Bacon & Gruyère Frittata | Image: Laura Messersmith

Brussels Sprout, Bacon & Gruyère Frittata | Image: Laura Messersmith

Small Kitchen Friendly?
100%. All you need is two rimmed baking sheets (you can get away with one if necessary by lining it with parchment and re-using it  for the bacon), a medium cutting board, chef’s knife, 8” pie plate, medium mixing bowl, dinner plate, rubber spatula, liquid measuring cup, and measuring spoons. Aluminum foil, parchment paper, and paper towels will make clean up much simpler.

The Verdict:
The number one way I can tell if Mike likes something is when he’s willing to eat it more than one day in a row. The other mark of success is when I wish I had thought of it first, hat tip to you Mr. Chapple. In that case Brussels Sprout, Bacon and Gruyère Frittata is a total winner. The sprouts are perfectly complimented by the creaminess of the egg and cheese mixture, and the crunchy salty bacon. Definitely keeping this one in mind as winter approaches and sprouts become a go-to menu item.

Brussels Sprout, Bacon & Gruyère Frittata | Image: Laura Messersmith
Brussels Sprout, Bacon & Gruyère Frittata | Image: Laura Messersmith

Crispy Brussels Sprouts with Roasted Garlic & Lemon Aioli

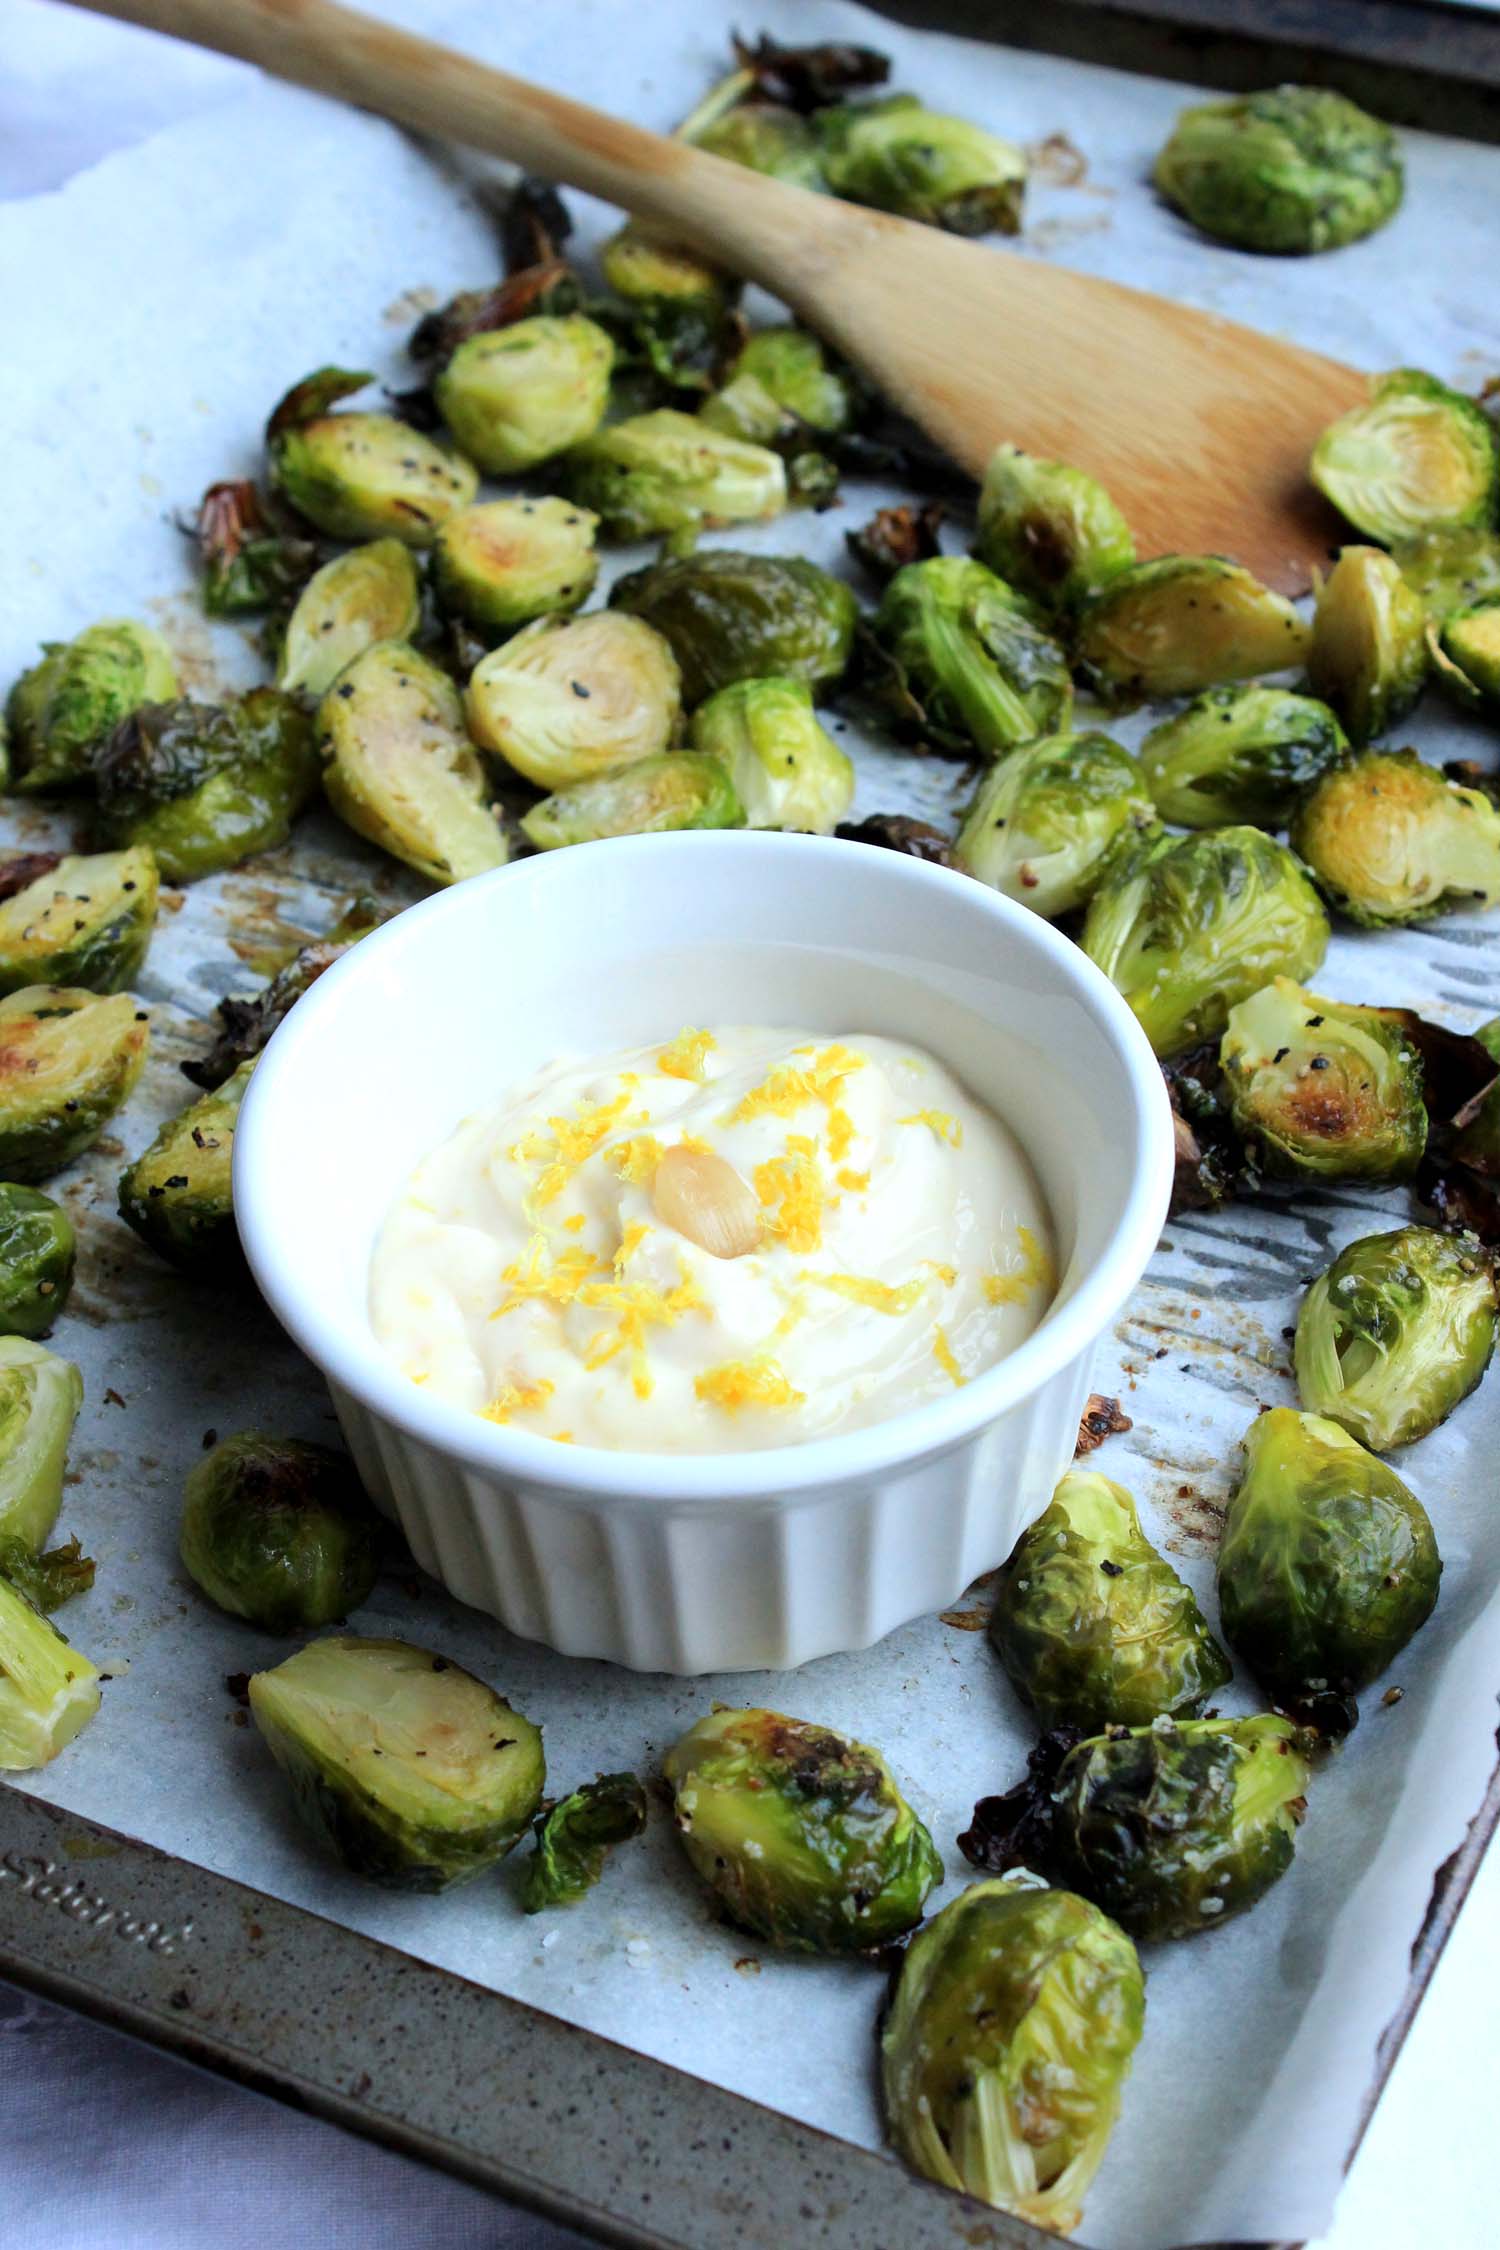
Crispy Brussels Sprouts with Roasted Garlic & Lemon Aioli | Image: Laura Messersmith

Crispy Brussels Sprouts with Roasted Garlic & Lemon Aioli | Image: Laura Messersmith

Roasted Brussels sprouts are our all-time favorite way to eat them and given the number of times they make an appearance on this blog as a side-dish that’s probably not a surprise. This recipe transforms them from a supporting player into a unique appetizer with the addition a lemon and garlic aioli.

Raw garlic is harsh and acidic, not something I’m that excited about eating, but roasting it in the oven transforms it into something mellow and rich. Great just spread on toasted bread, but even better when combined with lemon zest in this aioli and used as a special dip for the roasted Brussels sprouts.

As you trim and halve the sprouts make sure to gather any loose leaves that come away and include them on the baking sheet. They get super crispy and delicious – Mike looooves them and I bet you will too.

Crispy Brussels Sprouts with Roasted Garlic & Lemon Aioli | Image: Laura Messersmith

Crispy Brussels Sprouts with Roasted Garlic & Lemon Aioli | Image: Laura Messersmith

Crispy Brussels Sprouts with Roasted Garlic and Lemon Aioli (yield: 4 servings)

Ingredients:
1 1/2 pounds fresh Brussels sprouts
1 whole head garlic
2 tablespoons olive oil
2 teaspoons lemon zest
3 teaspoons lemon juice
1/3 cup light mayonnaise
kosher salt
freshly ground black pepper

Instructions:
Pre-heat the oven to 400 degrees F.

Trim the top off the whole head of garlic, about 1/4 inch, to expose the cloves. Drizzle 1 teaspoon olive oil over the tops of the exposed garlic cloves and loosely wrap the head of garlic in aluminum foil. Place the foil packet in the oven and roast at 400 degrees F. for 40-60 minutes until the garlic cloves are soft and deeply golden.

Meanwhile, trim the ends from the Brussels sprouts and cut in half lengthwise. Spread the Brussels sprout halves and any stray leaves on a parchment paper lined baking sheet and drizzle with the remaining olive oil. Sprinkle generously with kosher salt and pepper. Reduce the oven temperature to 350 degrees F. and roast the Brussels sprouts for 30 minutes, turning halfway through the cooking time. The sprouts will be slightly crispy and browned on the exterior leaves and al dente in the center.

Allow the garlic cool until easily handled before using a butter knife to remove 5-6 medium-sized cloves of roasted garlic from the paper. Place the garlic in the bowl of a small food processor with the lemon zest, lemon juice, mayonnaise, 1/4 teaspoon kosher salt, and 1/8 teaspoon black pepper.

Mix on low speed until the garlic is smooth and the ingredients are well combined. Serve chilled or at room temperature with roasted Brussels sprouts.

Partially adapted from Roasted Garlic recipe by The Kitchn.

Crispy Brussels Sprouts with Roasted Garlic & Lemon Aioli | Image: Laura Messersmith

Crispy Brussels Sprouts with Roasted Garlic & Lemon Aioli | Image: Laura Messersmith

Small Kitchen Friendly?
Yes, indeed. I used a chef’s knife, medium cutting board, one baking sheet, and a small food processor. I also used a microplane grater, measuring cups and spoons, parchment paper and aluminum foil.

The Verdict:
I first made this combination for a party this winter and I was shocked how fast it went. Three batches of sprouts later the small amount of remaining aioli was finding its way onto stray pieces of baguette as a spread. There were other cheesy, meaty options on the table too, so if that isn’t a strong endorsement I don’t know what is. It’s really simple to make and I like being able to offer a healthier option that still tastes amazing. 

Crispy Brussels Sprouts with Roasted Garlic & Lemon Aioli | Image: Laura Messersmith

Crispy Brussels Sprouts with Roasted Garlic & Lemon Aioli | Image: Laura Messersmith

Filet of Beef au Poivre

Filet of Beef au Poivre | Image: Laura Messersmith

Filet of Beef au Poivre | Image: Laura Messersmith

As inspiration for more adventurous culinary efforts I’m following along with Ina Garten, aka The Barefoot Contessa, in my tiny New York kitchen. Let’s see if I can keep up with the Contessa!

Episode: “Jeffrey’s Treat”

The Set-up: Mr. Garten landed a new book deal, so Ina is celebrating with a bistro dinner

The Menu: Whiskey Sours, Filet of Beef au Poivre, Matchstick Potatoes, Strawberry Tarts

0:59 – Ina says that the first thing she and Jeffrey want to do upon arrival in Paris is eat bread and pastries. This seems like a perfectly natural reaction.

1:10 – Bread baking is a total mystery to me, and French pastry isn’t too far behind… watching this Strawberry Tart process carefully.

2:23 – Pro Tip #1: Keep the flour, butter, shortening and water super cold.

3:17 – Ina also claims to be intimidated by pastry, which makes me feel a little better.

4:41 – Next, the pastry cream – milk is simmering; eggs, sugar and cornstarch are mixing. This reminds me a lot of the Lemon Curd Tart filling steps.

5:35 – Ina says that the cornstarch prevents the pastry cream from turning into scrambled eggs. Tricky!

6:44 – This is quite a process (mixing, heating, sieving, cooling) so you know if anyone ever makes homemade pastry cream that they really, really like you.

7:29 – Pastry shell time. Pro Tip #2: Roll pastry dough from the middle and never stretch it to fit – it just shrinks back during the baking process.

11:16 – The shells are done and the pastry cream has cooled, so now Ina is assembling the tarts and arranging strawberry halves on the top.

12:07 – Pro Tip #3: Glazing the berries and pastry cream with a thin layer of apricot jam keeps the moisture in and makes the tart glossy. Gorgeous.

13:42 – Ina says she developed a taste for Whiskey Sours because her father gave her the cherries from his drink. Funny, I learned to like Manhattans the same way. Cherries, a gateway to boozy drinks.

14:55 – She’s not messing around with these drinks – no powdered sour mix here, friends.

15:38 – We on a quick errand to pick up the steaks for Filet of Beef au Poivre and get Pro Tip#4 in the bargain. Bill the Butcher says to look for marbling and a darker red color when selecting a piece of meat.

20:26 – Back at the proverbial ranch to make Matchstick Potatoes which really are classic at a bistro.

21:45 – Ina rinses the slivered potatoes in water briefly before drying them on papertowels and frying in hot oil. She doesn’t say why, but Food + Wine mag says it removes starch that can keep the fries from getting crispy.

22:57 – While the fries stay warm in the oven Ina moves on to the main course: Filet of Beef au Poivre

23:30 – Filet mignon sautéed in butter? Yes, please!

24:19 – Now a pan sauce that reminds me a lot of recipes past like Chicken with Shallots, which was delicious!

27:05 – It’s cocktail hour! If I’m not mistaken I think that’s a jar of Silver Palate maraschino cherries (aka the best $7 bottle of cherries, ever.)

28:21 – We get a quick interlude over cocktails while Jeffrey wraps up his writing for the day. Something tells me the chapter fueled by Jack Daniels will be a great read.

29:11 – Finishing touches on the au poivre sauce and it’s time for a dinner of steak frites.

29:50 – Ina and Jeffrey make a great bargain – steak au poivre to begin and end each book, roast chicken in between. Sounds like an excellent deal.

Final Thoughts:

Next time I have a free afternoon with nothing but time I do want to try making those little tarts.

Ina may have a future as a mixologist with that beaker full of Whiskey Sours.

I love the idea of tradition-based celebratory meals – so far ours is pizza & champagne on our first/last nights in a new home…

Filet of Beef au Poivre | Image: Laura Messersmith

Filet of Beef au Poivre | Image: Laura Messersmith

Lessons Learned:

Cooking a good steak seems like something I should have mastered by now, but I’m always looking to improve my skills on this basic technique and with birthday season upon us it seemed like a good time to try making Filet of Beef au Poivre.

The trickiest part for me was getting the butter hot enough - I always worry that it will burn and that I’ll have to start over - to give the filets a nice brown sear. The next trickiest part is resisting the urge to move the steaks around or check them too soon – again, the exterior crust is the goal and that doesn’t form if the meat is shifted around.

Mike is happy on the rare side, but I usually like my steak closer to medium than rare and while the recipe says that the steaks should come out medium-rare, I find that I usually need to add a minute or two to Ina’s cooking times. Same deal here – I’d recommend a meat thermometer too if you’re unsure how close the internal temperature is.

Filet of Beef au Poivre | Image: Laura Messersmith

Filet of Beef au Poivre | Image: Laura Messersmith

Small Kitchen Friendly?

Yes, definitely. The most important item is a sauté pan with enough space for the steaks to have plenty of room. I used a medium pan for two filets, a small cutting board, chef’s knife, liquid measuring cup, and measuring spoons. I also needed a plate and aluminum foil for resting the meat.

The Verdict:

I made Filet of Beef au Poivre for Mike’s birthday with the filets I bought at Ottomanelli Bros and we were both really happy with the results. The au poivre sauce adds great flavor and if great steaks weren’t special enough it also ups the fancy-factor. We both love bitter greens like arugula and broccoli with beef, and since Brussels sprouts are one of Mike’s favorites I made Ina’s recipe for Balsamic Roasted Brussels Sprouts as a side dish. It holds it’s own while complimenting the filet. Highly recommend!

Filet of Beef au Poivre | Image: Laura Messersmith

Filet of Beef au Poivre | Image: Laura Messersmith