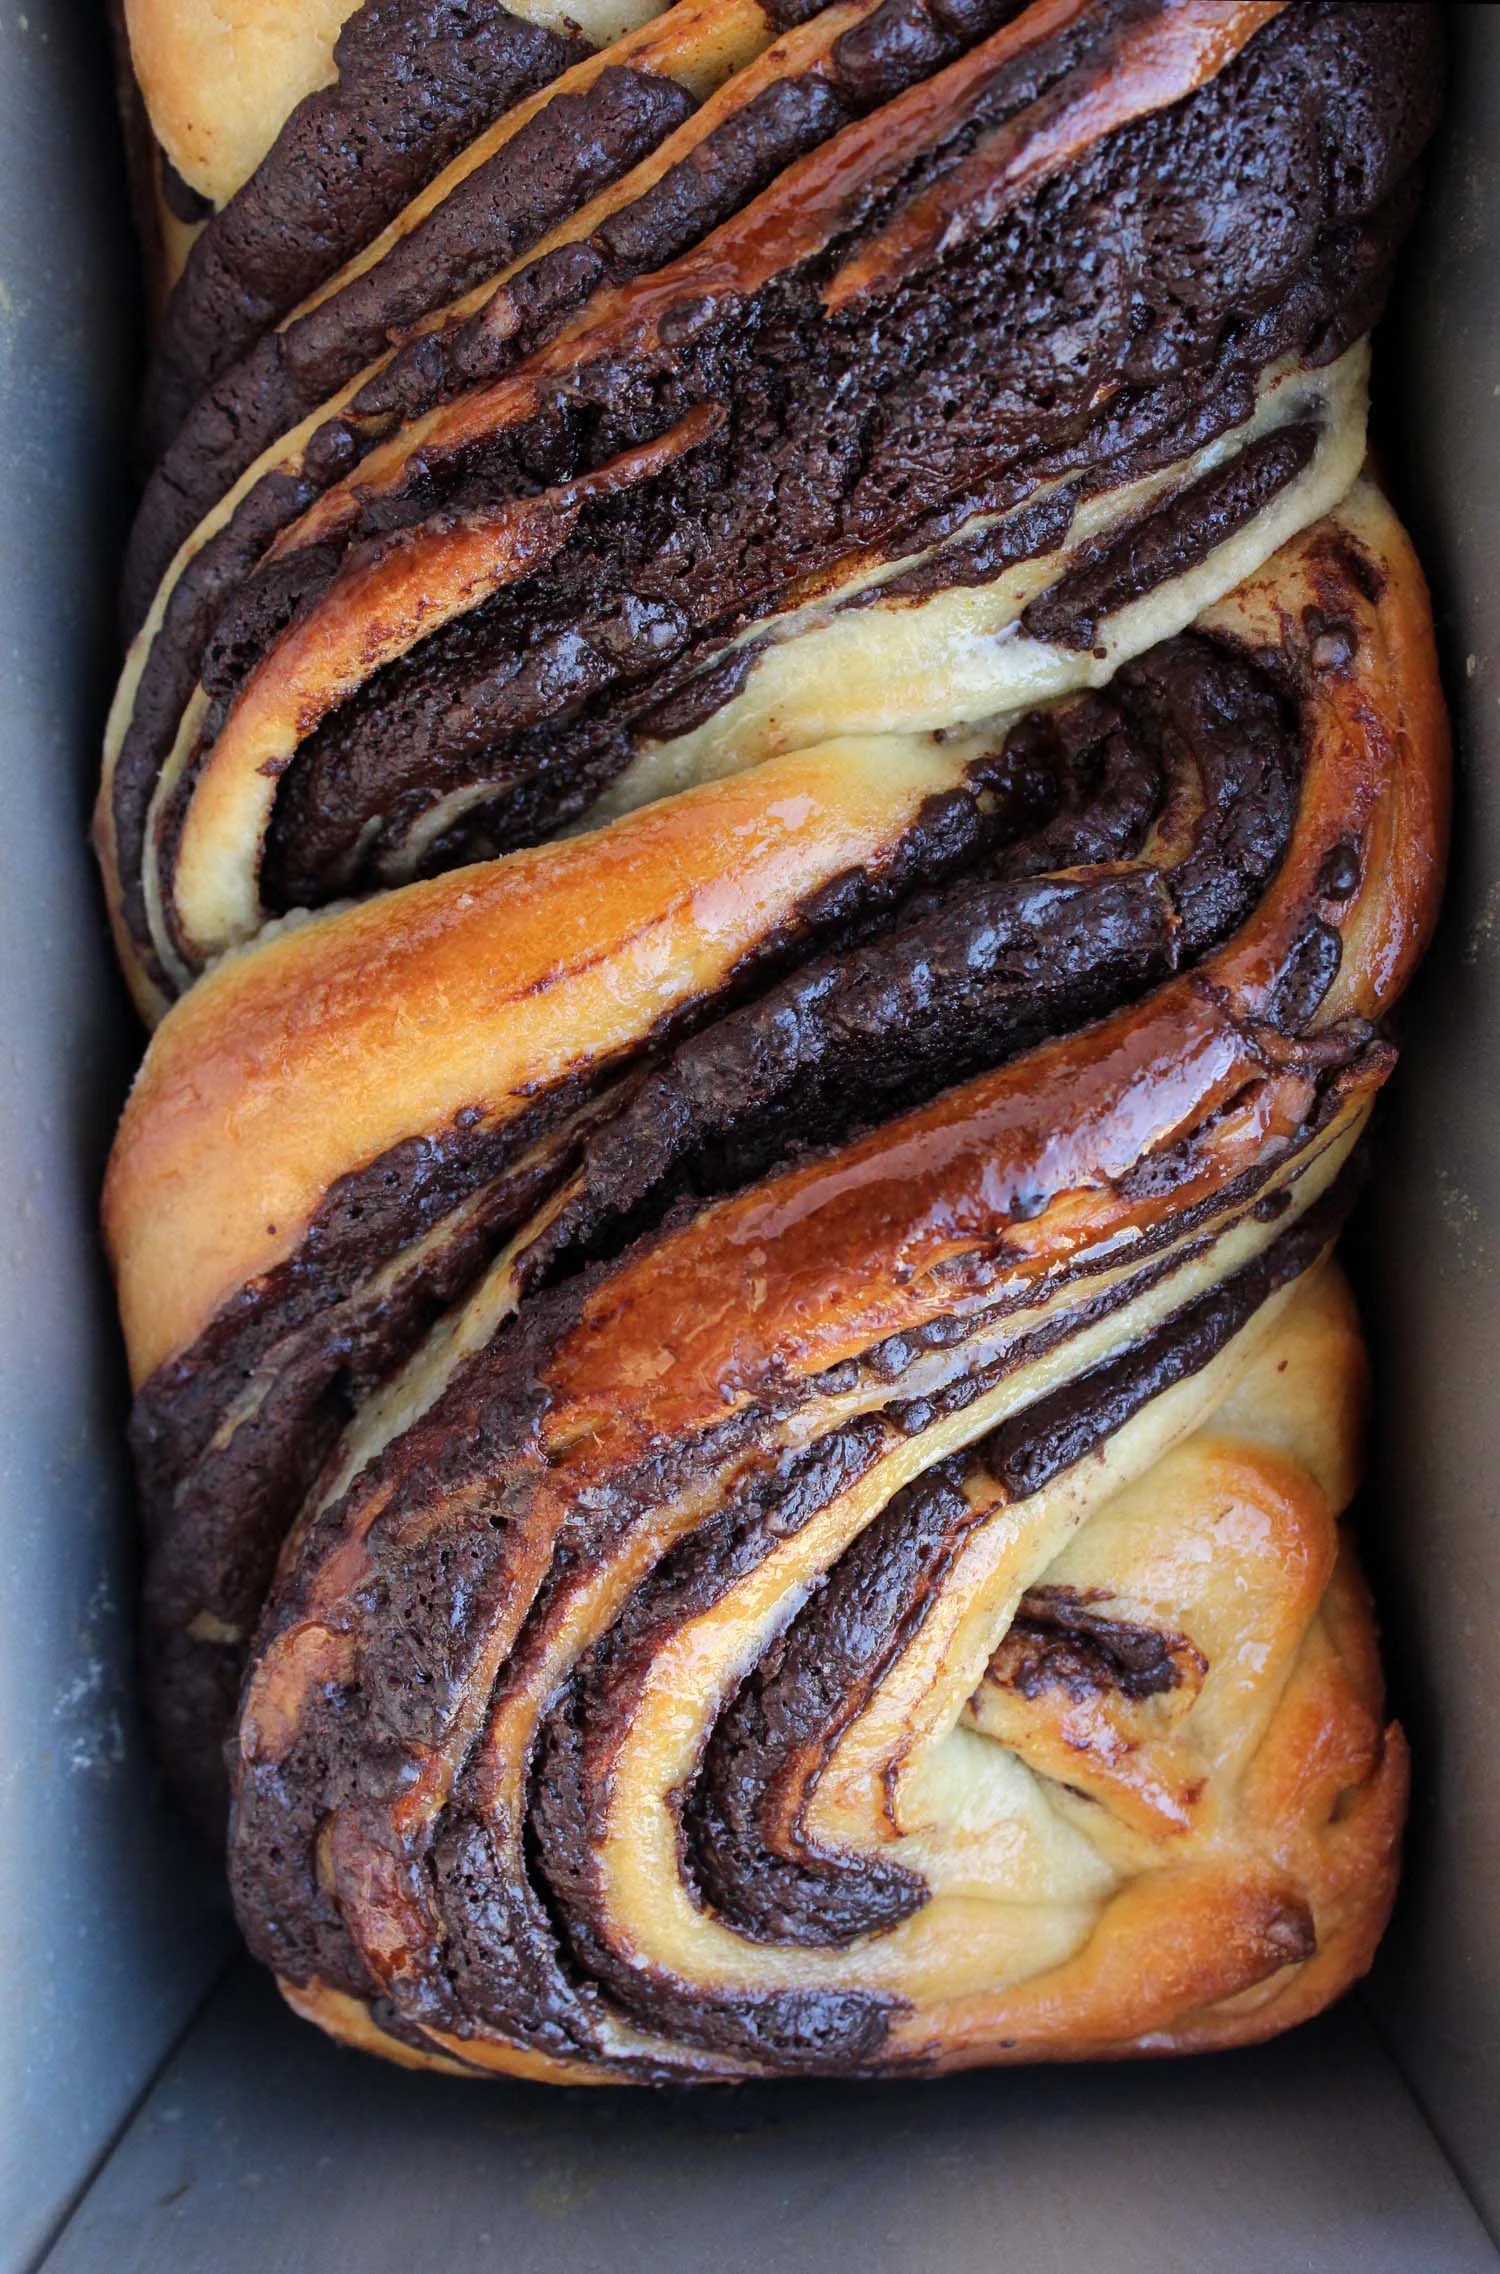
Better Chocolate Babka

Better Chocolate Babka | Image: Laura Messersmith

Better Chocolate Babka | Image: Laura Messersmith

If Ina Garten is my spirit guide, then Deb Perelman of the wonderful blog (and cookbook!) Smitten Kitchen is my favorite tenured professor, the Department Chair of Food Blogging. Her writing voice speaks to me in soothing tones – reminding me that it’s just cooking – no lives hang in the balance. If the outcome is delicious then it’s cause for celebration, if the results are less than amazing, then hopefully you learned something and the recipe is one step closer to the dish you dreamed. Cooking is about trial and error, experimentation. The fact that her recipes are so well written and specific inspires confidence, which brings me to the point: Better Chocolate Babka.

I took a 5 day bread baking class last February at the International Culinary Center where we learned the ins and outs of yeast, temperature, rising time, shaping, and baking all under the guidance of bread expert Chef Johnson. You would think that once we made our way through the dozens of loaves I brought home after class the scent of freshly baked bread would constantly waft from our apartment. Um, not so much. I’d like to blame it on hot summer weather, but it’s not like I didn’t use the oven for other things. Really, I was still intimidated. Frightened to go out on my own and tackle a yeast-based recipe without a net. Except, I have a secret weapon: Deb and her coterie of dedicate commenters to see me through.

In the grand scheme of things nothing will get me into the kitchen like the promise of a decadent baked good. Naturally, I chose a bread recipe that involved deep, dark, bittersweet chocolate – why go the healthy route with a loaf liberally loaded with pepitas and flax seed when what really motivates me is sweets! I’ve presented Deb’s recipe faithfully with just a few of my own observations and recommendations. I hope you’ll find it inspires you to tackle yeasted dough, but be forewarned: one taste of this and you’ll find yourself scheming new reasons to make it again and again. There's a reason Jerry and Elaine wanted that babka!

Better Chocolate Babka | Image: Laura Messersmith

Better Chocolate Babka | Image: Laura Messersmith

Deb Perelman’s Better Chocolate Babka (yield: 2 loaves)

Dough Ingredients:
4 1/4 cups (530 grams) all-purpose flour, plus extra for dusting
1/2 cup (100 grams) granulated sugar
2 teaspoons instant yeast*
Grated zest of half an orange
3 large eggs
1/2 cup warm water, plus 1 to 2 tablespoons extra, if needed
3/4 teaspoon fine sea or table salt
2/3 cup unsalted butter (150 grams or 5.3 ounces) at room temperature
Sunflower or other neutral oil, for greasing

Filling Ingredients:
4 1/2 ounces (130 grams) dark chocolate, recommend semi or bittersweet
1/2 cup (120 grams) unsalted butter
1/2 cup (50 grams) powdered sugar
1/3 cup (30 grams) cocoa powder
1/4 teaspoon cinnamon [optional]

Syrup Ingredients:
1/3 cup water
6 tablespoons (75 grams) granulated sugar

Instructions:
Mix the Dough: Combine the flour, sugar, yeast and zest in the bottom of the bowl of a stand mixer. Add the eggs and 1/2 cup warm water, mixing with the dough hook until it comes together; this may take a couple minutes. It’s okay if it’s on the dry side, but if it doesn’t come together at all, add the extra water, 1 tablespoon at a time, until the dough forms a mass.

With the mixer on lowest speed, add the salt, then the butter, a spoonful at a time, mixing until it’s incorporated into the dough. Then, mix on medium speed for 10 minutes until dough is completely smooth; scraping the bowl down periodically with a rubber spatula. If after 10 minutes, the dough doesn’t begin to pull away from the sides of the bowl add 1 tablespoon extra flour to help this along.

Before removing the dough, check the gluten development by taking a small piece of the mixed dough and spreading it apart gently with your fingertips. If it stretches without tearing and forms a thin, translucent membrane (think bubblegum) it’s ready.

When the dough is developed, coat a large bowl with oil (or turn the dough out onto the counter and oil the mixing bowl) and place dough inside, cover with plastic and refrigerate. Leave in fridge for at least half a day, preferably overnight. (Dough will not fully double, so don’t worry if it doesn’t look like it grew by more than half.)

Prepare Filling & Shape Loaves: Melt butter and chocolate together until smooth. Stir in powdered sugar and cocoa; mixture should form a spreadable paste. Add cinnamon, if desired.

Next, brush the bottom and sides of two 9-by-4-inch (2 1/4 or 1kg) loaf pans with oil or butter, and line the bottom of each with a rectangle of parchment paper.

Divide the dough in half, leaving the half you aren’t working with in the fridge. Roll out the first portion of dough on a well-floured surface to about a 10-inch width (the side closest to you) and as long in length (away from you) as you can when rolling it thin, likely 10 to 12 inches.

Spread half the chocolate filling evenly over the dough, leaving a 1/4-inch border all around. Brush the end farthest away from you with water. Starting with the edge closest to you, roll the dough up into a long, tight cigar and seal the dampened end onto the log. Transfer the log to a lightly floured baking tray in the freezer for 10 to 15 minutes to make it easier to cut cleanly in half. Repeat the steps with second portion of dough and filling.

Final Assembly: Gently cut the log in half lengthwise and lay the halves next to each other on the tray, cut sides up. Pinch the top ends gently together to form a V. Lift one side over the next, forming a twist – think braiding – and try to keep the cut sides facing out so they’ll be visible when the loaf is baked. This might be a little messy, but just transfer the twist as best as you can into the prepared loaf pan. The dough will fill in any gaps by the time it’s done rising and baking, so don’t worry if there is extra room in the pan.

Cover with a damp tea towel and leave to rise another 1 to 1 1/2 hours at room temperature. Repeat process with second loaf.

Bake and Finish: Pre-heat the oven to 375 degrees F. Remove towels, place the pans on the middle rack of your oven. Bake for 30 minutes, checking for doneness at 25 minutes. A wooden skewer inserted into an underbaked babka will feel stretchy/rubbery inside and may come back with dough on it. When fully baked, you’ll feel almost no resistance. If you babka needs more time, put it back and re-test at 5 minute intervals. If the top is browning too quickly, cover it with foil.

While babkas are baking, make the finishing syrup. Bring the sugar and water to a simmer until sugar dissolves. Remove from heat and set aside to cool a little. As soon as the babkas leave the oven, brush the syrup all over each. It will seem like too much, but will taste just right — glossy and moist. Let the babkas cool about halfway in pan, then turn out to finish cooling on a wire rack.

Note from Deb: Babkas keep for a few days at room temperature, but will freeze and defrost really well.

*Note on Yeast from Laura: Active Dry Yeast and Instant Yeast are two different ingredients, so read the packages in the store carefully. If you can only get Active Dry Yeast, then “proof” it by adding 2 ¼ teaspoons (1 packet) to the 1/2 cup warm water (80-90 degrees) called for in the recipe with a small pinch of sugar. Allow the mixture to sit for 5-10 minutes at room temperature then add it at the same time you add the eggs to the flour mixture. The rest of the recipe remains the same.

Rewritten from Smitten Kitchen’s Better Chocolate Babka, which is adapted from the Chocolate Krantz Cakes in Jerusalem: A Cookbook by Yotam Ottolenghi and Sami Tamimi

Better Chocolate Babka | Image: Laura Messersmith

Better Chocolate Babka | Image: Laura Messersmith

Small Kitchen Friendly?
Yes and no. Yes, if you have a stand mixer fitted with a dough hook capable of handling bread dough, or if you are up to the physical challenge of mixing and kneading dough by hand. You’ll also need a medium mixing bowl, scale, liquid measuring cup, rubber spatula, two 9x5” metal loaf pans, one sheet pan, a rolling pin, and sharp knife or bench scraper. Parchment paper and a pastry brush for preparing the pans round out the list.

The Verdict:
Deb is a genius.

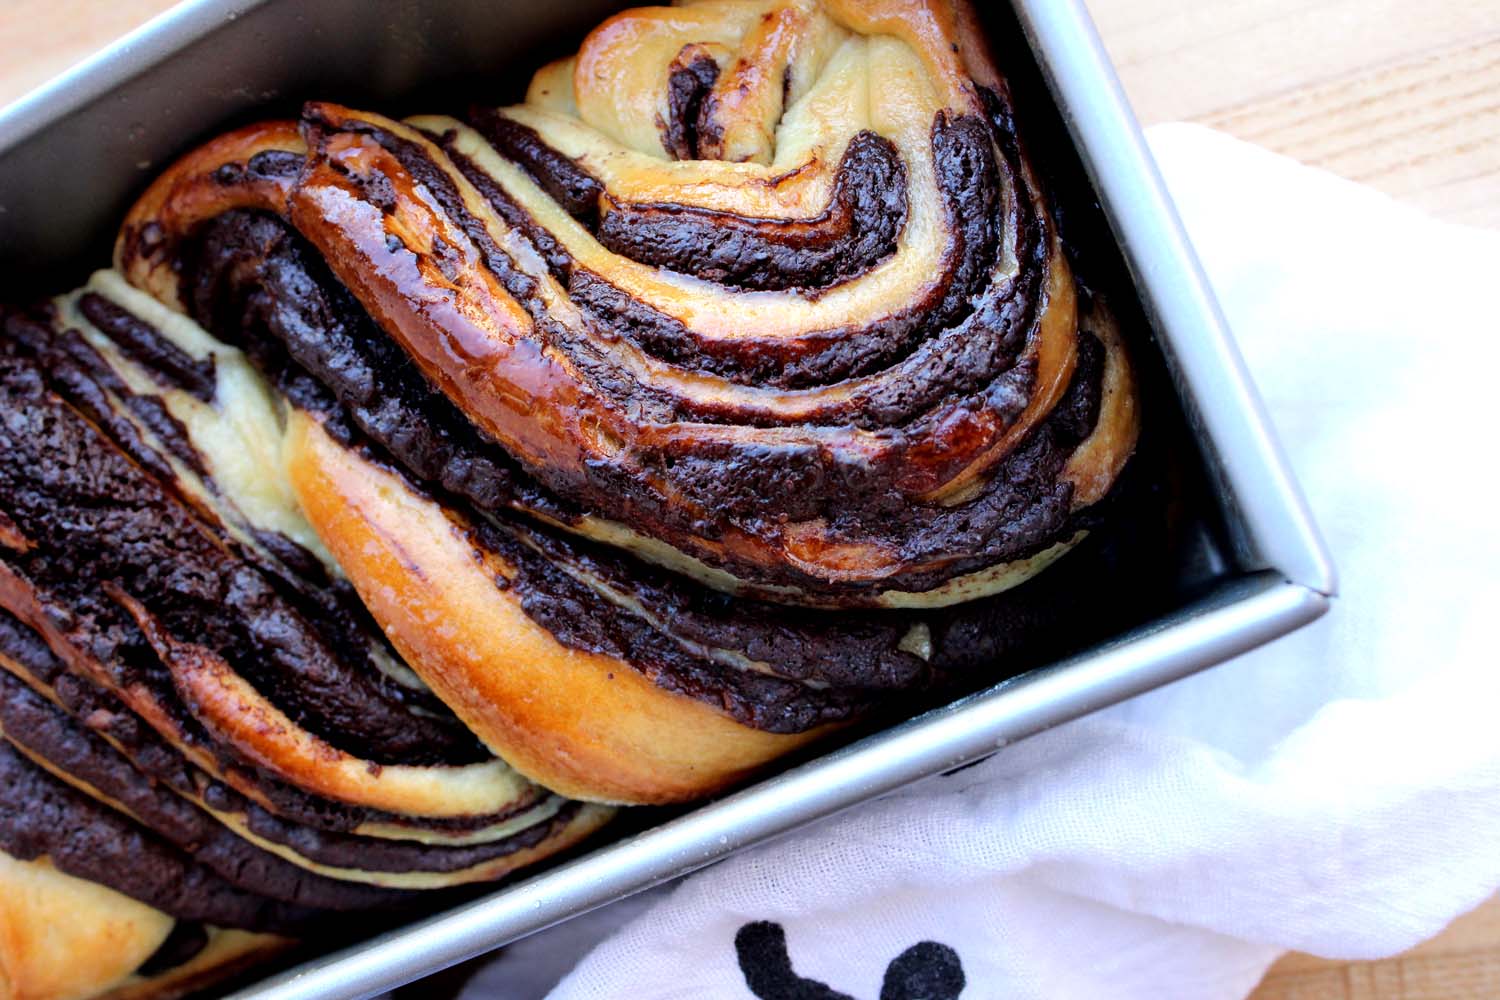
I could just leave it at that, but for the sake of posterity I’ll continue. If you like brioche and pain au chocolate then Better Chocolate Babka is a glorious combination of the two. The baked dough is lovely and soft, rich with butter and just a hint of orange zest. The chocolate swirls so elegantly revealed are deep and dark taking this bread out of sticky-sweet breakfast loaf territory and into a more elegant realm. Bring it as a hostess gift to your favorite friends, have a slice with morning coffee, or a piece after dinner with a spoonful of whipped cream for dessert, this bread is welcome on my table at any time of the day.

Better Chocolate Babka | Image: Laura Messersmith
Better Chocolate Babka | Image: Laura Messersmith

Mocha Hazelnut Granola Bars

Mocha Hazelnut Granola Bars | Image: Laura Messersmith

Mocha Hazelnut Granola Bars | Image: Laura Messersmith

My first taste of Nutella came in the mid-1980s when my parents brought back a jar from a trip to Europe. Their travels took them into Northern Italy where I suspect this particular jar of pasta gianduja was procured, and for me it was love at first bite. It made a strong impression on me and I’ve had it many times since then; memorably while visiting my sister in Australia over her study abroad semester when we began most mornings with an English muffin generously spread with a layer of chocolate-hazelnut deliciousness. Vacation breakfast at it's best.

The flavor combination is one of my favorites - deeply, but gently nutty, smooth, sweet, creamy, chocolate-y heaven. Great on fruit, a shortbread cookie, or right off the spoon. Even better with a cup of coffee, which leads me to the other Italian-ish component of this recipe: instant coffee. The mochas on espresso bar menus everywhere and the presence of coffee in chocolate cake recipes have ably proven that coffee and chocolate pair beautifully.

It's a classic combination, but one I haven't seen in pre-made granola bars, and since these three ingredients were just made for each other I had to find a way. The flavors compliment each other, and together are far greater than the sum of their parts. It also doesn’t hurt that these bars mix up quickly and are perfectly portable – a pick-me-up snack if I ever saw one!

Mocha Hazelnut Granola Bars | Image: Laura Messersmith

Mocha Hazelnut Granola Bars | Image: Laura Messersmith

Mocha Hazelnut Granola Bars (yield: 8 bars)

Ingredients:
3/4 cup chopped hazelnuts
2/3 cup semi sweet chocolate chips
1 1/4 cups Old-fashioned rolled oats
2 tablespoons whole wheat flour
1/4 cup vanilla whey protein powder
1/2 teaspoon kosher salt
1/4 cup olive oil
1/3 cup cashew or hazelnut butter
1/2 cup wildflower honey
3 teaspoons instant coffee
1/2 teaspoon vanilla extract
Non-stick spray

Instructions:
Pre-heat oven to 350 degrees F.

Spray the interior of an 8x8x2 inch pan or 9 inch pie plate with non-stick spray and line the bottom with parchment paper.

Roughly chop the hazelnuts and stir together with the semi-sweet chocolate chips, rolled oats, whole wheat flour, whey protein powder, and kosher salt in a medium bowl.

In a separate smaller mixing bowl, combine the olive oil, nut butter, honey, instant coffee powder, and vanilla extract until evenly combined. Note: measuring olive oil first will make it easier to remove the cashew butter and honey from the cup.

Pour the nut butter mixture over the dry ingredients and stir until all the chocolate chips, nuts, and oats are evenly coated. The granola mixture will be stiff, but should stick together. Add a touch more honey if the granola is too crumbly.

Spread the batter into the prepared baking pan and use a rubber spatula press the mixture into the pan in an even layer, don’t neglect the corners!

Bake at 350 degrees F for 20-25 minutes until the edges begin to brown and the top turns lightly golden. Cool the bars completely in the pan before turning out onto a cutting board. Slice the baked bars into squares.

Wrap the bars individually in plastic, or store in an airtight container with a piece of parchment paper or waxed paper between the layers.

Mocha Hazelnut Granola Bars | Image: Laura Messersmith

Mocha Hazelnut Granola Bars | Image: Laura Messersmith

Small Kitchen Friendly?
Yes, indeed! I used an 8 x 8 x 2 glass baking dish, one medium mixing bowl, one small mixing bowl, a small cutting board, chef’s knife, a rubber spatula, measuring cups and spoons. A sheet of parchment paper will help too.

The Verdict:
Oh Lord. These are crazy addictive, so make them at your own risk…. The coffee flavor comes through clearly and plays off the sweet (but not too sweet) chocolate and rich hazelnut. A smidgen of saltiness keeps it all in check. I made a batch to bring with us on a long trip and it was all I could do to resist finishing them before the end of the flight. We found ourselves pressing the crumbs out of the ziplock bag when the last bar was gone. If you like chocolate, hazelnut, and coffee you’ll loooove these granola bars.

Mocha Hazelnut Granola Bars | Image: Laura Messersmith

Mocha Hazelnut Granola Bars | Image: Laura Messersmith

Black Forest Crumble Bars

Black Forest Crumble Bars | Image: Laura Messersmith

Black Forest Crumble Bars | Image: Laura Messersmith

A pure chocolate dessert is my first love, followed shortly after by treats involving chocolate and pretty much any other ingredient. Pairing semi-sweet or dark with an acidic fruit like orange, raspberry, or cranberry is one of my favorite combinations and for this bar I was inspired by classic Black Forest cake (or Schwartzwald Kirch Kuchen if you prefer the German.) This bar is essentially a sweet shortbread base layered with deep, dark cherry jam and semi-sweet chocolate – so simple to make but with impressive results.

I prefer jam or preserves - it’s easier to spread and has a little more texture than jelly – and both Polaner and Bonne Maman make wonderful versions with black cherries. I like to mix in a little fresh lemon juice to amp up the tang of the fruit and draw a sharper contrast with the sweet shortbread base. One of the best parts of this recipe is that it comes together so quickly with amazing results and 99% of the ingredients are probably already in your pantry or fridge right now.

Black Forest Crumble Bars | Image: Laura Messersmith

Black Forest Crumble Bars | Image: Laura Messersmith

Black Forest Crumble Bars (yield: 24 squares)

Ingredients:
2 1/2 cups all purpose flour
1 cup granulated sugar
3/4 cup slivered almonds (optional)
1/2 teaspoon kosher salt
2 sticks unsalted butter, room temperature
1 egg, beaten at room temperature
12 ounces (1 package) semi-sweet chocolate chips
12 ounces cherry jam, room temperature
1 teaspoon fresh lemon juice (optional)
Non-stick spray

Instructions:
Preheat the oven to 350 degrees F.

In a large mixing bowl, stir together the room temperature butter and sugar before adding the egg. Mix in the flour, slivered almonds (if using), and kosher salt until the mixture forms large crumbles.

Reserve 1 cup of the crumbles and evenly press the remaining mixture into the bottom of a greased 9x13 inch pan with a rubber spatula or damp fingers.

If the cherry jam is too sweet (your call!), mix with 1 teaspoon freshly lemon juice before spreading over the bottom crust. Sprinkle the semi-sweet chocolate chips over the cherry jam and then top with the reserved shortbread crumbles.

Bake at 350 degrees F for 40-45 minutes until the jam and chocolate are bubbling and the crumbles are golden brown.

Cool completely in the pan before slicing into bars and serving.

Inspired by and adapted from Hershey’s Holiday Red Raspberry Chocolate Bars.

Black Forest Crumble Bars | Image: Laura Messersmith

Black Forest Crumble Bars | Image: Laura Messersmith

Small Kitchen Friendly?
Yes, 100%! You’ll need one large mixing bowl, measuring cups and spoons, a rubber spatula, a large spoon, and a 9x13 inch glass baking pan. I cut the recipe in half and used an 8x8 inch glass pan instead, but everything else is the same.

The Verdict:
Cherry, chocolate, and almond are a match made in heaven. I love the combination of the tart fruit flavor with the richness of the buttery crumble and sweet, but not too sweet chocolate. Besides being ridiculously good they also come together quickly with very little fuss and minimal ingredients – good news when you want a dessert sure to please, but don’t have a lot of time. Please make these, you won’t be sorry!

Black Forest Crumble Bars | Image: Laura Messersmith

Black Forest Crumble Bars | Image: Laura Messersmith

Chocolate Ganache Cupcakes

Chocolate Ganache Cupcakes | Image: Laura Messersmith

Chocolate Ganache Cupcakes | Image: Laura Messersmith

Each week I follow along with Ina Garten (aka the Barefoot Contessa) and attempt to recreate one of her dishes in my tiny New York City kitchen. The catch? This is my version of cooking school and I’m making these recipes for the first time. I’ll share both my successes and um, challenges, along the way and we’ll see if I can keep up with the Contessa!

Episode: “The Magic Factor”

The Set-up: Ina is adding a secret ingredient to several recipes and conducting a blind taste-test to see if it’s the “magic factor.

The Menu: Chocolate Ganache Cupcakes, Chicken Salad Sandwiches, Easy Cheese Danish

0:29 – Lemons are the first “magic factor” ingredient in the Easy Cheese Danish recipe.

1:22 – I never knew what kind of cheese went into cheese Danish, here it’s cream cheese and ricotta thinned a bit with eggs.

2:15 – Ina’s taking a little short cut with store-bought puff pastry and I can never roll it out like she does – mine always ends up wonky and overly flat in spots.

3:41 – I thought danishes were typically round, but Ina is folding these like the beginning of a paper airplane which begs the question: how do you make the round ones?

4:17 – Version A. is complete with the cheese and vanilla only, now for Version B. incorporating lemon zest.

5:52 – Now a crash course overview on using lemon zest in cooking: apple pie filling, angel food and blueberry cakes, herbed crust on rack of lamb, and lemon garlic pasta.

6:30 – Ina’s assistant Barbara arrives to ferry the danishes over to the rest of the staff. She’s under strict instructions to have everyone try both and then phone Ina immediately with the results.

7:44 – Both Ina and the staff do their taste test and everyone agrees that Version B. containing the lemon zest is the clear winner. Frankly, I’m relieved - what if Ina’s staff liked the plain one better? Heads will roll!!!*

11:26 – Chicken Salad Sandwiches with tarragon as the “magic ingredient” are up next.

12:55 – She starts by roasting bone-in, skin-on chicken breasts and dicing some celery.

13:34 – Version A. is the basic chicken salad sandwich seasoned only with salt and pepper, but it still looks pretty delicious.

14:28 – Minced tarragon is added to Version B. and Ina makes sandwiches on simple, whole-grain bread adding a small heap of mesclun mix. Seriously, is it lunchtime yet?

15:13 – Barbara arrives right on cue to pick up the samples for the staff. Once again they all pick Version B. and live to eat another day.*

19:57 – Ina has promised the staff Chocolate Ganache Cupcakes and with this recipe the “magic factor” is instant coffee powder. Think: Folgers crystals, or in this case Maxwell House.

20:16 – Here’s something I’ve NEVER seen her use before: Hershey’s Chocolate Syrup. I’m not sure if it makes a difference, but she’s using the canned type, not the squeeze bottle.

21:40 – Ina says that this batter can be used to make any size cake, not just cupcakes. Something to file away for future reference…

22:08 – Upon re-watching I realize that I missed Ina’s recommendation about filling the muffin tins pretty full due to the lack of leavening agent. Note to self: pay better attention!

26:35 – Ina continues to surprise me with this recipe by using chocolate chips for the ganache. Not a chopped chocolate bar in sight!

27:13 – With this recipe Version A. contains the “magic factor” and Version B. is the plain one. Very tricky, let’s see if her staff catches the switch…

28:24 – Cupcakes are boxed and ready for Barbara to bring over to the office. Everyone tastes and deems Version A. the winner, pretty sharp bunch over there.

29:50 – Barbara asks the secret ingredient and instead of answering Ina does a full Sabrina the Teenage Witch disappearing dissolve. Oh no they didn’t!

Final Thoughts:
Someday, perhaps after years of practice I’ll be able to roll out dough evenly.

The cupcake recipe used so many pantry staple ingredients and I love the way Ina elevated them to something decadent.

*I’m pretty sure that Ina is a total sweetheart, so it makes me laugh to imagine her as a culinary tyrant with employees quaking before her wrath.

Chocolate Ganache Cupcakes | Image: Laura Messersmith

Chocolate Ganache Cupcakes | Image: Laura Messersmith

Lessons Learned:
I adore chocolate and yet, I’ve never made anything with ganache and rarely make cupcakes (usually too fussy for my taste, although they are the most adorable form of cake, so exceptions must be made.) I apologize for how lengthy these comments are, but when it comes to  Chocolate Ganache Cupcakes it’s hard to shut up!

Cupcake Batter – This recipe omits both baking powder and soda from the batter and I honestly wondered if there was a misprint. I also couldn’t find canned Hershey’s syrup so I used the same amount of the squeeze bottle variety and crossed my fingers. I hoped that the large number of eggs and fairly thin batter would help the results and I’m happy to report that the cupcakes do rise, but not a ton. These are a deep, dark, and fairly dense cupcake; almost more brownie-ish in texture. Not a bad thing at all, but not the super bouncy, light cake you might be expecting.

Cupcake Portioning – With recipes containing a leavening agent I usually assume that each liner or muffin tin section will be filled to about 75% full to account for the increased volume after baking. These cupcakes don’t expand as much, so I’d recommend filling to about 90-95% full if you want them to rise above the edge of the liner. Seriously, in my first batch the cupcake tops just barely peeked out!

Ganache 101 – Ganache is a general term for the concoction that results from melting chocolate and hot cream together, and like a lot of things in baking, changing the proportion of these two ingredients makes a big difference. More cream and the resulting ganache is thinner, more chocolate and the consistency is thicker. This particular recipe is a 2:1 chocolate to cream proportion and uses chocolate chips which have stabilizers resulting in a sturdier but still pourable mixture when warm.

My Ganache – I wanted a pretty substantial layer – cupcakes are a frosting delivery system after all – so I backed off even a bit more on the cream to a 2 1/2:1 factor. Once my ganache cooled it was practically the stuff of chocolate truffle filling, scoopable and stiff, but while warm was like slightly thin buttercream frosting - almost able to hold its shape but not quite. After swirling the cupcakes in the warm ganache it “set-up” into a glossy coat within a few minutes. Perfect in my book.

Swirl Technique – I recommend holding one cupcake upside down, turning it a few times in the ganache to make sure it’s fully coated, and finishing with the kind of wrist motion you use when trying to finish pouring something like honey or molasses. A twirl and swoop back to right side up.

Extra Bonus: I had a little left over batter, since I didn’t fully grasp the portioning, and I’m here to tell you it lasts in the refrigerator for at least 5 days and still bakes up beautifully - no warming to room temp, no remixing, no fuss at all! Same deal with the ganache, just re-warm over hot water add a smidge more cream if it’s too thick and you’re good to go! Like the cupcake version of slice and bake!

Chocolate Ganache Cupcakes | Image: Laura Messersmith

Chocolate Ganache Cupcakes | Image: Laura Messersmith

Small Kitchen Friendly?
Yes, for sure. For the batter I used one large heat-safe mixing bowl, a handheld mixer, measuring cups & spoons, a muffin tin, rubber spatula and a cookie scoop to help portion. For the ganache I used the same large bowl, measuring cups, and rubber spatula (washed in between, of course) and a large pot as a double boiler. Muffin liners or papers will definitely help.

The Verdict:
Look, it’s chocolate so already the baseline is set pretty high, but I was surprised how good these  Chocolate Ganache Cupcakes are. I think it’s that they do hint at being brownies or flourless torte, while still maintaining enough fluffiness to still be cake. The fudgy ganache glaze – like the best Hostess cake you’ve ever had - doesn’t hurt anything either. We had guests and I smartly (?) made exactly the right number, there were ZERO leftovers which made me all the more thankful for the little bit of extra batter that provided a treat for Mike and I later that week. Please make these, you won’t be sorry!

Chocolate Ganache Cupcakes | Image: Laura Messersmith

Chocolate Ganache Cupcakes | Image: Laura Messersmith