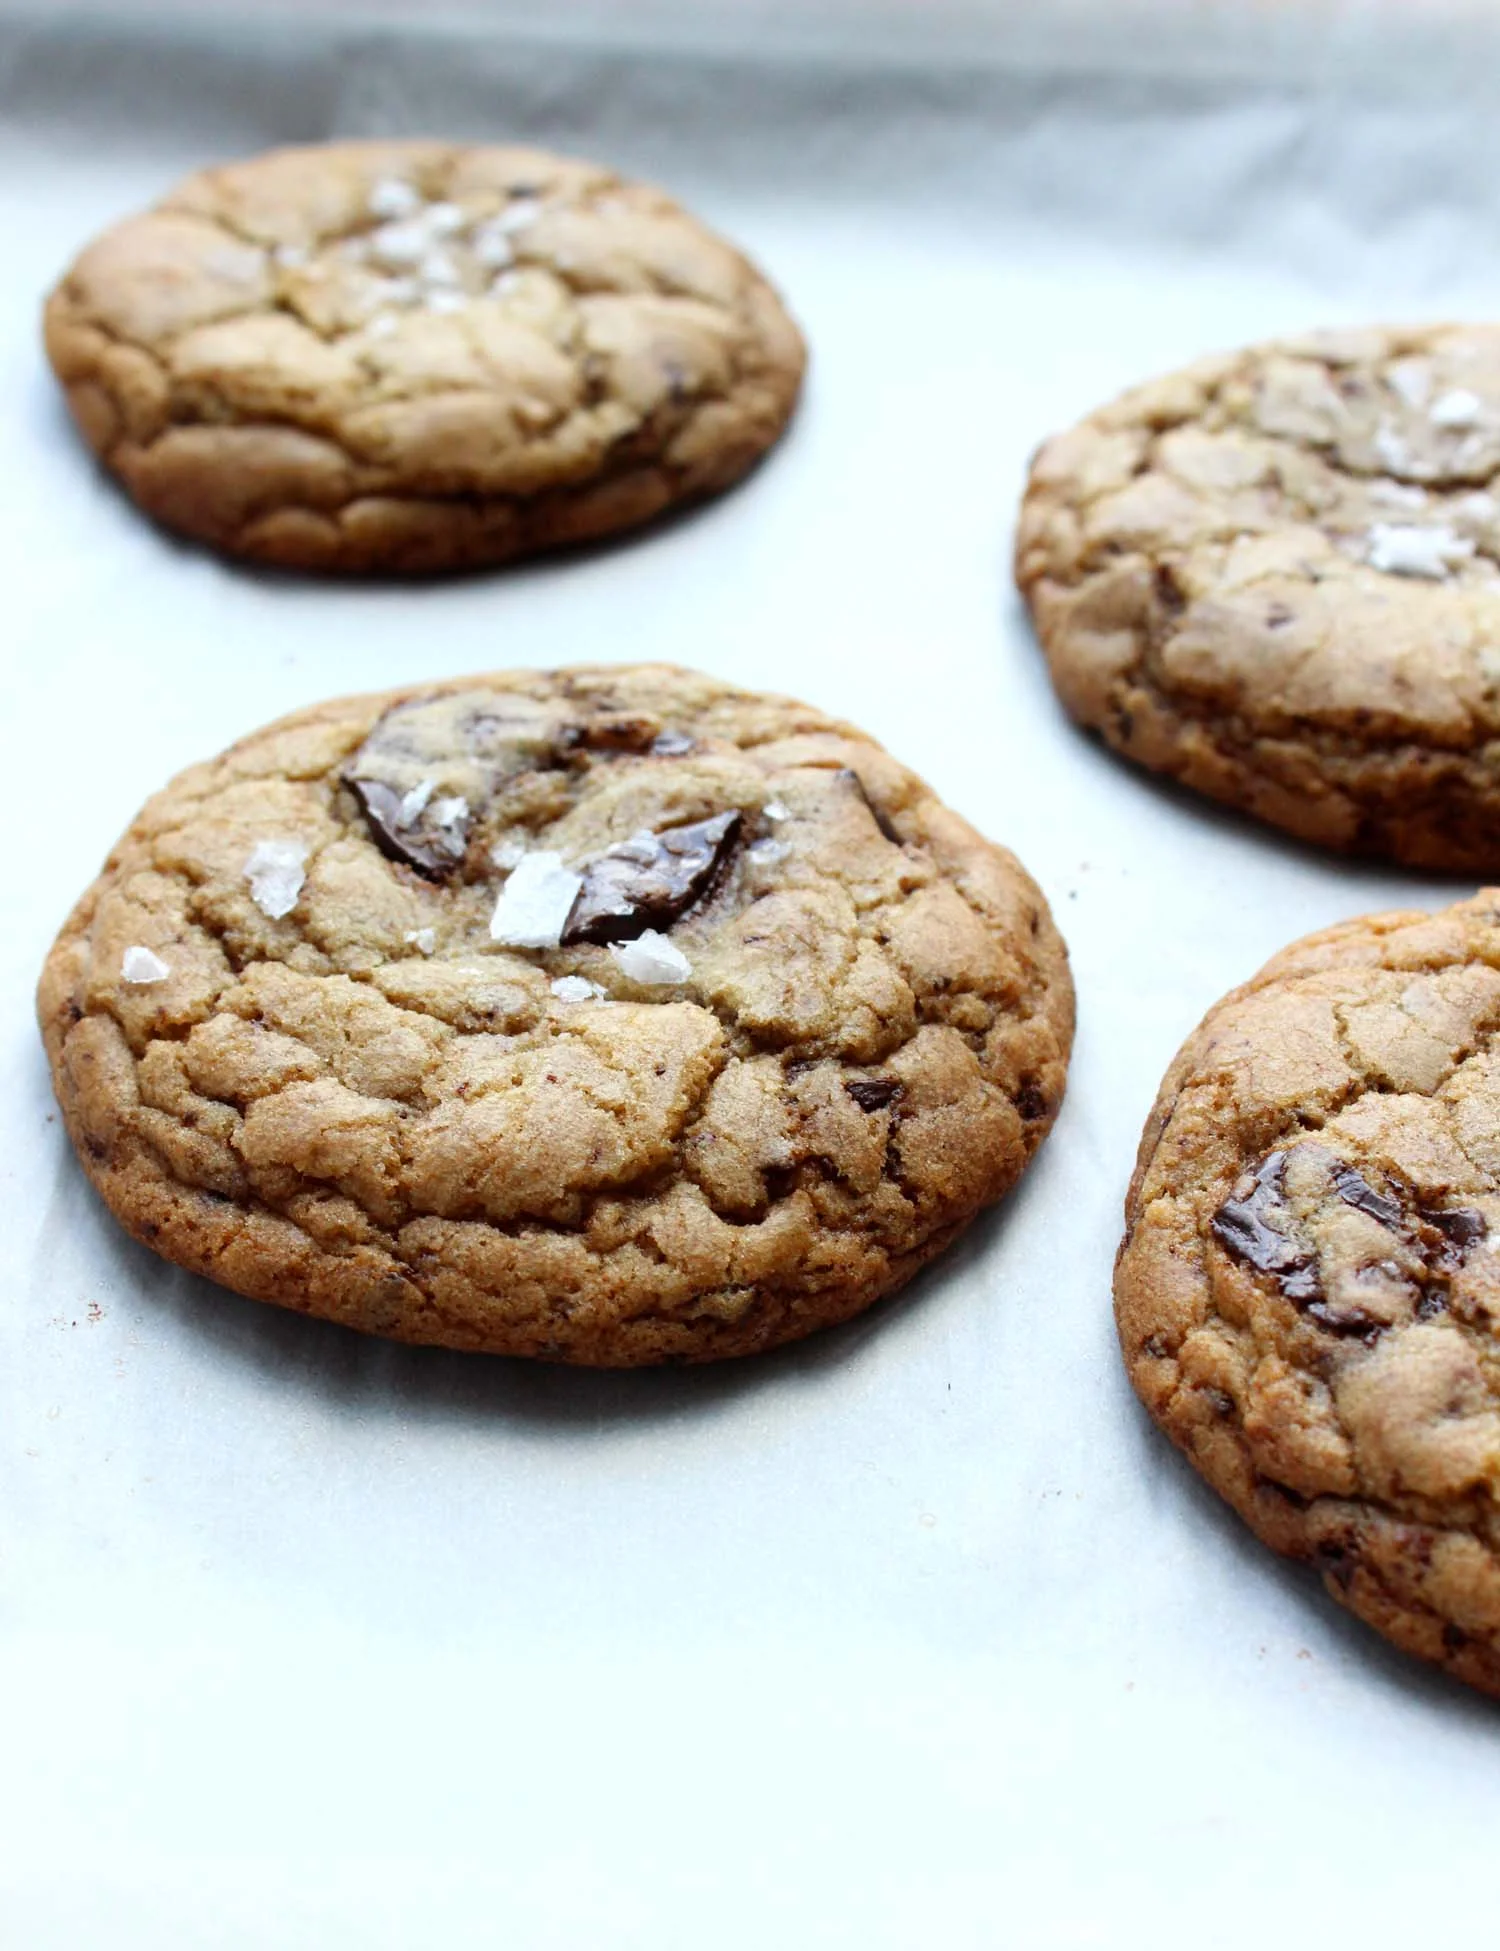
Chewy Molasses Cookies
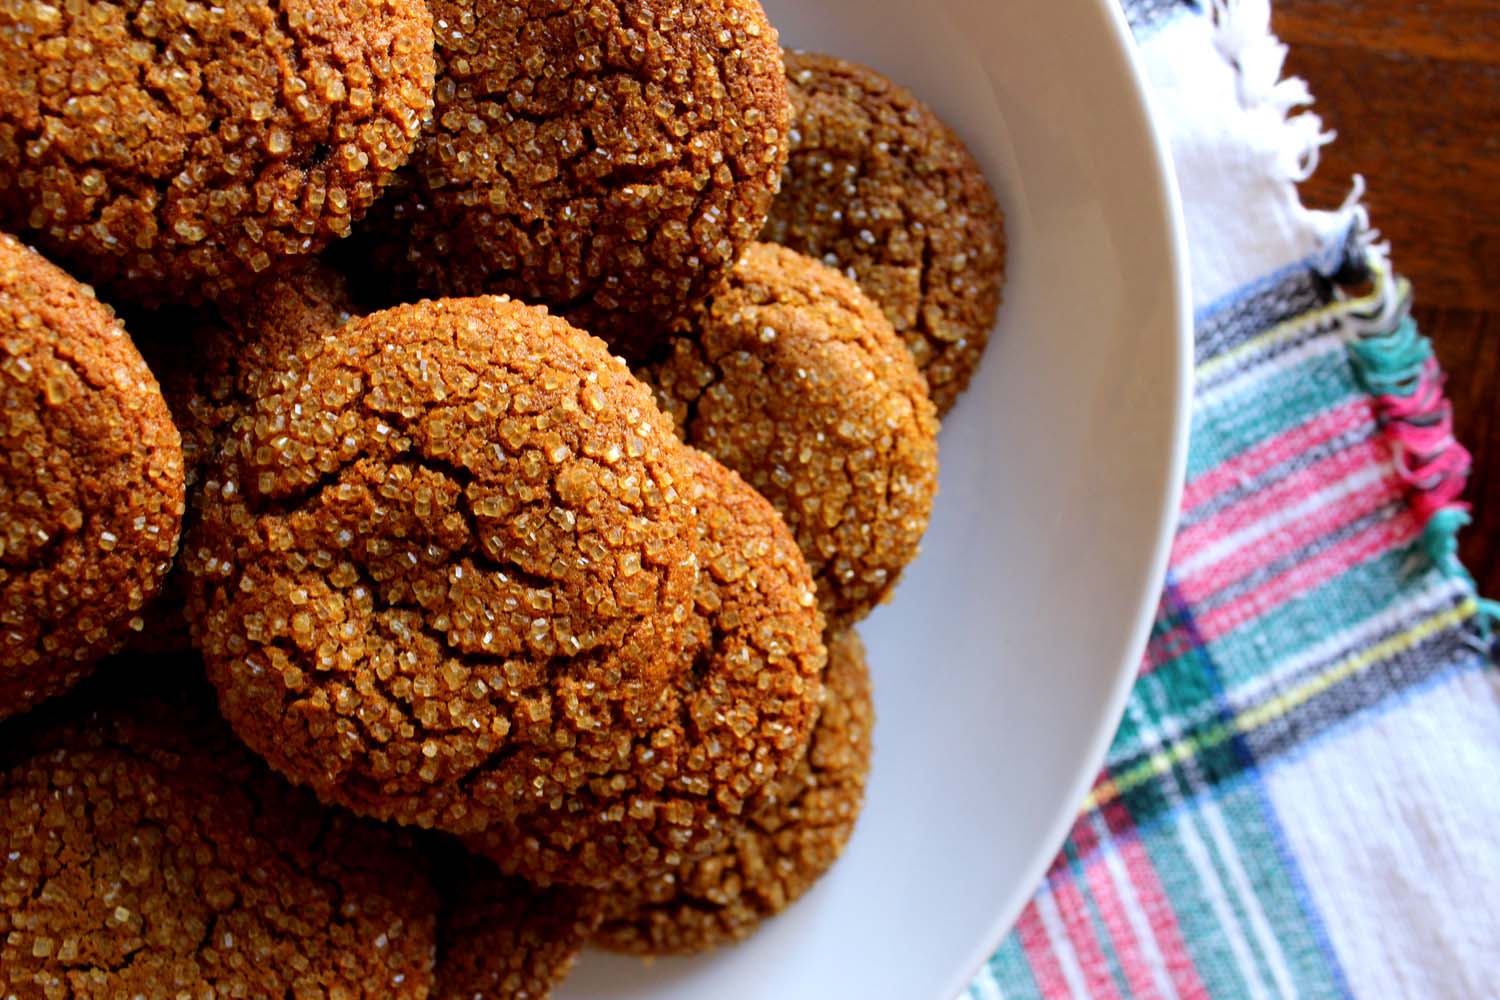
Chewy Molasses Cookies | Image: Laura Messersmith
It’s fully dark by five-thirty these days, but thankfully New York City has put on its holiday glitter to compensate and my evening walks with Maddie have been transformed into a stroll through twinkle lights and piney tree lots. I’m fairly sure that the powers that be scheduled Christmas for December knowing we’d need a little boost when the thermometer drops and the sun sleeps a little longer. Even holiday food seems determined to balance out the chilly temperatures with extra pizzazz and flavors like cloves, ginger, cardamom, and cinnamon to warm the spirit.
The moment I spotted these cookies in a Bon Appétit round-up, I knew they were destined for this year’s baking extravaganza. What better form to deliver the sweet heat of cinnamon and cardamom than a soft molasses cookie sparkling with coarse sugar? The double bonus is that they couldn’t be simpler and I’d be willing to bet that 95% of the ingredients are already in the pantry, which means you’re just a quick stir away from filling the house aromatic good-cheer. What are you waiting for?
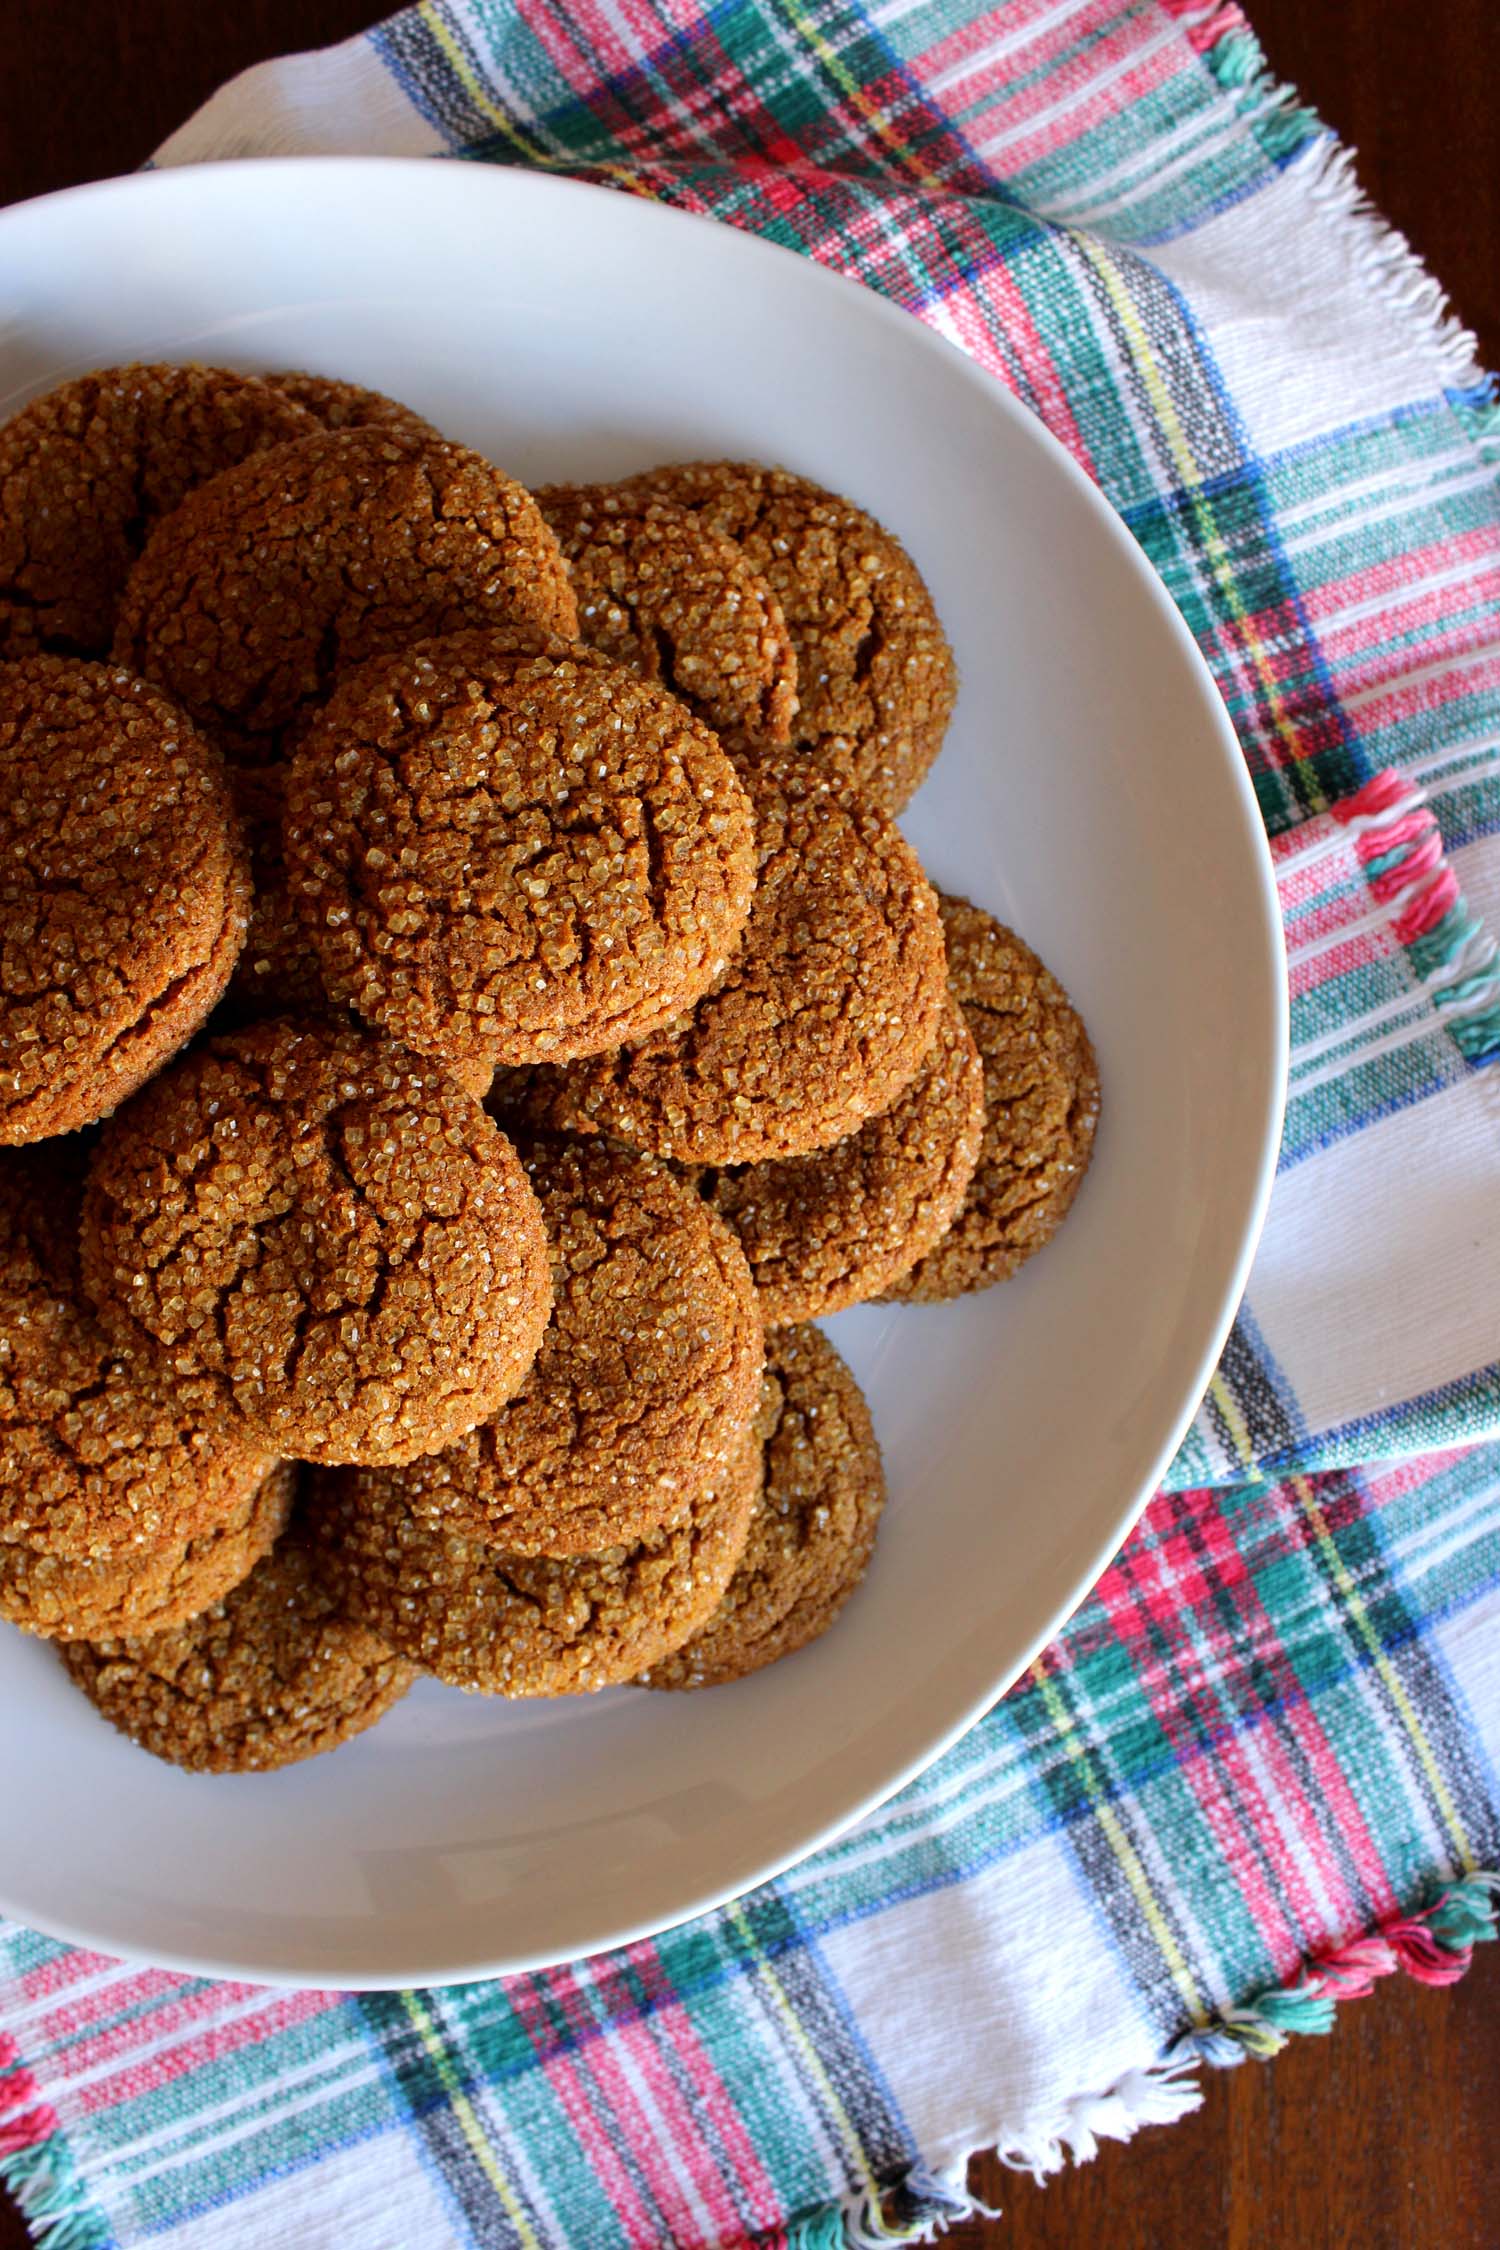
Chewy Molasses Cookies | Image: Laura Messersmith
Chewy Molasses Cookies (yield: 2 dozen cookies)
Ingredients:
2 cups all purpose flour
2 teaspoons baking soda
1 1/2 teaspoon ground cinnamon
1 teaspoon ground ginger
3/4 teaspoon ground cardamom
1/2 teaspoon kosher salt
1 large egg
1/2 cup (1 stick) unsalted butter, melted
1/3 cup granulated sugar
1/3 cup unsulfured molasses
1/4 cup (packed) dark brown sugar
1/3 cup coarse sanding or raw sugar (for rolling)
Instructions:
Place oven racks in lower and upper thirds of oven and preheat to 375 degrees F.
In a medium bowl, sift together the flour, baking soda, cinnamon, ginger, cardamom, and salt. In a separate medium bowl, whisk the egg, butter, granulated sugar, molasses, and brown sugar until well combined.
Add in the dry ingredients to the wet ingredients and mix until just incorporated. If the dough is sticky, cover in plastic wrap and refrigerate for 20-30 minutes until firm and easy to handle.
Place the raw sugar in a shallow bowl and line two rimmed baking sheets with parchment paper. To form the cookies, use a cookie scoop or tablespoons to portion the dough and roll into 1 inch balls. Roll each ball in the coarse sugar and place on the baking sheets, spacing 2 inches apart.
Bake the cookies for 8-10 minutes, rotating baking sheets halfway through, until cookies are puffed, cracked, and just set around edges. Overbaked cookies won’t be chewy. Cool cookies on wire racks.
Do Ahead: Cookie dough can be made and rolled into balls 2 weeks ahead. Freeze on a baking sheet; transfer to zip top plastic bags. Let sit at room temperature 30 minutes before rolling in sugar.
Re-written and adapted from Alison Roman’s Chewy Molasses Cookies for Bon Appétit.

Chewy Molasses Cookies | Image: Laura Messersmith
Small Kitchen Friendly?
Definitely. I used a medium mixing bowl, small mixing bowl, and a small shallow bowl. I also needed two rimmed baking sheets lined with parchment paper (or reuse one), a rubber spatula, cookie scoop, a liquid measuring cup, and dry measuring cups and spoons.
The Verdict:
These cookies are beautifully crunchy and crisp on the outside while the interior remains soft and deeply spiced, like the soft-bellied kissing cousin of the ginger snap. The simplicity of the ingredients and process belies the complexity of texture and flavors, which is a win in my book. I also have a feeling that these would be a crowd pleaser - especially my father, who loooooves anything gingery, would be a very happy camper with a few of these babies and a glass of milk.

Chewy Molasses Cookies | Image: Laura Messersmith