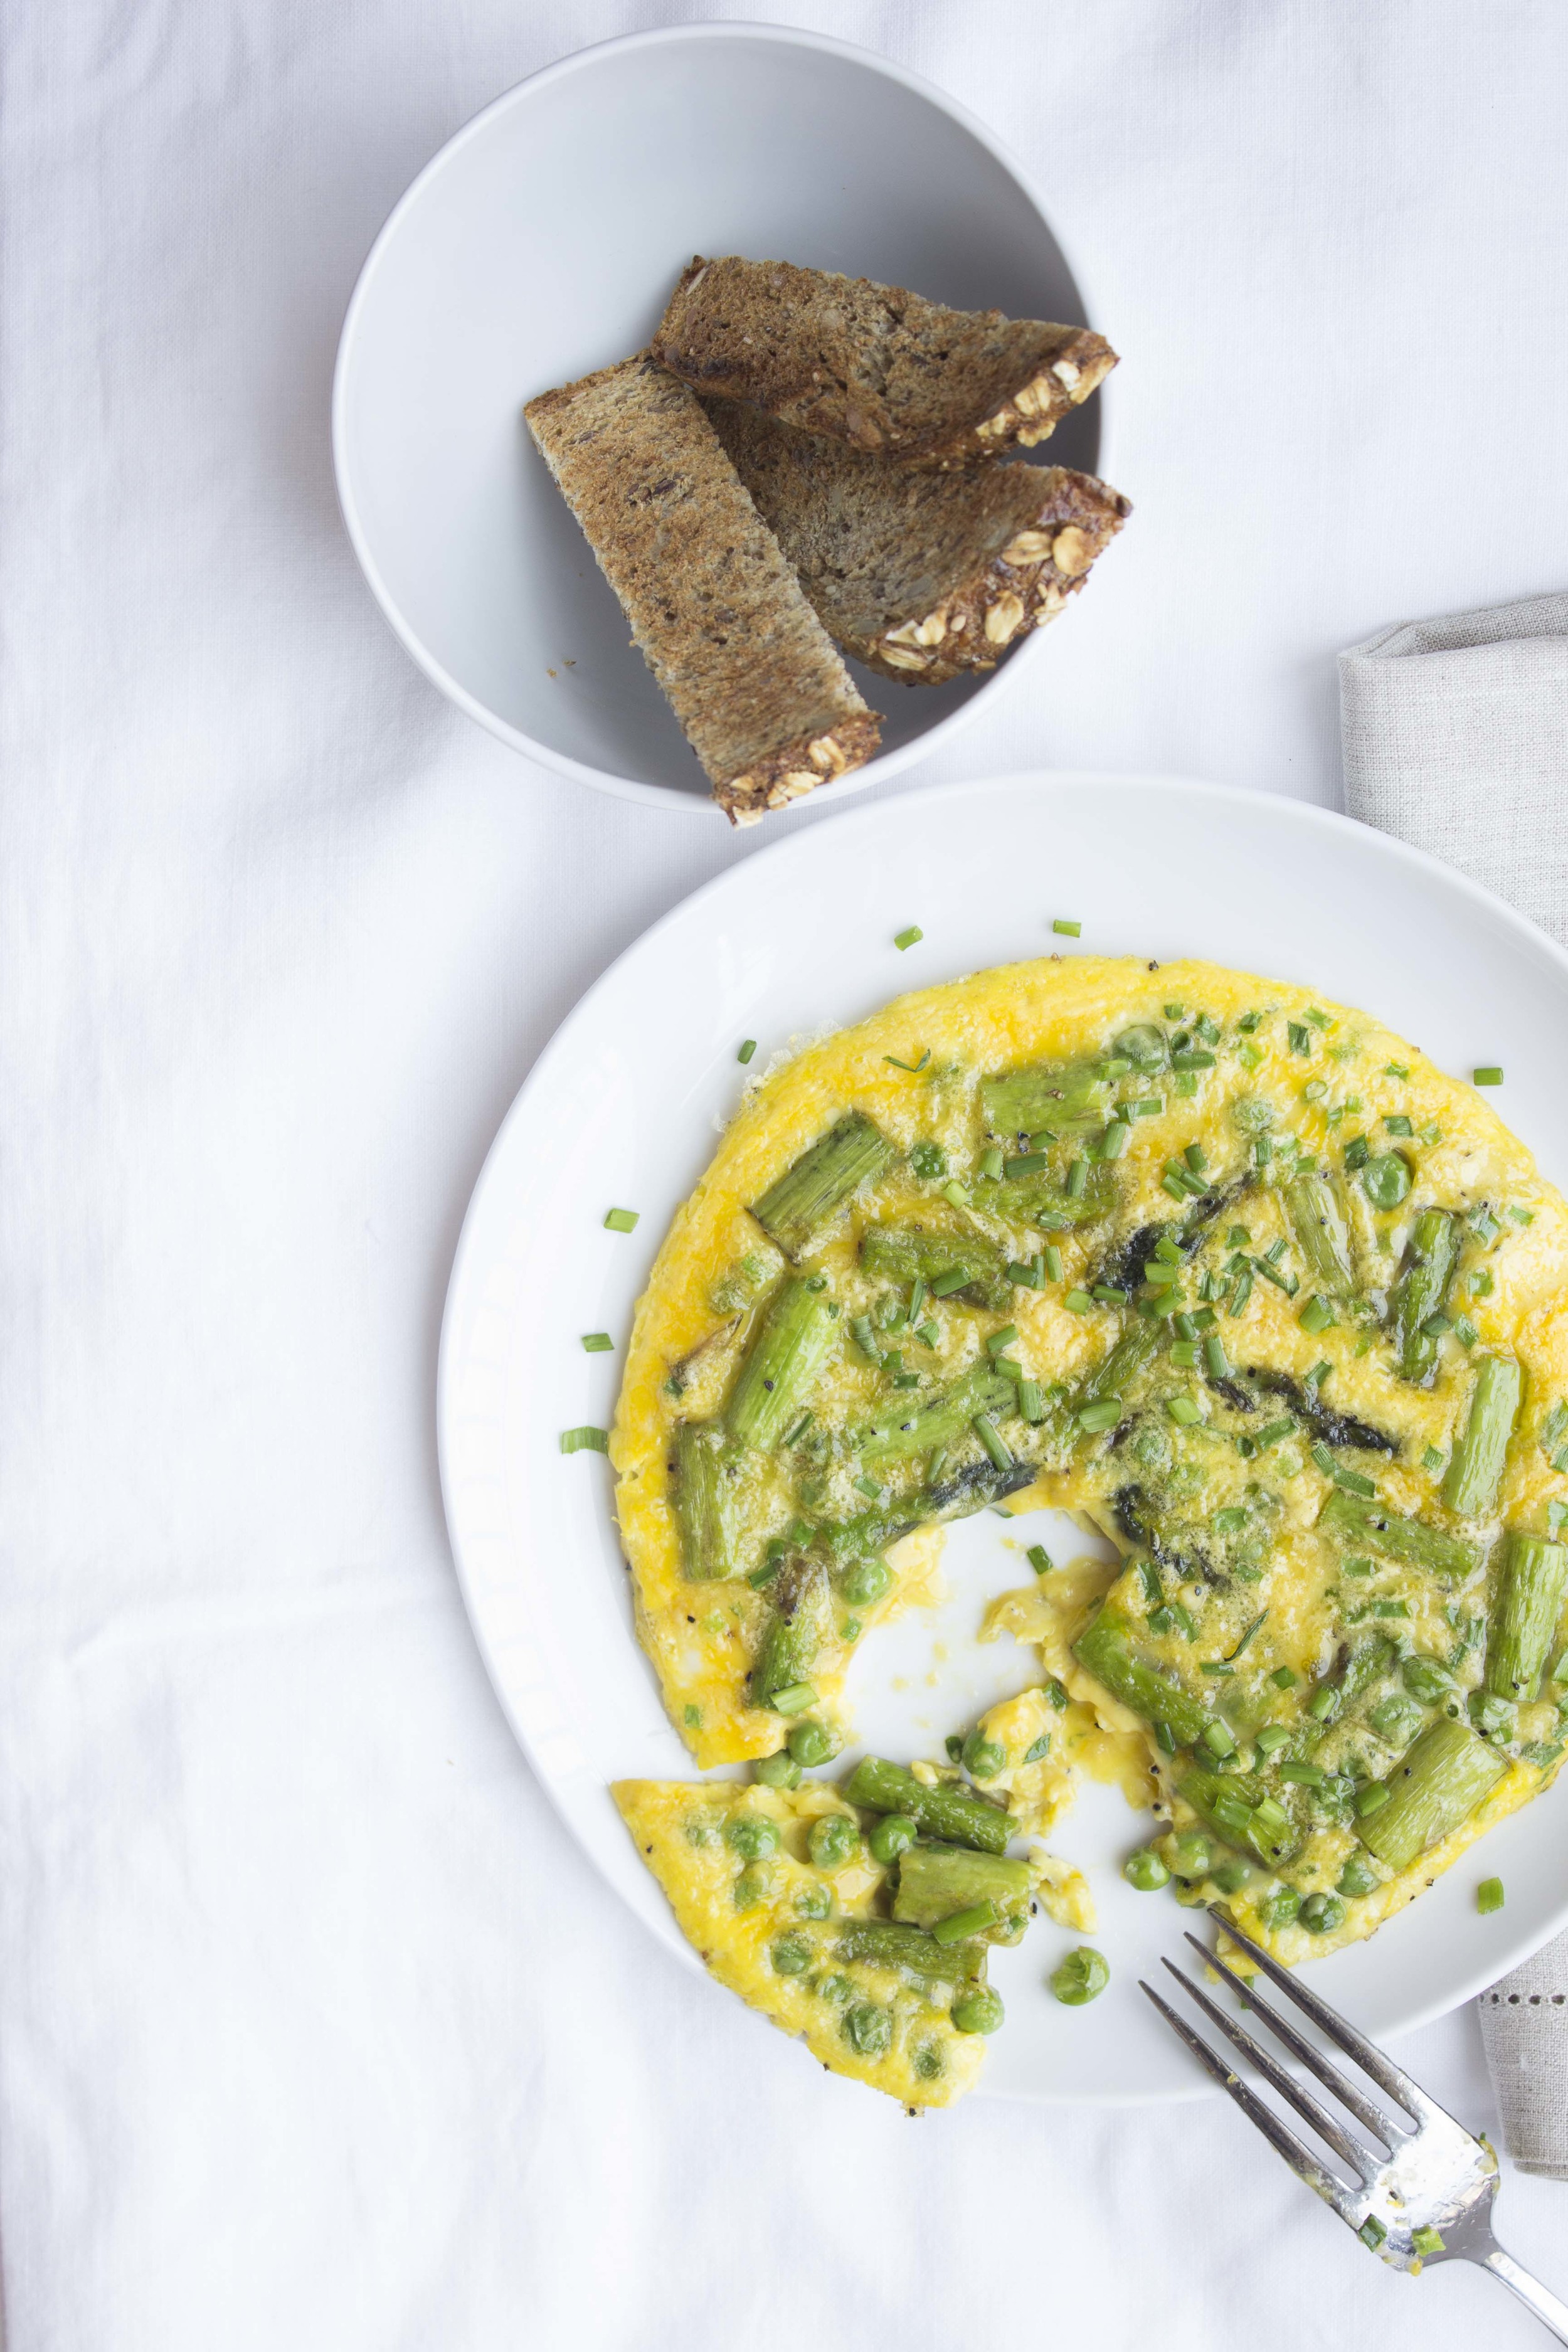
Spring Omelet with Asparagus and Peas

Spring Omelet with Asparagus and Peas | Image: Laura Messersmith
When life picks up its pace and it seems like there isn’t a moment to spare in between packing and unpacking for the next adventure there’s still an important question to answer: what’s for dinner? Lately the answer has been eggs – plain scrambled, fried on avocado toast, and when the planets align to make a trip to the grocery store also this Spring Vegetable Omelet.
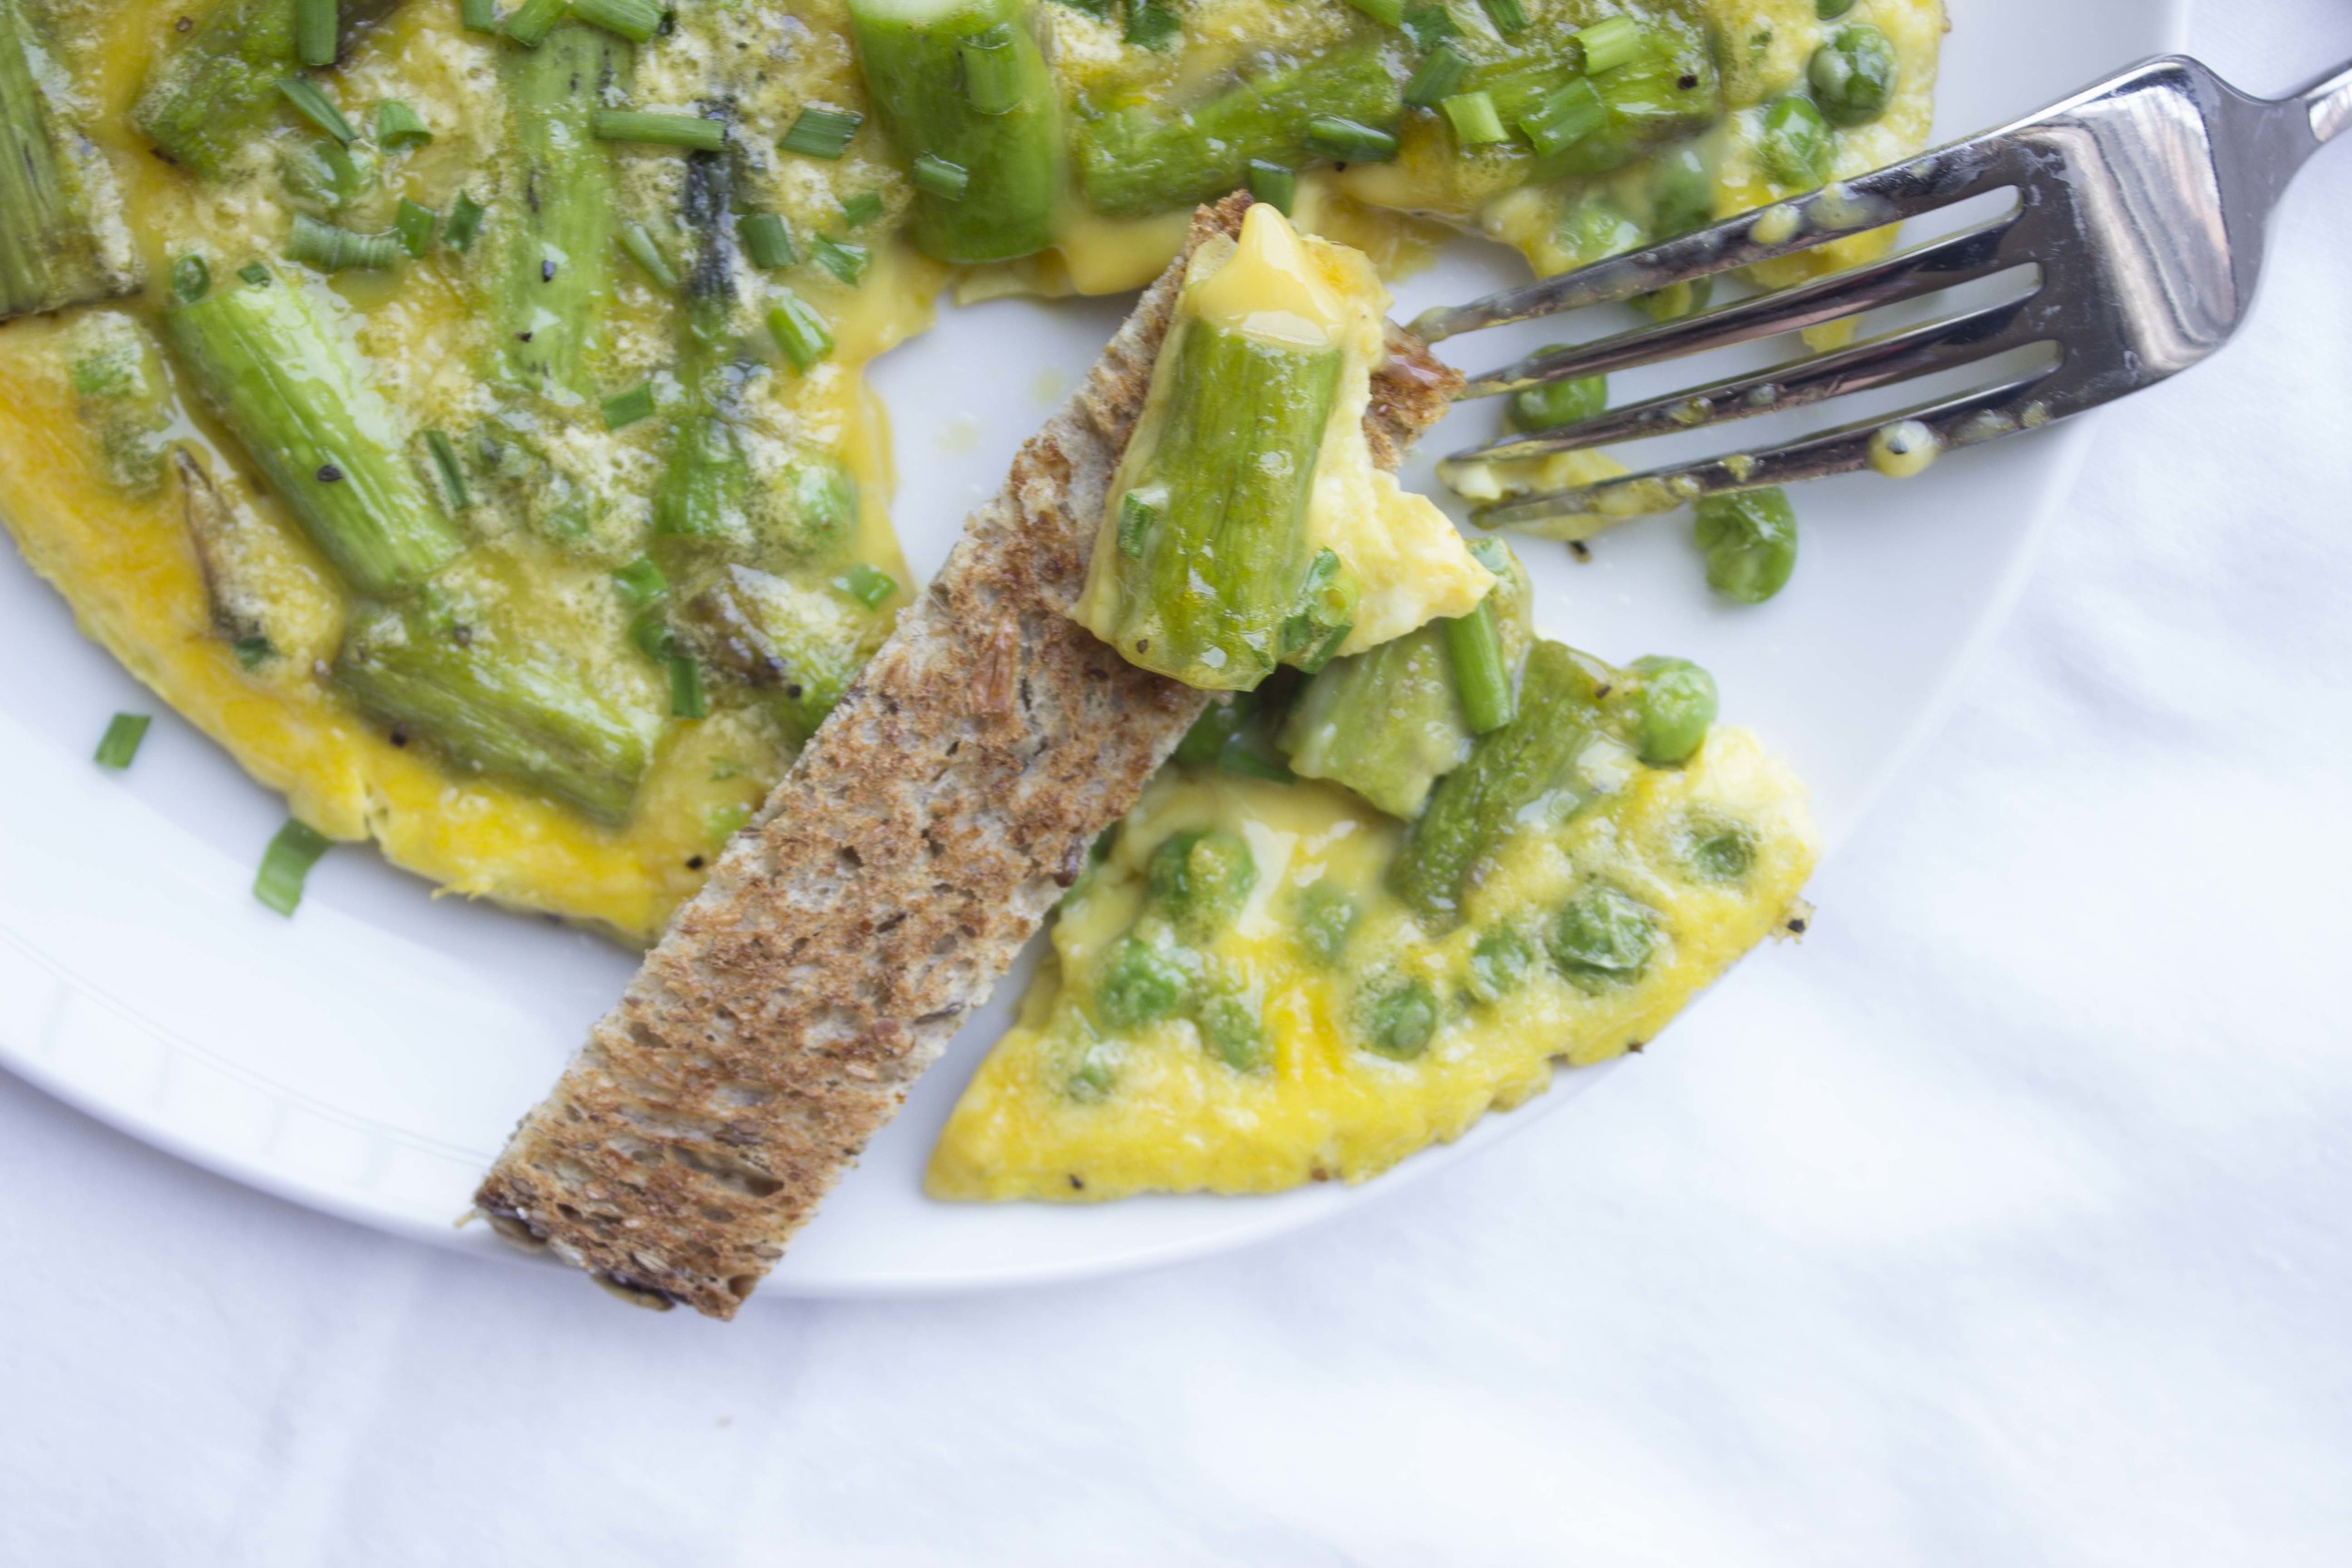
Thank the good Lord for a main dish that can be on the table in less than 20 minutes, and still checks all the boxes for fresh, delicious, and healthy. Serve with a slice or two of whole grain – cut into golden toast soldiers if you please – and this could be breakfast, lunch, dinner or any meal in between.
Spring Omelet with Asparagus and Peas | Image: Laura Messersmith
Spring Omelet with Asparagus and Peas (serves 2)
Ingredients:
8 stalks asparagus
1/2 cup English peas, shelled
2 tablespoons unsalted butter
2 tablespoons olive oil
5 eggs
3 tablespoons whole milk
1 tablespoon grated parmesan cheese
2 tablespoons minced chives
kosher salt
black pepper
Instructions:
Pre heat the oven to 350 degrees F.
Cut the asparagus spears into 1/2 inch lengths discarding the tough, woody ends. In a medium oven-safe sauté pan (8 or 10 inches), melt the butter and olive oil together. Add the asparagus and peas and cook over medium heat for 3-4 minutes until the asparagus is tender. Season with salt and pepper.
While the vegetables cook, whisk together the eggs and milk in a medium bowl, finely mince the chives, and grate the parmesan cheese.
Using a slotted spoon, remove the vegetables from the pan and set aside leaving the remaining butter and olive oil in the pan. Turn off the heat and pour the eggs into the warm pan. Scatter the parmesan cheese and half the minced chives over the eggs along with a sprinkle of salt and pepper.
Spread the asparagus and peas over the top of the eggs and immediately move the pan to the hot oven. Bake for 7-8 minutes until the eggs are firm at the edges, but the center of the omelet remains soft set.
Use a fish spatula to loosen the omelet from the pan and serve immediately with topped with a sprinkle of the reserved chives.
Inspired by Ina Garten’s Country French Omelet and Saveur Magazine’s Brown Butter Peas and Mint Omelette
Small Kitchen Friendly?
You know it. I used a medium oven-safe sauté pan, small mixing bowl, medium cutting board, chef’s knife, microplane grater, and a fish spatula. That’s it!
Spring Omelet with Asparagus and Peas | Image: Laura Messersmith

Spring Omelet with Asparagus and Peas | Image: Laura Messersmith