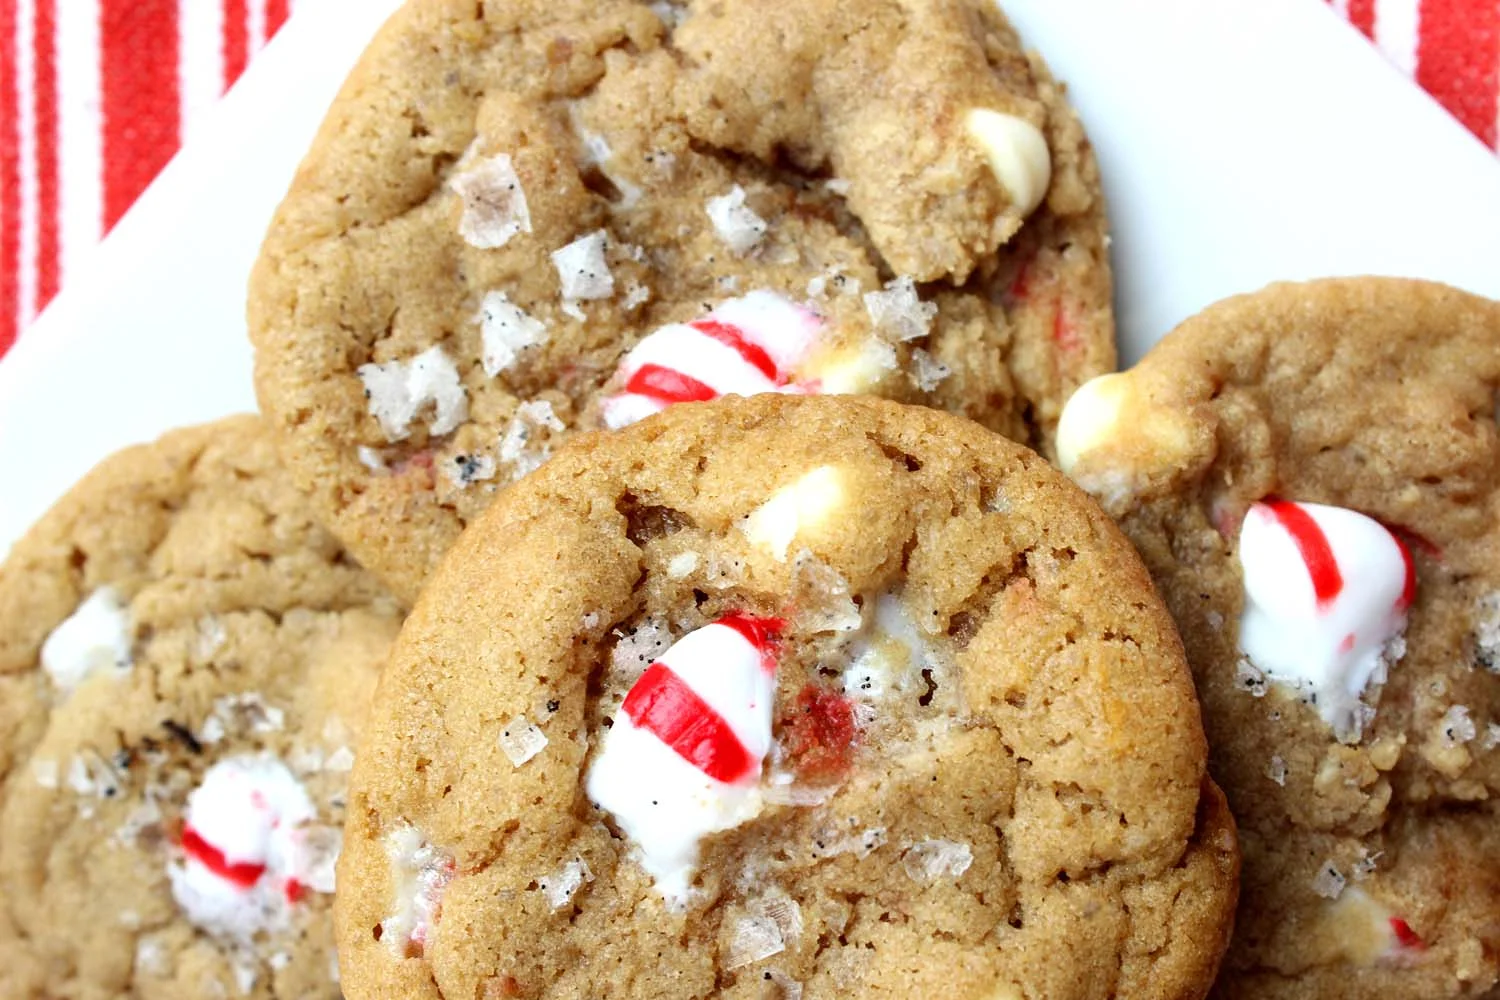
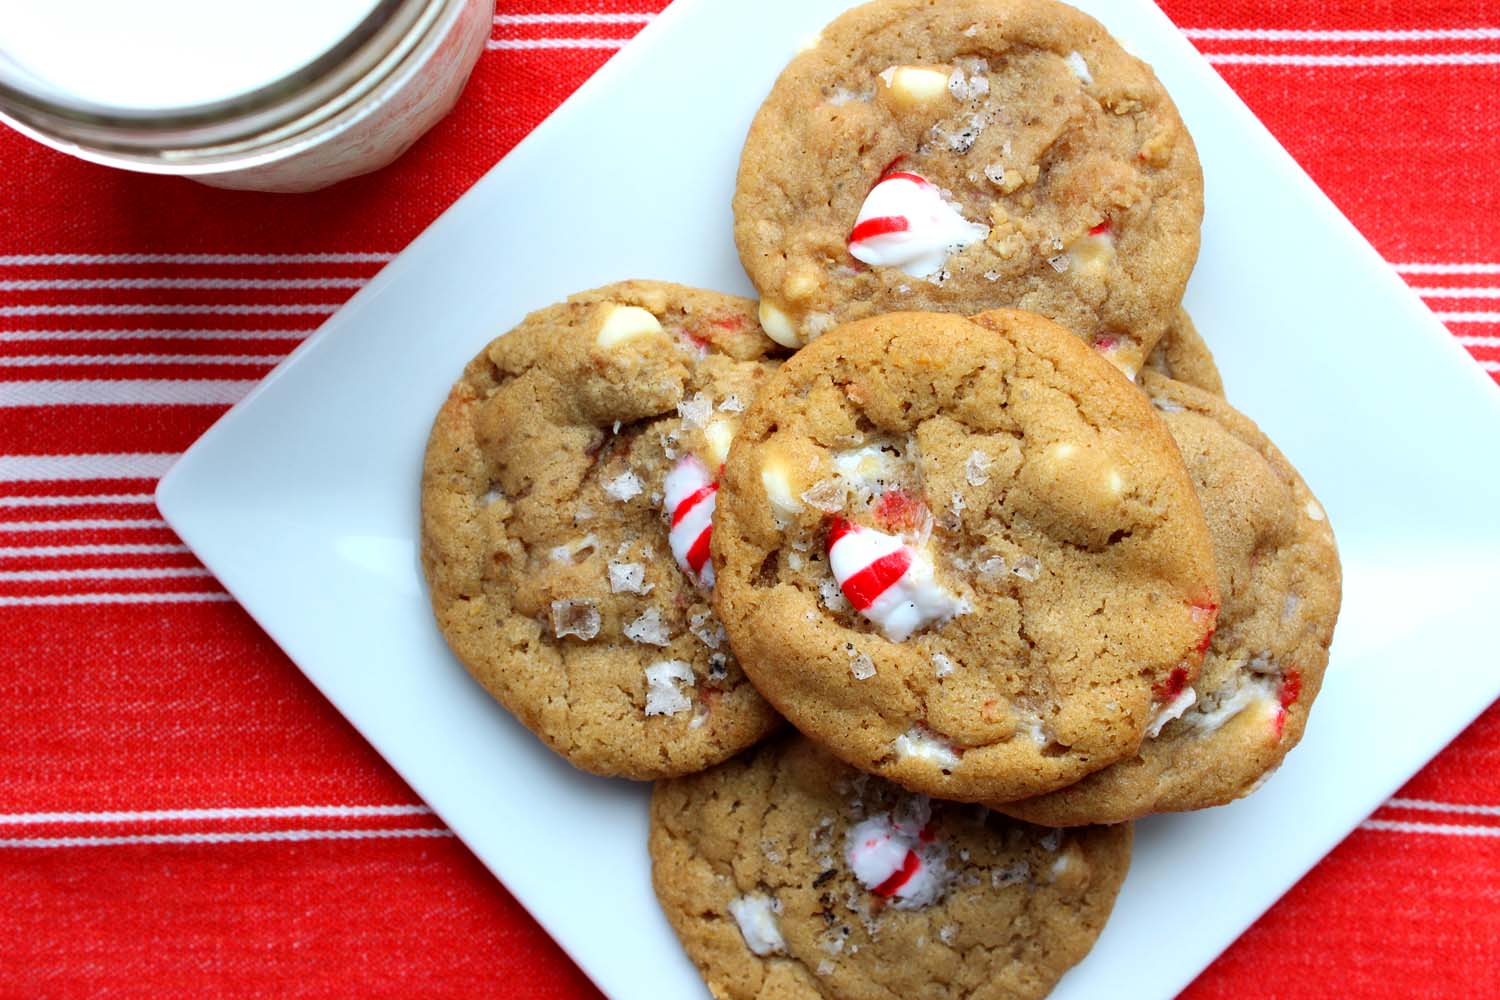
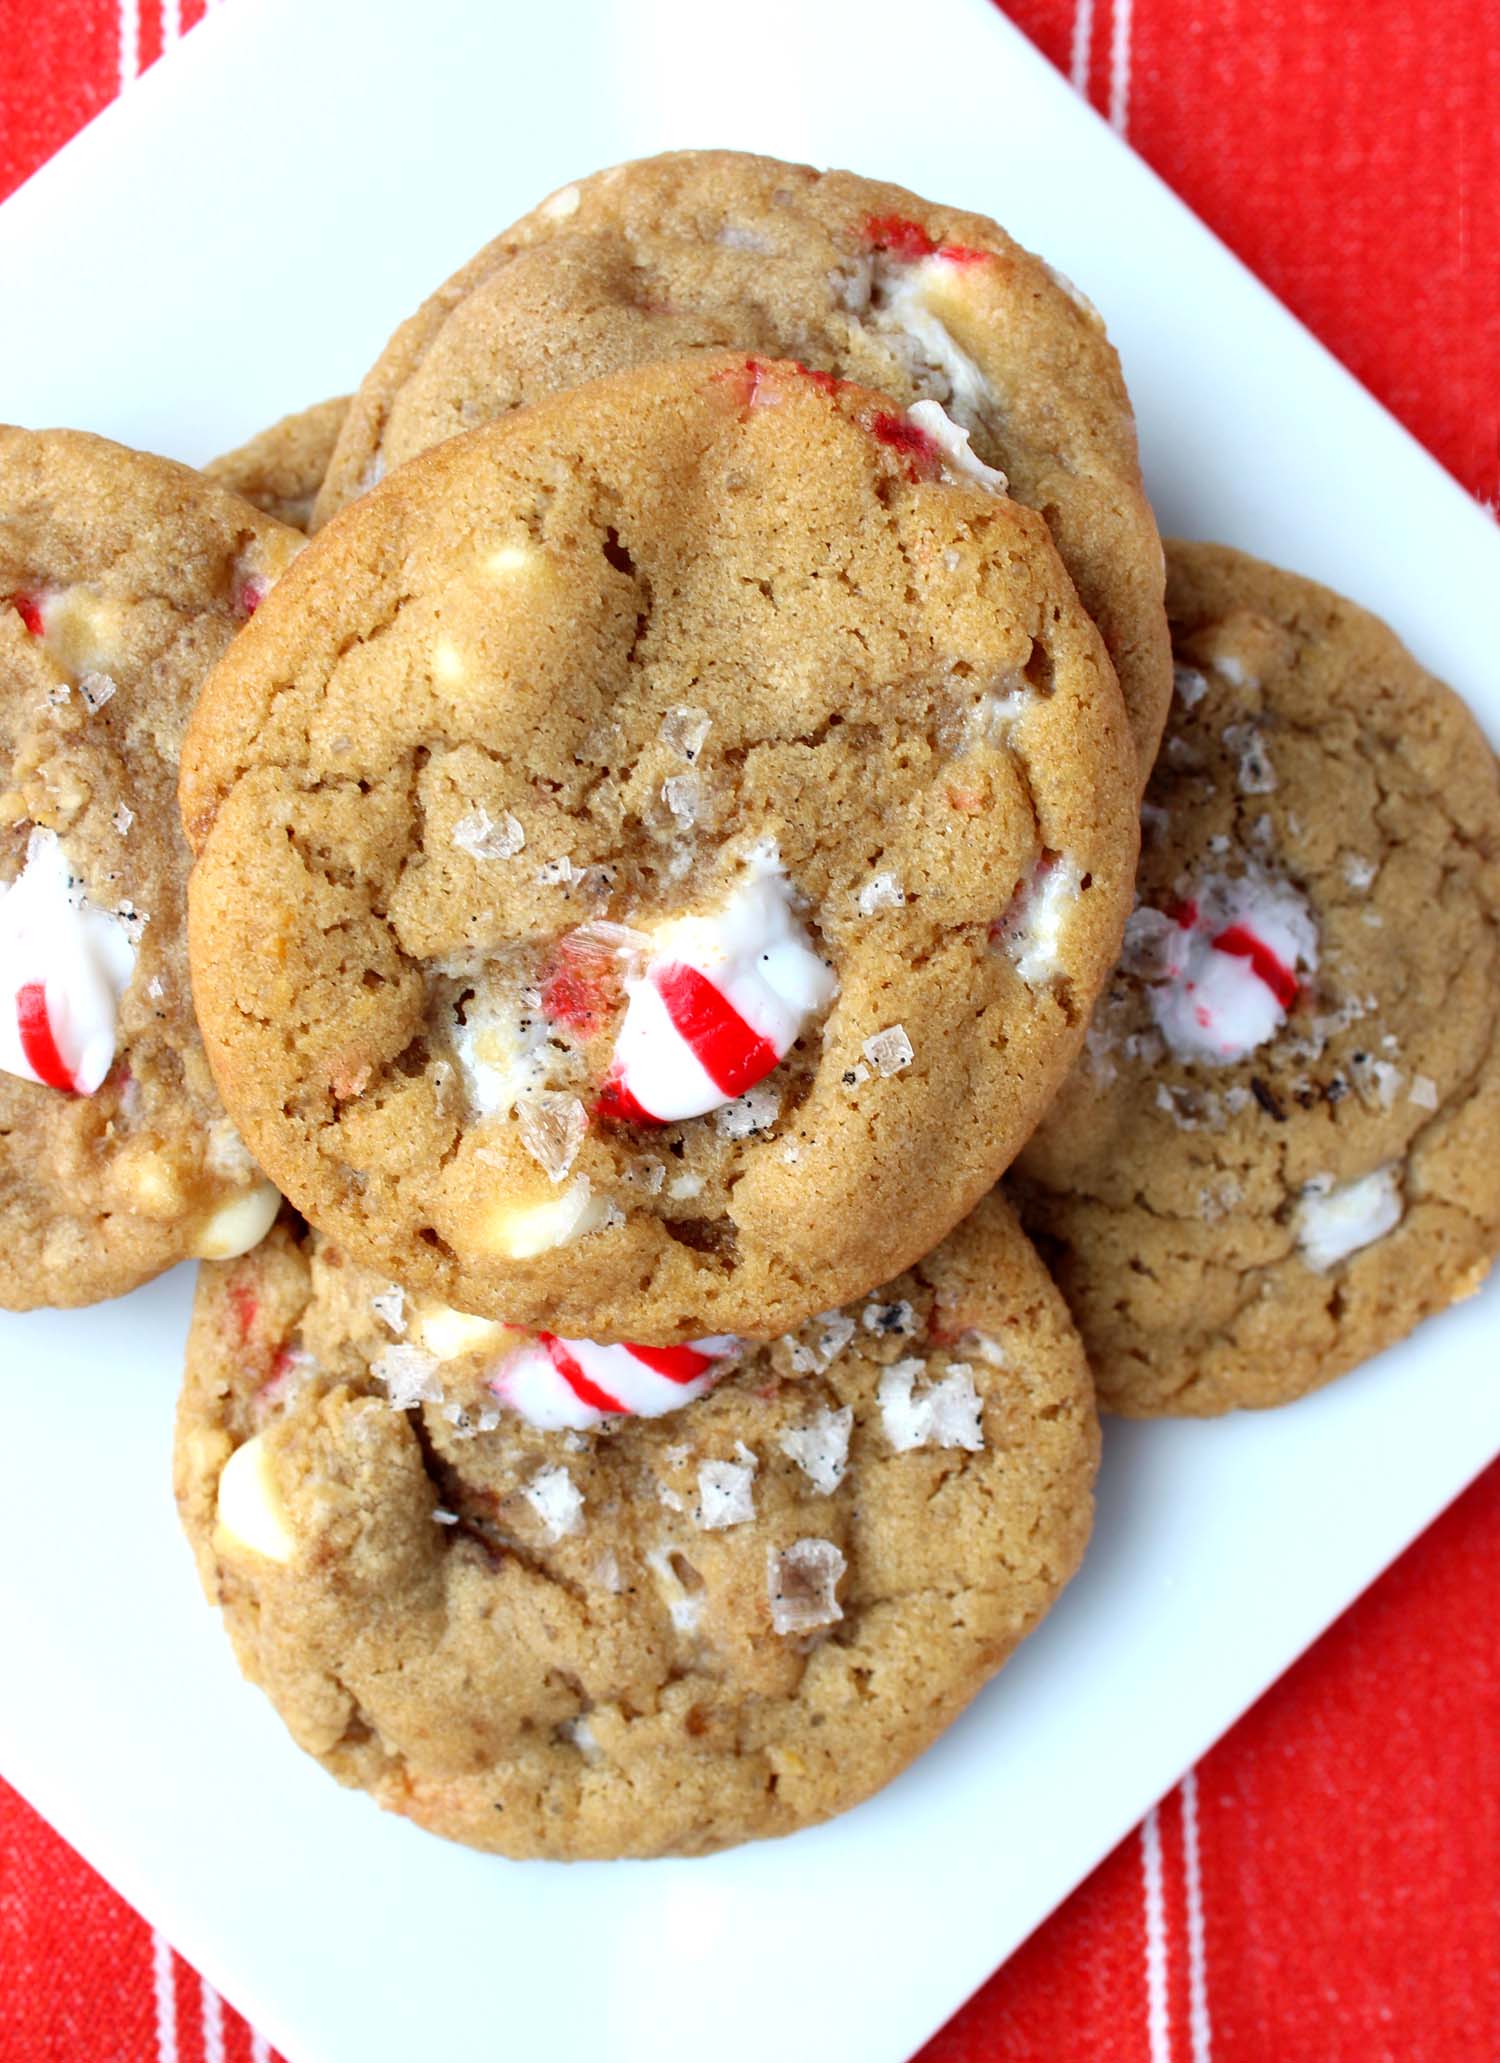
White Chocolate Peppermint Cookies with Vanilla Salt
White Chocolate Peppermint Cookies with Vanilla Salt | Image: Laura Messersmith
In the world of herbs and flavorings mint gets the short end of the stick; relegated to chewing gum, left in the cut-glass dish long after the strawberry candies with the soft centers have been sifted out, candy canes gone chewily humidified with neglect while the chocolate orange gets all the glory.
It’s a crime because mint is so lovely – think about it: a Thin Mint would just be a dry cookie coated in waxy chocolate without that mentholated breeze. Perhaps I'm biased because it’s one of my favorite flavors, but I was pleased to see one of my favorite bloggers, Ashley Rodriguez of Not Without Salt, give it some love in the form of the White Chocolate Peppermint Cookie. Rather than make the humble starlight mint an ironic punchline she’s treated them with respect surrounding their red and white striped freshness with a cast of players that lets their virtues shine. Cool and energizing with a foundation of smooth sweetness and a top note of vanilla scented salt. Perfect for a festive holiday occasion and a lovely send-off for any stray candy cane.

White Chocolate Peppermint Cookies with Vanilla Salt | Image: Laura Messersmith
White Chocolate Peppermint Cookies with Vanilla Salt (yield 18 to 24 cookies)
Ingredients:
1/2 cup (1 stick) unsalted butter at room temperature
3/4 cup plus, 2 tablespoons dark brown sugar
2 tablespoons granulated sugar
2 tablespoons turbinado sugar (aka Sugar in the Raw)
1 egg at room temperature
1 teaspoon vanilla extract
1 3/4 cups all purpose flour
3/4 teaspoon baking soda
1/2 teaspoon kosher salt
1 cup white chocolate chips
1/4 cup roughly crushed peppermint candies (or candy canes)
2 tablespoons vanilla sea salt (store bought or homemade, recipe below)
Instructions:
In a medium mixing bowl or in the bowl of a stand mixer, cream the butter and all three sugars together on medium speed, until smooth and light in texture, about 5 minutes. Stop the mixer and use a rubber spatula to scrape down the sides of the bowl as needed. Add the egg and vanilla to the bowl and mix well to combine. Again, stop the mixer and scrape down the bowl with a spatula as needed.
In a separate medium bowl, whisk the flour, baking soda, and salt together.
With the mixer on low, slowly add the dry ingredients. Mix until streaks of flour still run throughout and the dough just comes together. Stir the crushed peppermint candies and white chocolate chips in by hand, taking care to make sure everything is evenly distributed.
For best results, cover with plastic wrap and refrigerate the dough for 24 hours. Resting the dough intensifies the caramel flavors, and the texture of the baked cookie improves.
When ready to bake, preheat the oven to 360 degrees F. Line two rimmed baking sheets with parchment paper. Scoop the dough into 1 inch portions and roll lightly between your hands into balls. Tap the top of the cookies into a shallow dish of vanilla salt and place onto the baking sheets spaced about 1 1/2 – 2 inches apart. Once the cookies are formed, chill again on the baking sheet for 5-10 minutes to allow them to firm up again.
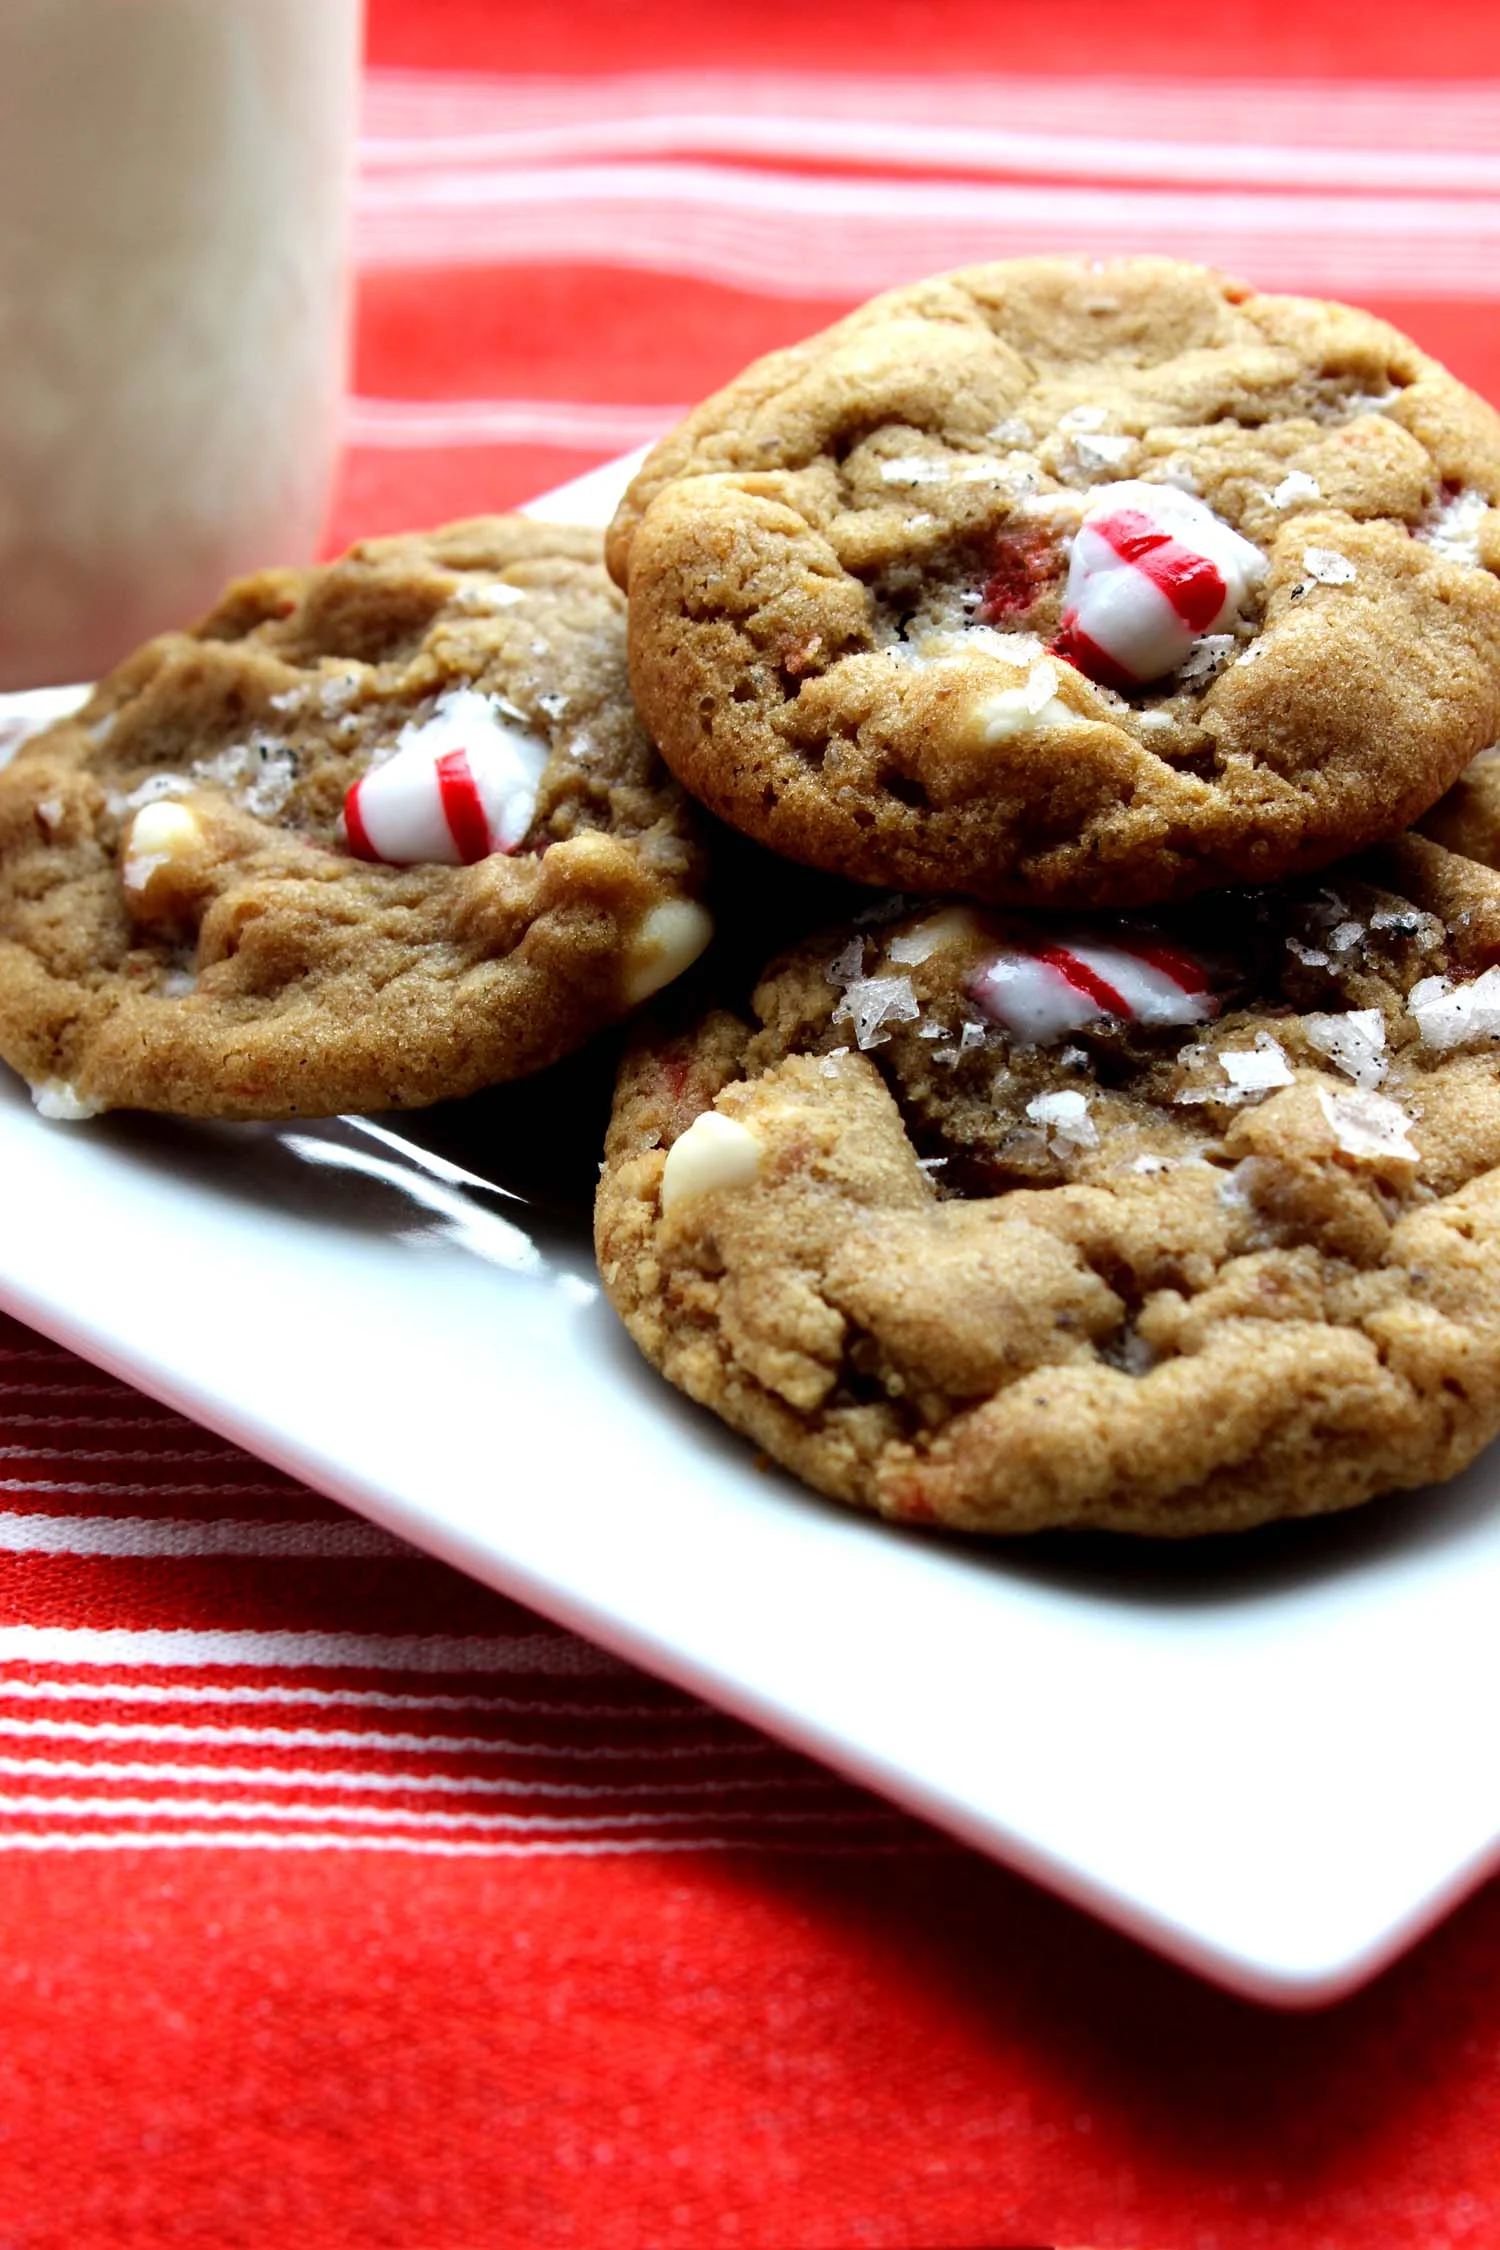
Bake for 10 to 12 minutes. Rotate the sheets halfway through if the cookies appear to be baking unevenly. The cookies should be lightly golden on the outside but still look quite gooey on the inside. Allow the cookies to cool for 5-10 minutes before moving to a wire rack to finish cooling.
These are best eaten the day of baking but will keep, if well sealed, for up to 2 days.
Rewritten and very slightly adapted from Ashley Rodriguez’s White Chocolate Peppermint Cookies with Vanilla Salt via Food52.
White Chocolate Peppermint Cookies with Vanilla Salt | Image: Laura Messersmith
Homemade Vanilla Sea Salt (yield 3/4 cup)
Ingredients:
3/4 cup flaked sea salt
1 vanilla bean
Instructions:
Place the sea salt in a small bowl. Next, split the vanilla bean lengthwise with a small paring knife. Run the tip of the knife along the interior of each half to scrape out the small black seeds. Add the vanilla seeds to the sea salt and rub together with your fingers to combine. Transfer the vanilla salt to an air tight jar or container. Tuck the empty vanilla bean pods into a mason jar of granulated sugar to get started on your next project… Vanilla Infused Sugar! The sea salt can be used right away or saved indefinitely.
Rewritten from Joy the Baker’s DIY Vanilla Salt.
White Chocolate Peppermint Cookies with Vanilla Salt | Image: Laura Messersmith
Small Kitchen Friendly?
Yes! I used two medium mixing bowls, a stand mixer (a hand mixer would work too), two rimmed baking sheets, a rubber spatula, measuring cups and spoons, and a 1 tablespoon cookie scoop. A small dish to roll the cookies in vanilla salt is helpful, as is a heavy rolling pin, a zip top bag (for breaking up the candy pieces), and parchment paper. If you're also making the vanilla salt, then you'll also need a small bowl, small cutting board, and a paring knife along with an airtight storage container.
The Verdict:
I made these cookies for our annual holiday party and based on the small amount left on the platter at the end of the night I’d say they were a success. I love the bracing chill of peppermint in any form - as evidenced by my hunt for the best Mint Chocolate Chip Ice Cream - and here it’s perfectly complimented by the caramel sweetness of the dough and the white chocolate pieces. All that sugar could get cloying if not for the finishing edge of the vanilla salt. Vanilla on it’s own isn’t necessarily sweet and with the briny sea salt it does its work as an amplifier and keeps these cookies just this side of too much.
White Chocolate Peppermint Cookies with Vanilla Salt | Image: Laura Messersmith