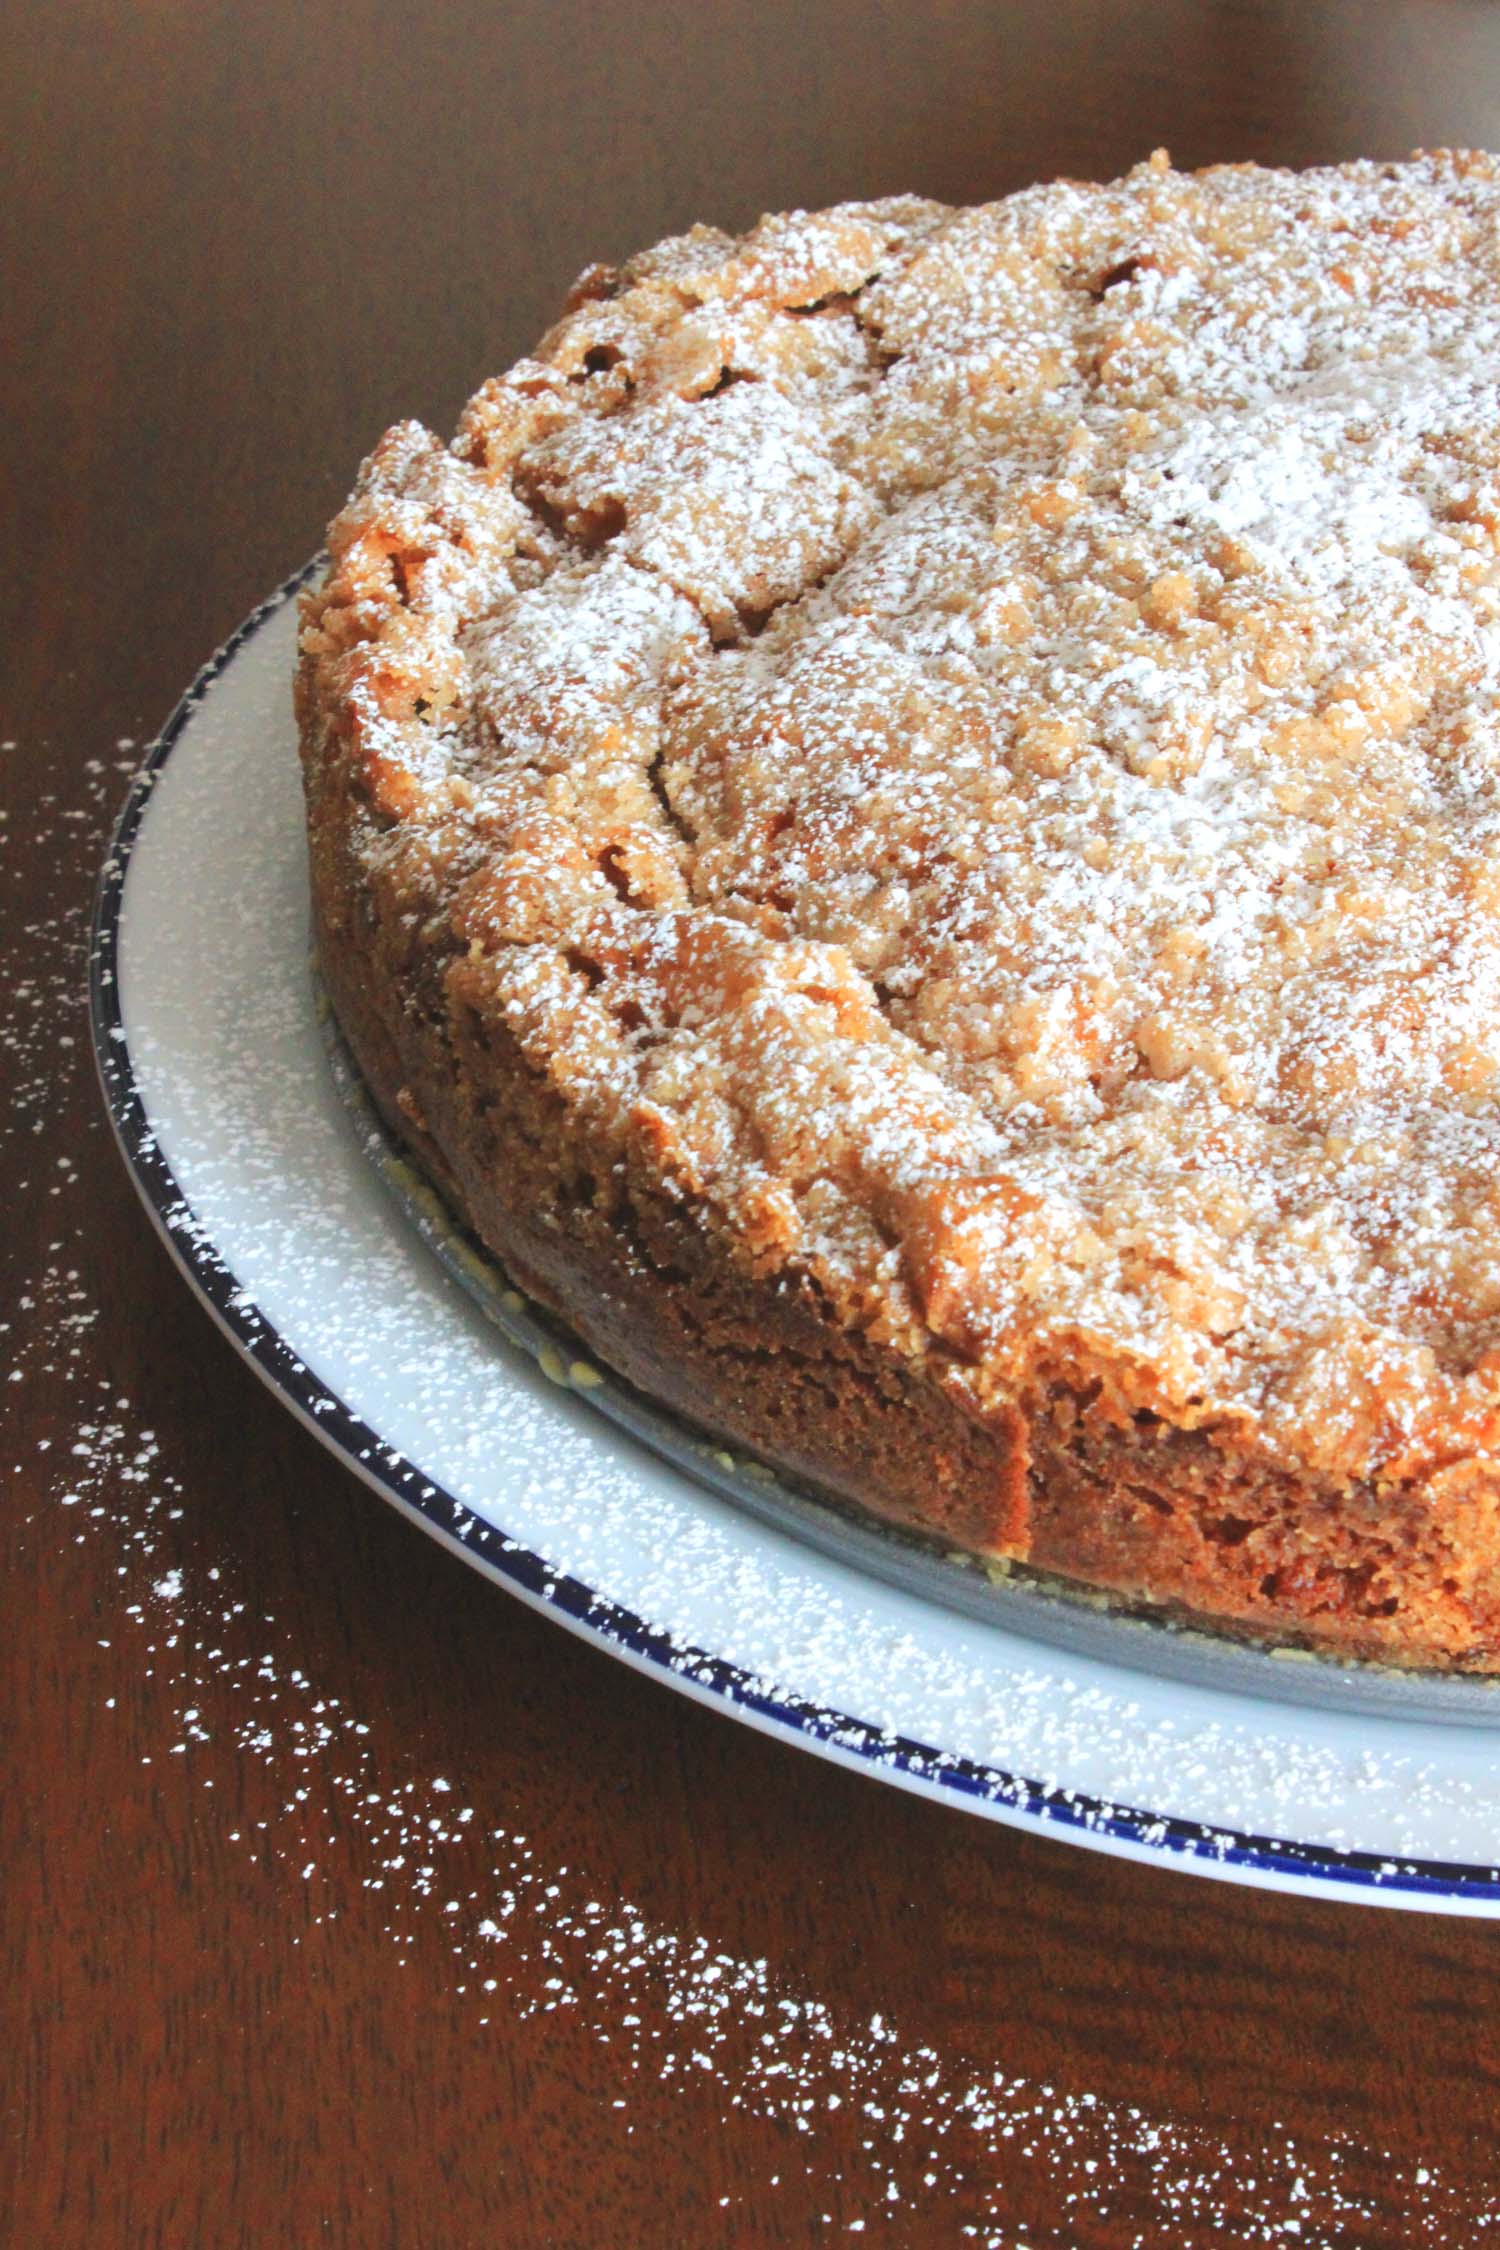
Apple Spice Coffee Cake

Apple Spice Coffee Cake | Image: Laura Messersmith

Apple Spice Coffee Cake | Image: Laura Messersmith

In my world October = Apple Season, a time I look forward to every year as the season’s fresh crop of MacIntoshes, Cortlands, and Macouns make their way from tree to market. It’s a time of year that practically begs for cinnamon and ginger spiced baked goods and this one plays right into everything that’s best about apple season.

When my parents visited a few weeks ago they brought a basketful of Honeycrisp apples from Beak & Skiff, my favorite orchard Upstate. I love eating them just as they are, but I recently came across this column from Bon Appetit and learned that they’re good for baking too.

I remembered the Cherry & Blueberry Buckle I made over the summer and decided to see if I could adapt it into a more traditional coffee cake. As the name suggests, Honeycrisp are on the sweeter side and since the topping I was planning on has plenty of sugar too I knew I’d need a cake that would balance and compliment those two elements.

Apple Spice Coffee Cake | Image: Laura Messersmith

Apple Spice Coffee Cake | Image: Laura Messersmith

I decided that using Greek yogurt - in place of the classic sour cream - would be a great way to make really moist cake with just a hint of tartness and when Mike brought home a few cups of Chobani’s seasonal Apple Spice I knew we were in business.

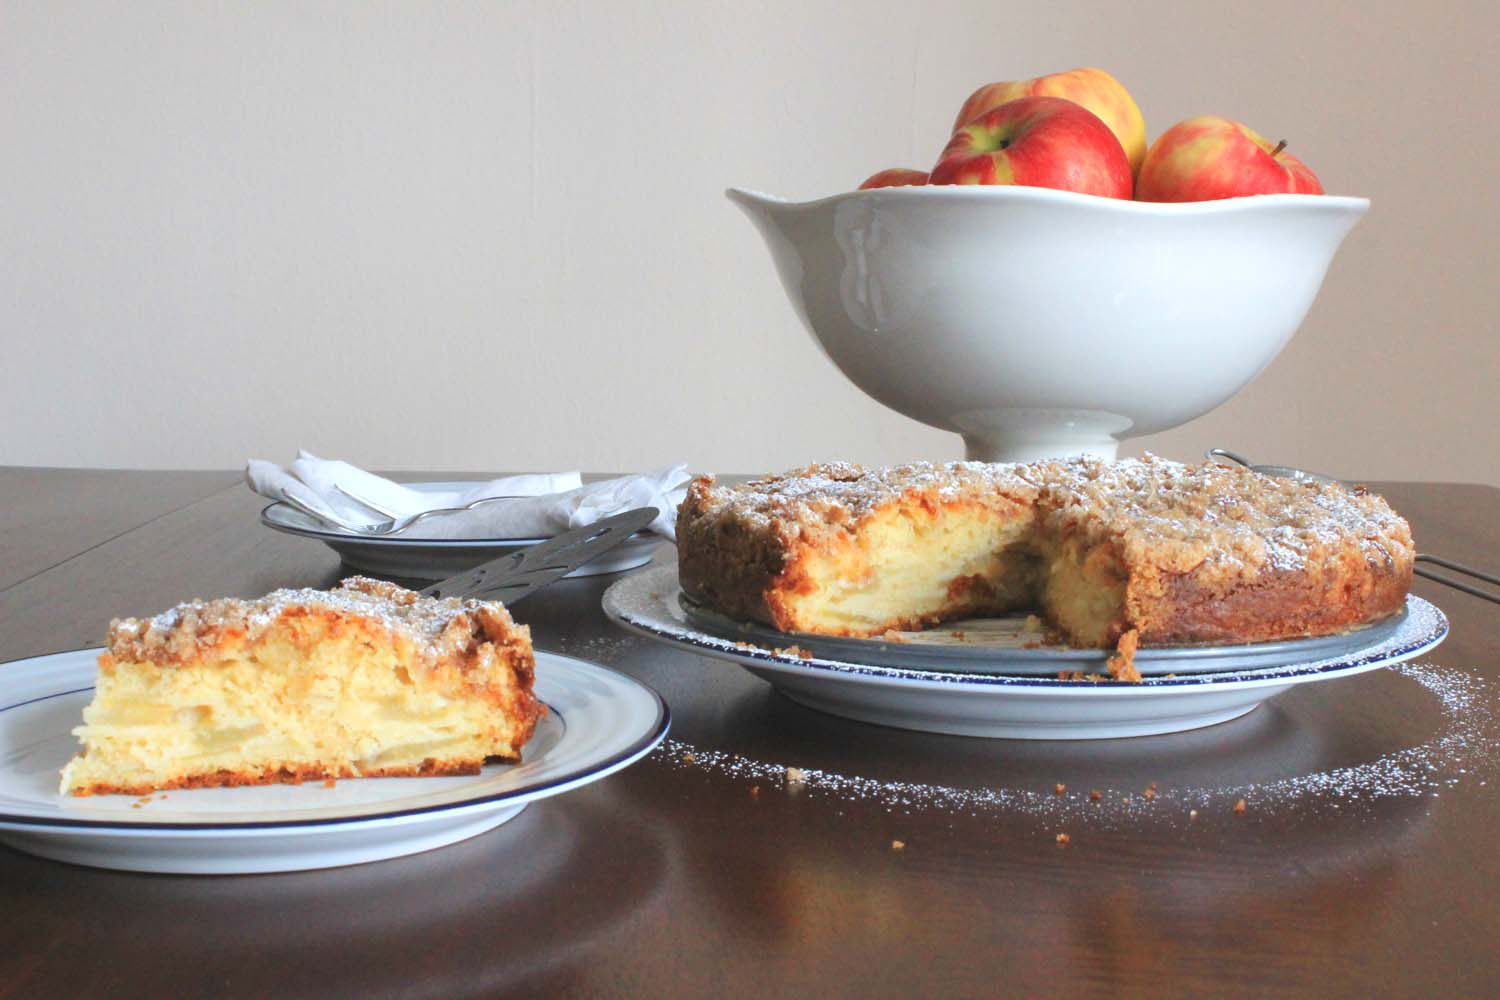
A heads up on the batter – it looks like there won’t be enough that you’ll never mange a whole cake, let alone one with two “layers”. My advice is to use an off-set spatula or a butter knife to spread the batter like frosting over the bottom of the pan and later the apple layer. As the cake bakes the batter rises a little and surrounds the apples while the sugar and spice layer melts and crystalizes.

The resulting cake with its center layer of tender apples, and a crunchy, spicy, sugary crust is just what October ordered.

Apple Spice Coffee Cake | Image: Laura Messersmith

Apple Spice Coffee Cake | Image: Laura Messersmith

Spicy Apple Yogurt Cake (yield: one cake, serves 6-8 ppl) 

Sugar & Spice Topping Ingredients:

1/2 cup sugar
1/4 cup all-purpose flour
1/2 teaspoon ground cinnamon
1/8 teaspoon ground cardamom
1/8 teaspoon ground ginger
1/4 teaspoon kosher salt
4 tablespoons (1/2 stick) chilled unsalted butter, cut into 1/4" pieces

Cake Ingredients:

4 tablespoons (1/2 stick) room temperature unsalted butter, plus more for pan
1 1/2 cups all-purpose flour, plus more for pan
2 1/4 teaspoons baking powder
3/4 teaspoons kosher salt
2/3 cup sugar
1 large egg
2 teaspoons vanilla extract
1/2 cup Chobani Apple Cinnamon Greek Yogurt
1/8 cup 2% or whole milk
3 cups (2 medium apples) apple, peeled, thinly sliced

Special Tools:

9” spring form pan
parchment paper

Sugar & Spice Topping Instructions:

In a medium bowl, stir together sugar, flour, cinnamon, cardamom, ginger, and salt. Add diced butter and combine with your fingers until mixture comes together to form a texture like damp sand; refrigerate until needed.

Cake Instructions:

Preheat oven to 350°. To prepare the pan butter the inside of a 9” spring form cake pan and place a disk of parchment paper cut to size in the bottom. Butter the parchment paper and lightly dust the interior of the pan with flour. Tap out any excess flour.

In a small bowl, whisk together baking powder, salt, and flour. Set aside.

Next, in a medium bowl, beat sugar and room temperature butter using an electric mixer on high speed until very light and fluffy, about 3 minutes. Beat in the egg and vanilla just to combine, about 2 minutes.

Reduce speed to low and add dry ingredients in stages until just mixed. Last, in a liquid measuring cup whisk together Chobani Apple Cinnamon Greek Yogurt and milk and then mix into batter just to combine. The resulting batter consistency will be like thick frosting.

Peel, core, and cut two medium Honeycrisp apple into half, then thinly slice, about 1/8” thick.

Spoon half batter into prepared pan and spread evenly with a butter knife or off-set spatula. Next arrange the apple slices to cover the bottom layer of batter – if the apples are very juicy sprinkle with a tablespoon of flour. Top with the second half of the batter spread it evenly across the apples. Place the cake pan on a rimmed baking sheet and evenly crumble the chilled sugar and spice mixture over the top.

Bake until the sugar and spice is golden brown and a cake tester inserted into the center comes out clean, 50–70 minutes. Transfer pan to a wire rack and let cool before unmolding and serving.

Apple Spice Coffee Cake | Image: Laura Messersmith

Apple Spice Coffee Cake | Image: Laura Messersmith

Small Kitchen Friendly?

Yes, to a degree. The recipe as written calls for three bowls (two small, one medium), an electric mixer, measuring cups & spoons, a spring form pan, and a baking sheet.

However, if bowl supplies are limited it’s easy to switch the order of prep and re-use the dry ingredient bowl to make the topping, or just shake the dry ingredients together in a ziplock. If a fancy presentation isn’t essential – and this is a rustic type of cake – then using a regular cake pan is a good option too.

The Verdict:

My expert team of taste-testers were unanimous: the Apple Spice Coffee Cake is addictively delicious. The apples and crunchy spice topping were meant for each other. And, extra bonus: on the off chance that there are leftovers that escape hungry people for more than 24 hours (doubtful) the cake stays lovely and moist.

Apple Spice Coffee Cake | Image: Laura Messersmith
Apple Spice Coffee Cake | Image: Laura Messersmith

Ham and Cheese in Puff Pastry

Ham and Cheese in Puff Pastry | Image: Laura Messersmith

Ham and Cheese in Puff Pastry | Image: Laura Messersmith

As inspiration for more adventurous culinary efforts I’m following along with Ina Garten, aka The Barefoot Contessa, in my tiny New York kitchen. Let’s see if I can keep up with the Contessa!

Episode: “Cocktail Hour”

The Set-up: Ina is helping her friend Jack navigate the rocky shoals of the cocktail party.

The Menu: Blue Cheese and Walnut Crackers, Roasted Shrimp Cocktail, Ham and Cheese in Puff Pastry

0:29 – Ina’s cocktail party food Pro Tip #1: Make three, assemble three. Seriously, why do I think I need to make everything or it’s somehow cheating?

1:45 – First recipe on tap: Blue Cheese and Walnut Crackers – which Ina says can be made way in advance.

2:13 – Pro Tip #2: Always use the correct measuring cups for the ingredient – dry for dry, wet for wet.

3:20 – Ina mentions that she first tried this recipe with the walnuts mixed in to the dough, but that it didn’t work well so she rolled them into an exterior crust. I’d love to hear about more Barefoot Contessa misfires – not to gloat, but to learn!

4:34 – Ina’s right - thanks to the blue cheese this dough does look bizarre and vaguely grey? Hmmm.

5:07 – As Ina does her “slice and bake” technique with the crackers she gives us Pro Tip #3: using the blade of the knife like a saw, rather than pressing straight down, prevents squishing the dough.

6:16 – Now to the question on everyone’s mind – how much to serve? Ina says three to four pieces per person, assuming your serving six different items. I suppose that means if you have ten guests it’s 6 x 3 x 10? Whoa.

9:22 – Next up, Ham and Cheese in Puff Pastry and as far as I can tell Ina has concerns for humanity if they’re not interested in eating that.

10:31 – Now I see what she means – so far there is ham and mustard and puff pastry involved – yum!

11:49 – Watching Ina slice cheese (gruyere, natch) in the food processor I’ve just come to a startling realization – Ina loves efficiency! The gleam in her eye as that cheese came out perfectly sliced in about 7 seconds tells me I’m right. Kindred spirits.

12:25 – Seriously, how does Ina get her pastry to roll out just so? Mine starts in it’s nice rectangle and ends up all wonky – what am I doing wrong?

13:57 – The Ham and Cheese in Puff Pastry has just emerged from the oven and it looks like heaven. Guess what I’ll be making…

14:32 – Now we’re getting into the assemble/buy part which consists of putting olives and almonds in bowls and arranging slices of cucumber and salami on a platter.

18:11 – Last app to make and Ina has decided on Roasted Shrimp Cocktail a sure winner.

19:30 – First a little prep to take the shells off (tail on to use as a “handle” for guests) and de-vein. The whole concept of dealing with shrimp was such a mystery to me until just a few years ago – this process baffled me until I tried it a few times.

20:23 – Cocktail sauce time – with the volume turned up, of course.

21:09 – I’ve actually made Ina’s cocktail sauce before and it is outstanding – no more bottled sauce for me.

22:40 – Shrimp are out of the oven and they look so good arranged around the central sauce bowl. Simple and delicious.

26:21 – Jack has arrived for lessons on setting up the bar and if the major side-eye he’s giving is any indication there’s more than a little uncertainty that he’s up to the challenge.

27:03 – First the patented Ina buffet table cloth folding lesson and glass arrangement strategy. There is a reason this woman is famous for her entertaining – what a pro!

28:15 – I feel like Jack might be a ringer sent in to ask questions for us like “How many glasses per person?” Pro Tip #4: Order 3 glasses per person from the rental company to avoid running out.

28:42 – Ina also recommends scotch, vodka, bourbon and rum in addition to soft drinks and water for the bar.

29:56 – Fast forward to the night of Jack’s cocktail party – Ina has stopped in to check on her student. Wisecracks about how “straight” the line of glasses are flow like “good bourbon” and Jack apple-polishes a little with vodka on the rocks for his professor. Extra credit.

Final Thoughts:

I really would love to hear more about Ina’s kitchen disasters & also-rans – I’m pretty sure she’s mainly self-taught and I bet there were some good learning experiences.

I need to practice that table cloth folding technique but I don’t have one quite that big – maybe a large flat sheet would work?

I’ve never thought to bribe a teacher with booze, but I bet it’s effective…

Ham and Cheese in Puff Pastry | Image: Laura Messersmith

Ham and Cheese in Puff Pastry | Image: Laura Messersmith

Lessons Learned:

Ham and Cheese in Puff Pastry is a recipe almost entirely about assembly of ingredients rather than a great deal of cooking, which makes it incredibly simple and frankly the results are pretty impressive for the amount of effort it takes.

The trickiest part is dealing with the puff pastry – after defrosting a box of two sheets over night in the refrigerator I rolled out one of the sheets an inch or so in each direction. I’d highly recommend doing the rolling on a piece of parchment paper that can then just be lifted onto a sheet pan – even straight from the refrigerator the puff pastry gets sticky fairly quickly and this step saves on flouring your countertop and therefore extra clean up.

I used the (now) slightly larger sheet as the bottom layer – spread the mustard (I mixed two teaspoons each Maille whole grain and Gulden’s spicy brown), ham, and gruyere leaving a border – and placed the un-rolled second sheet of pastry on top. Having the bottom crust a little larger allows it to fold up around the filling really easily.

I came across another blogger (Joy the Baker) who made this recipe and suggested assembling ahead of time, refrigerating, and doing the egg wash and baking steps the next morning for an easy brunch dish. BRILLIANT. Pastry needs to be cold anyway, and putting the main course for brunch in the oven while still in your proverbial bunny slippers only to have it emerge golden a mere 20 – 25 minutes later makes you appear to be a domestic goddess on par with Nigella. Again, this all happens with minimal effort.

Small Kitchen Friendly?

Yes, a surprise considering that it involves a rolling pin. I also used a sheet pan, small cutting board, chef’s knife, measuring spoons, a pastry brush, fork and a small bowl. I also can’t recommend parchment paper (not waxed paper or foil) enough for this – a great help.

Ham and Cheese in Puff Pastry | Image: Laura Messersmith

Ham and Cheese in Puff Pastry | Image: Laura Messersmith

The Verdict:

I made Ham and Cheese in Puff Pastry for Mike and my parents during their visit and served it for brunch on Sunday morning. This is essentially the flavors of croque monsieur (pastry + mustard + ham + cheese = how bad could that be?) in alternate form and turned out buttery, flaky and delicious. Also, surprisingly filling despite it’s low-key appearance. We all loved it and really wanted seconds, but were unexpectedly full after relatively modest servings. I went with sweet red grapes and blueberry muffins as sides, but you could easily take this in a more “lunch-y” direction with a side salad or soup. This one is multi-tasking winner!

Ham and Cheese in Puff Pastry | Image: Laura Messersmith

Ham and Cheese in Puff Pastry | Image: Laura Messersmith

Cherry & Blueberry Buckle

Cherry & Blueberry Buckle | Image: Laura Messersmith

Cherry & Blueberry Buckle | Image: Laura Messersmith

The theme of red, dessert-related treats continues today mainly because I over-did it a little on the cherry related purchases last week. They were just so gorgeous looking that I bought a giant bag, so here we are with more cherries to eat. Thankfully, we were invited to a brunch party over the weekend, so I volunteered to bring the coffee cake and thus had a perfect excuse to make Cherry & Blueberry Buckle.

I was inspired by a recipe I found on Seven Spoons, and I knew immediately that it would be the perfect stand-in for a traditional coffee cake. I’m not entirely sure what a pastry chef would consider the difference between a buckle and a coffee cake since both involve fruit and a streusel topping, so I just decided to go with it.

Seven Spoons’ recipe was loosely adapted from this Blueberry Buckle recipe by Salt Water Farms for Bon Appétit. Coincidentally, SWF offers an entire class on fruit desserts entitled Cobblers, Buckles and Grunts. Doesn’t that sound like heaven? Maybe this is my opportunity to go to Maine and learn about the entire spectrum of fruit-related sweets….

Just in case Maine isn’t in the cards this year we can still channel a summery, New England treat at home. I partially followed both recipes noted above (my adaptation below) and the results were delicious.

I promise I’m not tooting my own horn here – Mike and my partners-in-brunch can corroborate that it was pretty awesome. Sweet, fragrant, and packed with fruit it was especially good served still warm from the oven.

I have future plans for this recipe involving other fruits: apricots, perhaps? or tart cherries? I’d love to try it in muffin form or perhaps with the addition of a scoop of vanilla or blueberry ice cream? The possibilities seem endless….

Cherry & Blueberry Buckle | Image: Laura Messersmith

Cherry & Blueberry Buckle | Image: Laura Messersmith

Cherry & Blueberry Buckle (yield: one buckle, serves 6-8 ppl)

Sugar & Spice Topping Ingredients:

1/2 cup sugar

1/4 cup all-purpose flour

1/2 teaspoon ground cinnamon

1/8 teaspoon ground cardamom

1/8 teaspoon ground ginger

1/4 teaspoon kosher salt

4 tablespoons (1/2 stick) chilled unsalted butter, cut into 1/4" pieces

Buckle Ingredients:

4 tablespoons (1/2 stick) room temperature unsalted butter, plus more for pan

1 1/2 cups all-purpose flour, plus more for pan

2 teaspoons baking powder

3/4 teaspoons kosher salt

3/4 cup sugar

1 large egg

2 teaspoons vanilla extract

1/2 cup whole milk

6 ounces (1 ¼ cups) fresh or thawed blueberries

10 ounces (2 cups) pitted, roughly chopped black cherries

Special Items:

9” spring form pan

parchment paper

Sugar & Spice Topping Instructions:

In a medium bowl, stir together sugar, flour, cinnamon, cardamom, ginger, and salt. Add diced butter and combine with your fingers until mixture comes together to form a texture like damp sand; refrigerate until needed.

Buckle Instructions:

Preheat oven to 350°. To prepare the pan butter the inside of a 9” spring form cake pan and place a disk of parchment paper cut to size in the bottom. Butter the parchment paper and dust the interior of the pan with flour. Tap out any excess flour.

In a medium bowl, whisk baking powder, salt, and flour.

In a separate medium bowl, beat sugar and room temperature butter using an electric mixer on high speed until very light and fluffy, about 5 minutes. Beat in egg and vanilla just to combine, about 2 minutes. Reduce speed to low and add dry ingredients in stages, then milk; mix just to combine.

Using a rubber spatula, gently fold in blueberries and diced cherries. Don’t be stingy with the fruit, if you have a few extra berries or cherries – add them in! Spoon batter into prepared pan, smooth top, and place pan on a rimmed baking sheet. Evenly crumble sugar and spice topping over.

Bake until top is golden brown and a cake tester inserted into the center comes out clean, 75–90 minutes. Transfer pan to a wire rack and let cool before unmolding and serving.

Small Kitchen Friendly?

Yes, to a degree. The recipe as written calls for three medium bowls, an electric mixer, measuring cups & spoons, a spring form pan, and a cookie sheet.

However, if bowls are limited it would be easy to switch the order of prep and re-use the dry ingredient bowl to make the topping. If a fancy presentation isn’t essential – and this is a rustic type of cake – then using a regular cake pan or muffin tins would be a solid option too.

And, don't forget Food52's genius cherry pitting DIY - I used it again, still works!

Cherry Blueberry Buckle 4 smaller.jpg